
How to Use Worked Examples in 6 Steps to Reduce Cognitive Load
Sometimes learning feels overwhelming because students are trying to do two hard things at once: understand the concept and figure out the process. When that happens, their working memory gets slammed. I’ve seen it in my own teaching—especially with new units in math and science—where the “blank page” moment turns into frustration fast.
Worked examples help because they give students a clear model to follow. They can watch (or read) a complete solution unfold, step by step, so they’re not guessing what comes next. And once they can do that confidently, you start removing parts of the example so they’re building independence instead of copying.
This post walks through a practical 6-step approach I use to lower cognitive load without making students passive. I’ll also share a couple of real classroom-style tweaks—like when to fade steps and how to include errors so students actually learn from them.
Key Takeaways
Key Takeaways
- Worked examples break complex problems into visible steps, so students can focus on understanding the method instead of getting lost in details.
- A worked example is a fully solved model with the thinking—including checks, decisions, and what to do when something doesn’t look right.
- Studying worked solutions reduces extraneous cognitive load because students don’t have to hold every “what’s next?” in mind while learning the underlying pattern.
- Worked examples work across subjects: math (procedures), science (experiment logic), language arts (text analysis and writing structure), and history (source evaluation).
- They’re most effective when paired with active practice: you fade steps, then have students complete missing parts or correct mistakes.
- Best practice: keep examples focused, explain each step, ask students to predict the next move, and don’t overuse worked examples—fade them as accuracy rises.

Step 1: Use Worked Examples to Reduce Cognitive Load
Starting with worked examples is like giving students a roadmap instead of telling them to “figure it out.” In my experience, the biggest win is that it stops students from spending their first 10 minutes doing the wrong kind of thinking.
Here’s the simple version: a worked example breaks a complex problem into manageable steps, so students can focus on understanding the method rather than stressing over every tiny detail. Then you fade the example at the right time—so they’re not stuck watching forever.
What I do in practice (math example): before students solve on their own, I show one fully worked solution to a problem that’s just a bit harder than what they’ve mastered. After they study it, I remove one step at a time.
Mini-template you can copy:
- Whole worked model (60–90 seconds): show the full solution with brief “decision talk” (why this step happens).
- Prediction pause (10–20 seconds): stop before the next move and ask, “What do we do next and why?”
- Completion (2–4 minutes): students fill in a missing step (not the whole thing).
- Independent try (3–5 minutes): give a similar problem with one fewer scaffold.
Mini worked example (quadratic factoring):
Problem: Solve x² + 5x + 6 = 0
Worked example:
- Step 1: Identify the goal: solve for x by factoring (since it’s factorable).
- Step 2: Find two numbers that multiply to 6 and add to 5 → 2 and 3.
- Step 3: Rewrite the quadratic: x² + 5x + 6 = (x + 2)(x + 3).
- Step 4: Set each factor to zero: x + 2 = 0 or x + 3 = 0.
- Step 5: Solve: x = -2 or x = -3.
- Step 6: Quick check: substitute one value (say -2) into the original equation to confirm it equals 0.
That “quick check” step matters more than people think. Students often skip it when they’re on their own, so I model it early.
About evidence (and that odd numeric claim): you’ll see lots of blog posts tossing around “students score X points higher” numbers. I don’t love that unless the source is clearly tied to the same kind of tasks and students. The general finding is well supported in the worked-example literature—Sweller’s cognitive load theory and later research by Cooper, Atkinson, Van Gog, and others—showing worked examples can improve learning efficiency, especially early in skill acquisition. If you want a solid starting point, look at the frameworks discussed in this overview: https://createaicourse.com/what-is-lesson-preparation/.
Step 2: Understand What Worked Examples Are
A worked example is more than a solved answer. It’s a complete solution with a visible procedure—and usually with the “thinking moves” that explain why the solver chooses that step.
I like to describe it to students like this: “You’re not just reading what happened. You’re learning how to decide what happens next.” That’s the difference between a worked example and a magic trick.
What a worked example includes (checklist):
- Problem representation: what is the problem really asking?
- Strategy choice: why this method (not another)?
- Step-by-step execution: each move shown clearly.
- Checks/verification: what to do to confirm results.
- Error handling: what you do when something doesn’t fit.
Common mistake I see: students treat worked examples like a “read-through” activity. If you don’t pause, predict, and analyze, it turns into passive consumption. And passive consumption doesn’t build skill.
Two types that make a difference:
- Clean worked examples: fully correct solutions, great for initial learning.
- Worked examples with errors: solutions where one or two steps are wrong so students can diagnose.
Mini example (writing / language arts):
Task: Write a thesis statement from a prompt.
Worked example (with analysis):
- Prompt: “Should schools require uniforms?”
- Step 1: Identify the claim direction (agree/disagree) and the reason type needed (two reasons).
- Step 2: Choose a thesis structure: Claim + Reason 1 + Reason 2.
- Step 3: Model thesis: “Schools should require uniforms because they reduce distractions and create a more equal learning environment.”
- Step 4: Quick check: do the reasons match the prompt? Are they specific enough to support paragraphs?
Then, instead of “now you write,” I’ll often ask: “Which part of the thesis is the claim, and which parts are the reasons?” That one question forces attention onto the structure.
Step 3: Learn How Worked Examples Alleviate Cognitive Load
Here’s the cognitive-load idea in plain language: when students start a new skill, they don’t yet have the “automatic” routines. So every step requires attention. That’s working memory pressure.
Worked examples help because they offload the “what do I do next?” part. Students can spend their mental energy on understanding the structure of the method—what matters, what doesn’t, and how the steps connect.
In cognitive load theory terms, worked examples can reduce extraneous load (unnecessary mental effort) because the steps are already organized. They also support schema building—which is the real goal, because schemas are what later make problem-solving faster and more accurate.
One reason this works: students aren’t forced to generate the entire solution while they’re still figuring out the topic. Instead, they study the procedure, then practice using parts of it.
My “fade rule” (a practical decision rule):
- Start with a full worked example.
- Give a completion task where students fill in one missing step.
- If most students get that missing step correct (I aim for about 80–90% accuracy), fade one more support next lesson or next problem set.
- If accuracy drops, bring the scaffold back. Don’t punish confusion—adjust the amount of guidance.
Worked-example practice sequence (10–15 minutes):
- Minute 0–3: watch/read a worked example.
- Minute 3–5: “key step” questions (students answer verbally).
- Minute 5–10: completion problems (one missing step).
- Minute 10–15: independent practice (similar problem, fewer steps shown).
Mini worked example (physics-style reasoning):
Task: Determine the net force and direction.
Worked example:
- Given forces: 10 N right and 6 N left.
- Step 1: Choose a sign convention (right = +).
- Step 2: Convert to signed values: +10 N and -6 N.
- Step 3: Add: net force = +10 + (-6) = +4 N.
- Step 4: Interpret sign: positive means direction is right.
- Step 5: Quick check: does the result make sense (bigger force wins)? Yes.
Then I’ll ask students: “What’s the sign convention, and where did you use it?” That question targets exactly the kind of confusion that leads to wrong directions.
For additional reading on learning efficiency and cognitive load, you can also find summaries of related online learning ideas here: https://createaicourse.com/online-course-ideas/. Just remember: blog summaries are not the original research—if you need the primary studies, look up authors like Sweller, Cooper, Atkinson, and Van Gog.
Step 4: Use Worked Examples in Different Subjects
Worked examples aren’t “just math.” They show up naturally anywhere students need a method. The key is making sure the example matches the cognitive demands of that subject.
Language arts: show the structure of analysis or writing. Don’t just show the final paragraph—show how you decide on evidence and how you connect it to a claim.
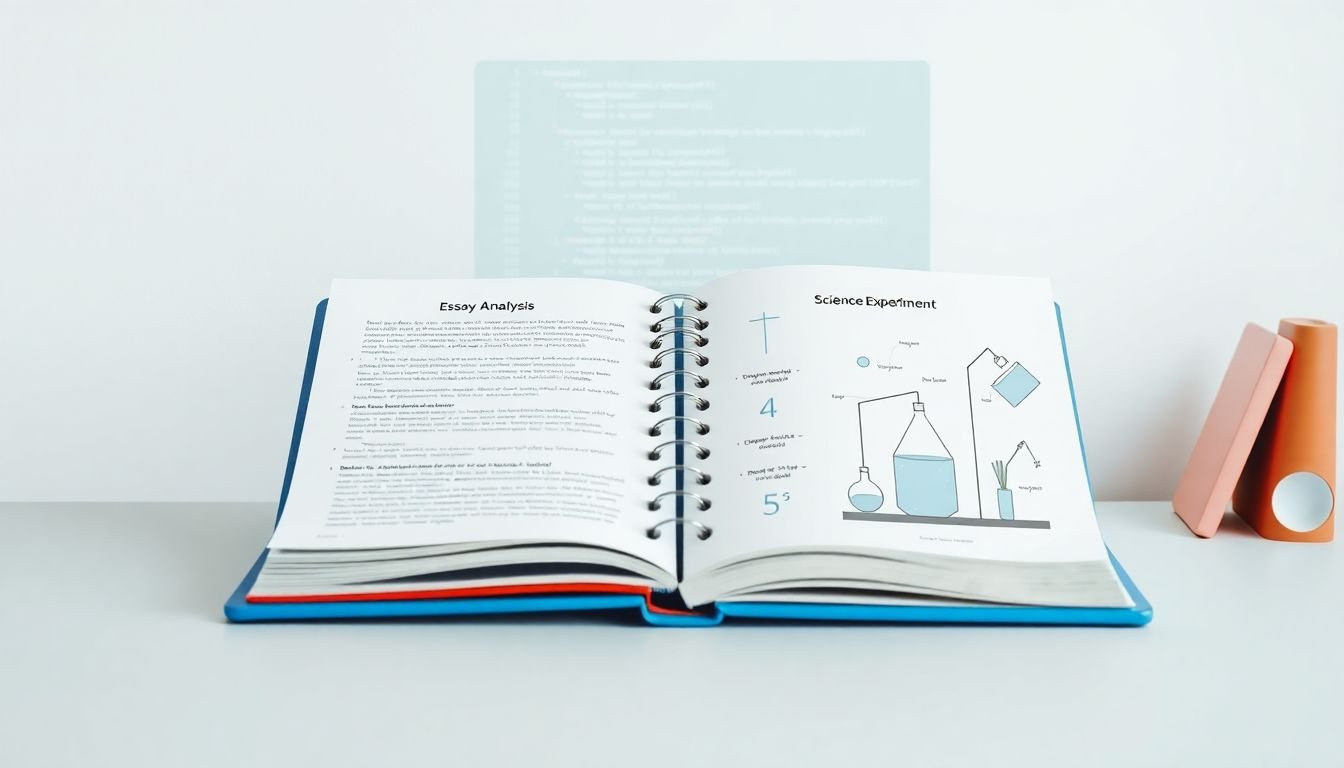
Science: model the reasoning chain: hypothesis → variables → procedure → expected outcome → interpretation. Students often know facts but struggle with explaining the logic.
History: model how to analyze a primary source: context, author purpose, audience, evidence, and inference.
Programming (or STEM problem-solving): show the full debug trail. A worked example that ends after the code “works” teaches less than one that includes a wrong attempt and the correction.
Case-style example (what I actually changed):
In a middle-school unit on “claim-evidence-reasoning,” I first gave students a model paragraph. Most of them could copy the format, but their reasoning sentences were generic. So I switched to worked examples where the “reasoning step” was written three different ways depending on the evidence type. The next day, I asked students to underline the reasoning “move” in each example and then write a new reasoning sentence using the same evidence. Their scores improved mostly because they finally had a model for how reasoning differs from summarizing.
How to tailor examples to common struggles (fast selection method):
- Collect 10–20 recent student errors (from quizzes, exit tickets, or drafts).
- Group them by step type (setup errors, sign errors, missing justification, wrong structure, etc.).
- Build a tiny library of worked examples that each target one step type.
- Rotate them across practice sets so students see patterns, not random one-offs.
Step 5: Compare Worked Examples with Other Instructional Methods
Worked examples are strong, but they’re not the only tool. I think of them as the “training wheels” stage—not the whole ride.
Compared to pure discovery learning, worked examples usually lower cognitive load early on because students aren’t forced to invent the entire procedure from scratch. That’s the big tradeoff: discovery can be engaging, but it can also be expensive in working memory when students are brand new to the topic.
Where other methods fit:
- Problem-based or inquiry learning: great once students have a usable schema. Before that, it can turn into guesswork.
- Projects: best after students can execute the core tasks reliably.
- Worked examples + active practice: a solid middle ground that builds competence first, then creativity.
My combined approach (what it looks like):
- Day 1–2: worked examples (clean + error examples).
- Day 3: completion practice (missing steps).
- Day 4: modify the example (students change one assumption or extend the method).
- Day 5+: short independent problems, then a project/inquiry task.
If you want a broader comparison of instruction approaches, you can reference this kind of discussion here: https://createaicourse.com/compare-online-course-platforms/. Just use it as context, not as the final authority—worked-example research is best checked through established cognitive load and instructional design sources.
Step 6: Follow Best Practices and Avoid Common Mistakes
Worked examples work best when they’re designed like tools—not like worksheets of solutions.
My best-practice checklist:
- Keep it focused: one example should teach one main idea. If the example has five new concepts, it’s not a worked example—it’s a puzzle.
- Explain decisions, not just actions: “Why did we choose this step?” is what builds transferable thinking.
- Ask questions while studying: pause mid-example and have students predict the next step.
- Use error examples strategically: include one or two realistic mistakes students actually make (sign errors, misapplied formula, missing evidence, wrong interpretation).
- Fade on purpose: don’t remove supports because you’re “done.” Remove them because students are ready.
- Debrief after practice: ask what confused them and what they’ll do differently next time.
Common mistakes (and how to fix them):
- Too generic: “Solve like this” without showing the reasoning. Fix: add a “decision rule” line (e.g., “If the quadratic factors, factor; if not, use the quadratic formula”).
- Overuse: students watch too many solutions and don’t practice. Fix: after one worked example, require completion or correction tasks immediately.
- No checks: students learn procedures but not verification. Fix: model at least one check step (substitution, unit check, logic check, or rubric alignment).
- Errors that aren’t realistic: students can’t learn from mistakes they never make. Fix: pull errors from actual student work and build your error examples from those patterns.
Exact “key step” question set (one topic, ready to use): Here’s a small set you can adapt for any procedure-based subject.
- 1) “What is the goal of the problem in one sentence?”
- 2) “What information do we use first?”
- 3) “What decision rule tells us which method to use?”
- 4) “Which step is most likely to go wrong, and why?”
- 5) “What does a correct answer look like (units, sign, format, rubric)? ”
FAQs
Worked examples are step-by-step solutions that show the method clearly. They help learners understand the process (not just the final answer), reduce confusion, and make it easier to learn new concepts without overloading working memory.
They lower cognitive load by removing the need for students to figure out “what to do next” while learning the underlying skill. The steps are already organized, so students can focus attention on the important relationships and decision points.
Yes. Worked examples fit math, science, language arts, history, and even programming. The format changes—procedures, reasoning chains, analysis steps—but the core idea stays the same: students learn by studying a complete model of the method.
Start with a clear, fully worked model. Then immediately move into active tasks like completion (“fill in the missing step”) or error correction (“find what’s wrong and fix it”). Fade the supports as accuracy improves, so students transition from studying to doing.