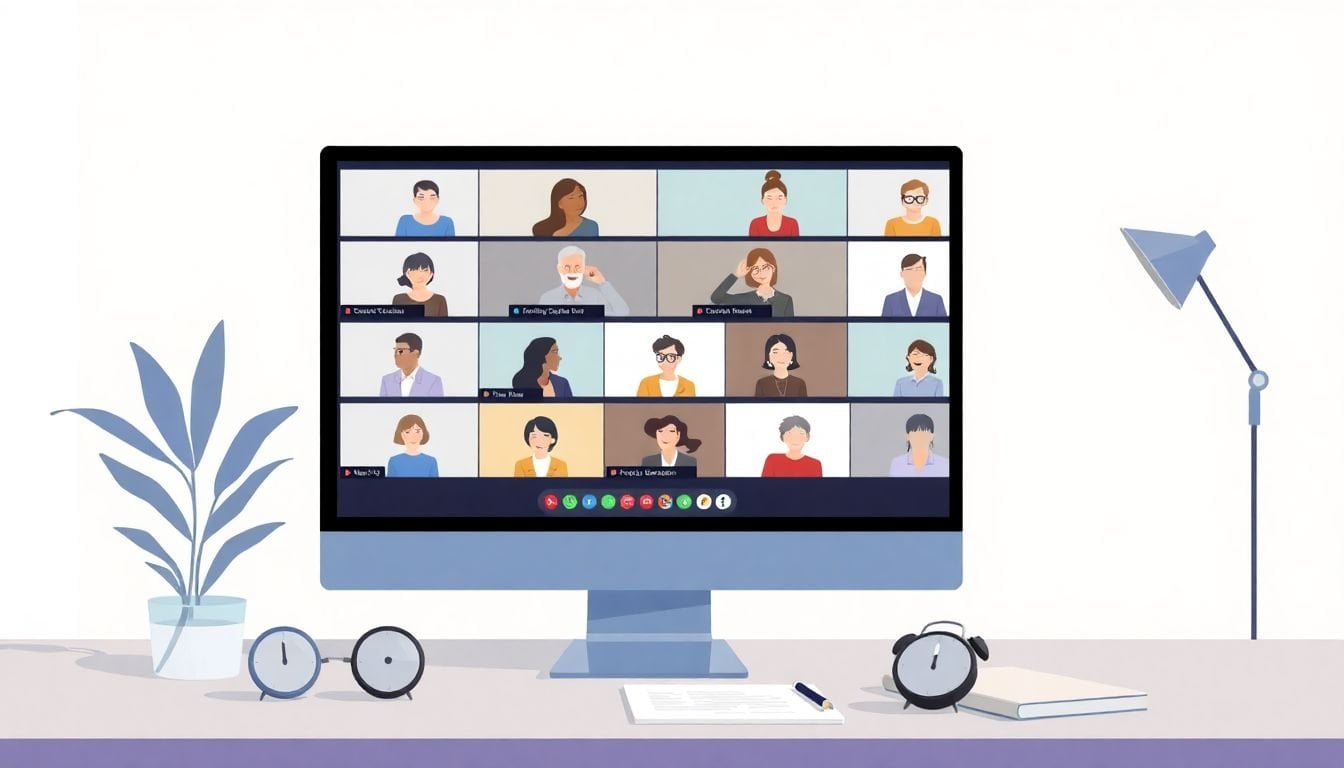
How to Use Virtual Breakout Rooms Effectively in 8 Simple Steps
I’ve run enough online sessions to know the feeling: once you hit “breakout rooms,” it’s like you’ve thrown a bunch of people into separate elevators and you’re hoping they all land at the same floor. It can work amazingly well—when you plan for the chaos.
In my experience, the difference between a smooth breakout and a frustrating one comes down to a few practical things: tight goals, group sizes that actually make sense, and instructions participants can follow without you repeating yourself 12 times. So let’s make virtual breakout rooms feel less like herding cats and more like real collaboration.
Below are the steps I use (and the scripts I wish I’d had earlier) to keep groups on task, keep quieter people involved, and make sure the time doesn’t disappear into the void.
Key Takeaways
Key Takeaways
- Set clear goals and plain-language instructions before you split. Share them ahead of time or display them on-screen so groups don’t start guessing.
- Pick group sizes based on the activity: 3–5 for discussion, 6–8 for broader input. Mix by skills or interests when you want balanced thinking.
- Use activities that force participation (not just “talk about X”). Quick prompts, mini case studies, and short deliverables work best.
- Track participation with real platform signals (join/leave timing, time-in-room, and activity completion) and adjust next time.
- Support groups while they’re working: repeat instructions when needed, drop into stuck rooms briefly, and use a co-host if you can.
- Debrief in a structured way. Use quick polls, shared docs, or “top takeaway + one question” to make learning stick.
- Set etiquette early (mute norms, respectful turn-taking, cameras optional). It keeps the rooms productive and comfortable.
Step 1: Set Clear Goals (and Give Instructions People Can Actually Follow)
Before I split people up, I write down what I want them to produce—not just what I want them to talk about. “Discuss the presentation” sounds fine, but it doesn’t tell anyone what “done” looks like.
Here’s what I mean. Instead of: “discuss the presentation”
I say something like: “Brainstorm 3 ways to improve engagement. Pick the best one and be ready to share it in 10 minutes.”
What I noticed after a few sessions: when groups have a deliverable, they start moving faster. When they don’t, you get 7 minutes of awkward silence and someone eventually asks, “So… what are we doing?”
Use a simple checklist format for instructions. For example, on your screen (or in the meeting invite), include:
- Goal: What you’re trying to accomplish
- Task: What they must do (select, rank, decide, draft)
- Time: Exact minutes
- Output: What to share back
- Roles: Optional but helpful (speaker, note-taker, timekeeper)
Ready-to-copy instructions block (paste this into your slide or chat):
Breakout Room Task (10 minutes)
1) Read the prompt: “How could we make this more engaging for new users?”
2) Brainstorm 3 ideas (2 minutes).
3) Vote on the best idea (1 minute).
4) Draft a 1–2 sentence explanation (5 minutes).
5) Choose one person to share (2 minutes).
If you get stuck, post your question in chat: “Room question: …”
One more thing: I always set one or two ground rules. Like: “Mute unless speaking,” “One person talks at a time,” and “Everyone must contribute at least one idea.” It’s not strict—it’s just clarity.
Step 2: Choose the Right Group Size (and Don’t Overcomplicate Assignment)
Group size should match the kind of work you’re asking for. If you pick randomly, you’ll feel it in the room.
My go-to ranges:
- 3–5 people: Best for discussion, coaching, and anything where quieter voices need space.
- 6–8 people: Works for idea generation with broader input, or when the task is more structured (like ranking options).
- 9+ people: I try to avoid this unless your platform supports very structured roles and you’ve got a clear output.
For assignment, I usually pick one of three methods:
- Random: Great for fairness and mixing perspectives.
- Skill/role-based: Best when you want specific expertise (e.g., designers with marketers for a concept review).
- Interest-based: Useful when participants choose topics—people engage more when they care.
I also like assigning roles because it reduces the “who’s speaking?” problem. Even a lightweight role helps: “Recorder shares the final output” or “Timekeeper calls out 2 minutes left.”
If you’re using a learning platform, check whether it supports participant management and breakout organization. For example, the comparison page here can help you evaluate what features you’ll actually get: https://createaicourse.com/compare-online-course-platforms/.
Step 3: Design Activities That Force Participation (Not Just Conversation)
Here’s the blunt truth: “Talk about X” is rarely enough. People need a prompt that nudges them into decisions, not endless discussion.
In my experience, the best breakout activities have one of these patterns:
- A quick decision: Rank options, choose a best approach, pick a winner.
- A mini deliverable: Draft a short summary, complete a worksheet, build a 3-step plan.
- A scenario: “You’re in this situation—what do you do next?”
- A feedback loop: One person presents, others respond with 1–2 improvements.
For example, I’ve used a “3-2-1” prompt: 3 ideas, 2 pros/cons, 1 recommendation. It’s simple, but it prevents the room from stalling.
Timing matters, too. If your breakout is 15 minutes, don’t spend 10 minutes “discussing.” Use a structure like:
- 0–2 min: Read prompt + assign roles
- 2–8 min: Work (brainstorm/draft/rank)
- 8–12 min: Prepare share-back (select speaker + finalize output)
- 12–15 min: Share-back prep + last questions
Want help building those prompts and activities? This resource page is useful for the planning side: https://createaicourse.com/lesson-writing/.
Mini case study #1 (what changed in real life):
Last quarter, I ran a 45-minute virtual workshop for 28 participants on “customer onboarding.” The first run was pretty generic: I told groups to “discuss improvements.” Engagement was okay, but share-backs were weak—most groups returned with vague ideas.
For the second run, I changed two things: (1) I added a deliverable (“draft one onboarding email subject + 2 bullet points”), and (2) I gave a strict timing breakdown (6 minutes work, 3 minutes finalize, 1 minute share). Completion improved noticeably. People were still a little quiet at first, but they had something concrete to bring back.

Step 4: Use Platform Data to Spot What’s Working (and What Isn’t)
After a session, I don’t just ask, “Did people like it?” I check participation signals. Most meeting or course platforms can show something like:
- Join/leave timestamps: When someone entered and exited a breakout
- Time-in-room: Total minutes spent in each activity
- Participation/completion: Whether they completed a task, submitted a response, or interacted with a shared doc
Here’s how I interpret it:
- If time-in-room is consistently low (for example, people leave after 2–3 minutes in a 10-minute breakout), your instructions may be unclear or the task may feel too hard.
- If people join but don’t complete the output, the activity might be vague (“talk about…” again) or you may need a more guided prompt.
- If certain groups always struggle, it could be group size, assignment method, or the topic itself.
Some platforms also let you view metrics per activity. If you’ve got that option, it’s gold. You can compare breakout A vs breakout B and adjust what you repeat next time.
Even if your tool is more basic, you can still track engagement manually: watch for how many groups share back and how many participants actually speak or post. Data doesn’t have to be perfect to be useful.
Step 5: Support Groups While They Work (Without Taking Over)
As the host, your job isn’t to dominate every room. It’s to keep things moving and rescue stuck groups quickly.
When I’m hosting, I keep a few tools ready:
- Chat or broadcast messages: Use these to remind everyone of the next step.
- In-room check-ins: Jump into a room briefly if you see confusion.
- Co-host support: If you have one, assign them to monitor “early warning” rooms.
Here’s a simple facilitator script I actually use. It’s short enough that people don’t tune out:
“Quick reminder: you’ve got 2 minutes left. Recorder—start wrapping up your final output. If you’re stuck, send your question in chat: ‘Room question: …’”
Also, don’t be afraid to repeat instructions. Sometimes one person didn’t hear the original message, and then the whole room spirals. A calm “Let me restate step 2” fixes a lot.
If the activity is complex, give a mini checklist inside the breakout instructions. Something like:
- Pick one idea
- Write a 1–2 sentence explanation
- Prepare a share-back
That’s enough. You don’t need a novel.
Step 6: Debrief in a Structured Way (So It Doesn’t Fade Out)
Breakouts are only half the job. The other half is making sure the learning lands.
I usually do a quick debrief with a repeatable format. For example:
- Poll: “Which idea would you try first?” (1 minute)
- Share-back: Each group shares their best takeaway (or one representative)
- Reflection question: “What was the biggest challenge?” or “What would you do differently next time?”
If you want a shared space, use a doc or chat thread where groups post their final output. That way, even groups that don’t speak live still contribute.
Mini case study #2 (the “silent room” fix):
I once ran a breakout with 22 participants where the goal was “identify barriers to adoption.” Half the groups went quiet during the work time. After the session, I realized I hadn’t assigned roles and I hadn’t specified what to bring back.
For the next session, I added two changes: (1) each group had a timekeeper and note-taker, and (2) the output was extremely specific: “Write 2 barriers + 1 workaround.” The silence dropped fast. People didn’t have to find words—they had a template.
And yes, it felt more “structured,” but participants actually liked it. They weren’t guessing.
Step 7: Set Etiquette (It Makes Breakouts Feel Safe)
Etiquette isn’t just “politeness.” It directly affects how people participate in breakout rooms.
My standard etiquette reminders are:
- Mute when not speaking to avoid background noise
- Respect turn-taking (no interrupting, even if someone disagrees)
- Video is optional—but encourage it for engagement if your audience is comfortable
- Raise a hand / use chat if your platform supports it
I also address conflicts calmly if they pop up. Usually it’s not “drama”—it’s just two people talking over each other or misunderstanding the prompt. Clear rules + calm moderation keeps it from becoming a problem.
If you can, create a short etiquette guideline slide and leave it up the whole time. People follow what they can see.
FAQs
I make the goal measurable and visible. I put the “Goal + Task + Time + Output” on a slide (or in chat) and then I ask one quick check before splitting: “What are you producing by the end—your 3 ideas, your final decision, or your draft summary?” If they can repeat it back, you’re good.
For most sessions, 3–5 is my sweet spot. People talk more, and it’s easier to make sure everyone contributes. If you need broader input or a longer list of ideas, go up to 6–8—but use roles and a structured output so the conversation doesn’t sprawl.
Give them a job that ends with something you can show. For example: “Each group writes a 1–2 sentence improvement,” “Rank these 5 options and defend your top 2,” or “Complete the worksheet and choose one share-back.” Also, timebox it. Engagement drops when groups feel like there’s no finish line.
Use a simple schedule and repeat it. Example for a 12-minute breakout: 0–3 minutes brainstorm, 3–9 minutes draft/output, 9–11 minutes prep share-back, 11–12 minutes final check. Then send one broadcast reminder at the halfway point (“You’re halfway done—start finalizing your output”). After that, do a short debrief so the time feels productive.