
How to Use Interactive Timelines in Courses: 6 Simple Steps
I’ve had the same problem you’re probably running into: you plan a lesson that sounds great on paper, but when students actually sit down with it, the engagement drops fast. With lectures, the “story” often gets lost. Students hear a bunch of facts, but they don’t always see how the ideas connect.
That’s why I like interactive timelines. They don’t just look nice—they help students move through a topic, click into details, and build understanding step by step. When I first tried this, I used it for a middle school history unit and noticed something immediately: students stopped asking “what does this have to do with the next part?” because the sequence was right there for them.
Below is the process I use to build interactive timelines for courses (and the exact kind of timeline entries I recommend). No fluff—just practical steps you can apply.
Key Takeaways
– Interactive timelines help students understand sequences by turning “a list of dates” into a navigable story with images, video, and short explanations.
– Timelines work well for self-paced learning—students can revisit one entry without redoing the whole lesson.
– You can run collaborative projects where groups each create timeline entries, then peer-review for accuracy, clarity, and relevance.
– Differentiation is easier when you add multiple entry points (basic vs. advanced text, optional media, and guided questions).
– In flipped classrooms, timelines can replace passive homework with interactive prep that leads to better in-class discussion.
– You can keep costs low by using free tools and embedding media you already have (school-approved videos, photos, short clips).
– Over time, analytics and accessibility features will matter more—so you’ll want to check what students actually click and where they get stuck.
1. Discover How Interactive Timelines Enhance Learning
Interactive timelines turn “static” content into something students can explore. Instead of reading a paragraph about events, they click through dates, zoom in on a period, and open media that explains what happened and why it matters.
What I noticed the first time I used this approach: students weren’t just memorizing dates—they were connecting ideas. For example, in a unit on industrialization, I built the timeline so each entry answered one simple prompt: “What changed here, and what caused the next shift?” That structure helped students see cause-and-effect without me repeating myself 20 times.
To make timelines feel “alive,” I like to include:
- One clear learning purpose per entry (not a wall of text)
- Short media (a 30–90 second clip, a primary source image, or a simple diagram)
- Student-facing questions (a quick “notice/wonder” or a “predict what happens next” prompt)
- Accessibility checks (alt text for images, captions for videos, and readable font sizes)
If you want easy embedding and a straightforward workflow, tools like Timeline JS and Tiki-Toki can get you there quickly. Then you customize the experience—because the timeline itself is only half the job. The other half is how you assign it.
2. Understand the Benefits (and What to Do With Them)
Interactive timelines help for a pretty practical reason: they make learning interactive instead of passive. Students choose what to look at first, spend time on what’s confusing, and revisit entries without waiting for the teacher to catch up.
Here’s what that looks like in real classroom terms:
- Engagement: Students click. They zoom. They open media. That means they’re actively processing the content, not just scrolling past it.
- Clarity: Visual sequences reduce the “everything is mixed together” problem. A timeline naturally organizes time, and your explanations can focus on relationships.
- Self-paced review: If an entry on photosynthesis is confusing, a student can replay it and move on. No one has to sit through the whole lecture again.
- Digital literacy: Students practice navigating interactive content, evaluating sources in media, and using links responsibly.
Now, about the “research shows…” kind of claims: I’m not going to throw out a random number without context. Instead, I’ll give you what you can actually measure in your own course. In my experience, the best “proof” comes from simple checks like:
- Are students spending more time on key entries?
- Do they answer timeline-based questions more accurately after using it?
- Can they explain cause-and-effect using timeline evidence?
That’s the evidence you can use to justify the approach with your team.
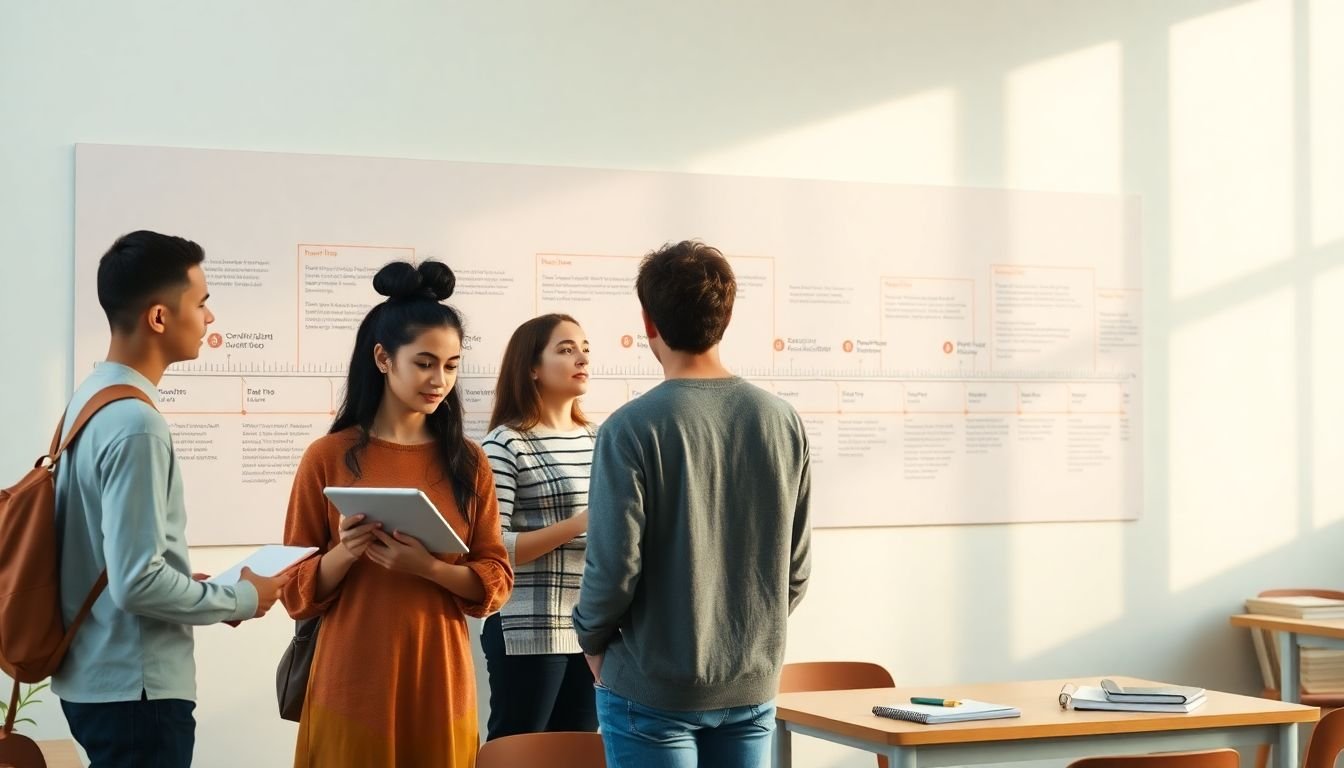
3. Explore Collaborative Learning with Timelines
One thing timelines do really well is group work. Instead of everyone writing the same paragraph, you can assign roles and let students build different timeline entries that fit together.
Here’s a simple structure I’ve used for group timelines (works for history, science, and even literature):
- Researcher: finds 2–3 reliable sources and writes a 2–3 sentence summary
- Media editor: chooses an image/video/diagram and writes a short caption with attribution
- Writer: adds the “why it matters” explanation and a student question
- Quality checker: checks dates, spelling, and whether the entry actually supports the lesson objective
Then, each group publishes their entries. After that, I ask the class to do a quick peer review using a checklist:
- Is the date/sequence correct?
- Does the entry explain a key idea (not just describe it)?
- Is the media relevant and accessible?
- Does the entry include a question or prompt students can answer?
Tools like Sutori (and others) make collaboration easier because multiple students can edit and leave feedback. The big win is that students end up talking about meaning—not just facts.
7. How Interactive Timelines Support Differentiated Learning
Differentiation doesn’t have to mean creating five different versions of the same lesson. With interactive timelines, you can differentiate by how students enter the content and what optional supports you provide.
Here’s a practical approach I recommend:
- Basic vs. advanced text in the same entry (or “expand for more” links)
- Optional media: a diagram for visual learners, a short audio explanation for students who prefer listening
- Guided prompts: “What’s the cause?” for everyone, plus an advanced question like “How would this change if…?”
- Check-for-understanding after key entries: a 2–3 question mini-quiz or a short reflection box
One more thing: make sure every timeline entry has a clear “job.” For example, in a science timeline on photosynthesis, you might structure entries like this:
- Entry: “What photosynthesis needs” — Date: Day 1 (or “Step 1”) — Media: labeled diagram — Learning objective: Students identify inputs (light, water, CO2)
- Entry: “The light reactions” — Media: short video clip — Learning objective: Students describe what happens during the light-dependent stage
- Entry: “The Calvin cycle” — Media: annotated flowchart — Learning objective: Students explain how glucose-related molecules are produced
- Entry: “Why it matters” — Media: real-world example (plant growth, oxygen production) — Learning objective: Students connect process to everyday outcomes
Then, if a student is stuck, they can revisit only the entry they need. That’s the kind of support that actually reduces frustration.
Also—small but important—when you use tools like Timeline JS or Sutori, you can embed different resources directly in entries. Just be sure each media item has a purpose (and accessibility basics like captions and descriptive text).
8. The Role of Interactive Timelines in Flipped Classrooms
In a flipped classroom, the goal is simple: students should arrive ready to discuss, not still trying to figure out what the topic even is. Interactive timelines are perfect for that because they replace “read this page” homework with something students actually interact with.
Here’s a flipped lesson flow I’ve used successfully:
- Before class (15–20 min): Students complete the timeline and answer 3 prompts (for example: “Name one cause,” “Find one turning point,” “What question do you still have?”)
- In class (discussion + practice): You run a structured conversation based on their questions, then do a short activity (argument, comparison, or problem-solving)
- After class (quick check): Students submit one paragraph or a short reflection using timeline evidence
When students build their own timelines too, it’s even stronger because they’re doing the thinking during creation. Platforms like Tiki-Toki work well if students are adding entries and media without needing advanced design skills.
9. Cost-Effective Ways to Incorporate Interactive Timelines
You don’t need a huge budget to use interactive timelines. Many classrooms start with free tools and then scale up only if it’s working.
My “keep it cheap” checklist looks like this:
- Start with one unit (not an entire year). Build a timeline for 1–2 weeks of instruction.
- Reuse media you already have: photos, screenshots, approved videos, short clips, diagrams, or student-created images.
- Embed instead of re-upload when possible (so you’re not fighting file limits).
- Share by link or embed on your class site/LMS so students can access it easily.
- Let students contribute (with clear instructions and a simple attribution requirement).
Tools like Timeline JS, Tiki-Toki, and Sutori can help you get started with solid features. And honestly? The biggest cost isn’t money—it’s your first build. Once you have a template, it gets faster.
10. Future Trends: Interactive Timelines in Education
Timelines are still growing, and I expect the “interactive story” format to keep expanding. Here are a few trends I’m watching:
- More immersive media: VR-style experiences (or at least 360 images) for field-trip-like learning
- More personalization: systems that suggest which entries to review based on student performance
- Better collaboration: easier group editing, real-time comments, and version history
- More meaningful data: not just “time on page,” but patterns like which entries students replay, where they stop, and which prompts they answer correctly
One practical point: if your tool offers analytics, don’t ignore them. Use them to adjust what you teach next. For example, if most students click the “light reactions” entry but struggle on the quiz question attached to it, you know you need a re-teach or a different explanation—not a brand-new unit.
FAQs
They improve learning by making the sequence of ideas visible and clickable. Students interact with the content (instead of only reading), which helps them understand relationships between events and revisit confusing parts when they need to.
The main benefits are engagement, clarity of sequence, and easier self-paced review. They also support different learning preferences because you can mix text with images, audio, diagrams, and short video clips.
Yes. A common approach is assigning groups to create different entries (research, media, writing, and fact-checking). Students then review each other’s entries and discuss how the timeline tells the overall story.