
How To Use Interactive Hotspots in Video Players in 7 Simple Steps
I’ll be honest: I’ve seen a lot of “interactive video” posts that talk big, but don’t tell you how to actually place hotspots without messing up your layout. The good news? Interactive hotspots are one of the easiest ways to make a video feel more like a guided experience instead of a passive scroll.
In this guide, I’m going to walk you through 7 simple steps to use interactive hotspots in video players—what they are, how to build them, what actions to choose, and how to measure results. I’ll also point out the common mistakes I’ve run into (so you can avoid them).
Key Takeaways
- Hotspots are clickable overlays that trigger something at a specific time (a link, popup, another video, quiz, etc.).
- Start with a tool you can actually finish with—H5P, Thinglink, or Vidyard are common choices. Pick one and learn its hotspot workflow end-to-end.
- Don’t just “add hotspots.” Use a goal-based approach: inform (extra details), convert (CTA/link), or qualify (quiz/form).
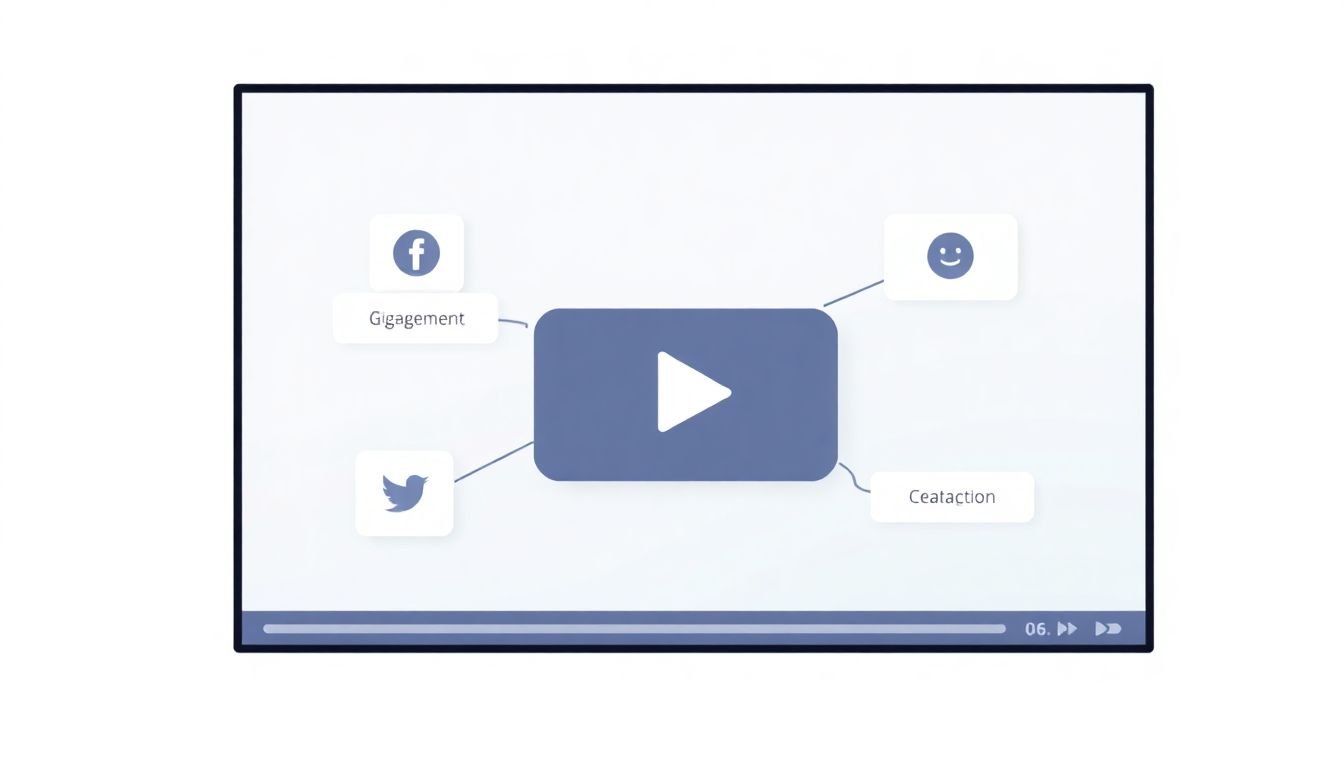
- For placement, I aim for 1–3 hotspots per minute in most marketing videos. If you go higher, you’ll likely hurt comprehension and mobile usability.
- Make hotspots tappable on phones: keep clickable areas large enough, use high-contrast labels, and avoid tiny icons on busy backgrounds.
- Track click-through rate, interaction rate, and what happens after the click (did they reach the landing page, submit the form, watch the next clip?).
- Test, then simplify. The best hotspot experience usually feels “obvious” to the viewer—no guessing, no clutter.

Step 1: Understand Interactive Hotspots in Video Players
Interactive hotspots are clickable areas you overlay on a video. When someone taps (or clicks) them, they trigger something—like a link, a popup, another video, or a quiz question.
I like to think of hotspots as “chapter markers you can interact with.” Instead of making viewers wait until the end, you give them a reason to pay attention right when the relevant moment happens.
What you should expect (and what you shouldn’t): hotspots can boost engagement because viewers have something to do. But if your hotspots are random or too frequent, people will ignore them—or worse, get annoyed.
Now, about performance claims: a widely cited statistic from Wistia reports that interactive video can increase completion rates compared to standard video. Wistia’s examples focus on interactive video overall, not only hotspots, but hotspots are one of the most common interactive elements used to drive that behavior.
Step 2: Create Interactive Hotspots in Video Editing Tools
Most hotspot platforms follow the same basic flow: upload your video, add hotspots on the timeline, then assign what happens when someone clicks.
In my experience, the fastest way to learn is to pick one tool and build a tiny “test video” with just 3 hotspots. That way you’re not overwhelmed by the full project.
Here’s the general workflow most tools use:
- Upload your video (or import it from a URL, depending on the tool).
- Open the editor and scrub to the moment where you want an interaction.
- Add a hotspot by drawing a shape/box or placing a marker over the relevant area.
- Set the trigger (link, popup, quiz, jump to timestamp, etc.).
- Preview on desktop first, then on mobile.
- Publish and embed the video in your page/course/LMS.
Pro tip: before you place anything, decide your hotspot “container” size and label style. If the tool forces a specific hotspot box size, you’ll want to know that early so you don’t redesign later.
Step 3: Choose Action Types for Your Hotspots
Hotspots aren’t just “click here.” The best ones match the viewer’s intent at that exact second.
Common hotspot actions you’ll see across platforms:
- Open a URL (product page, docs, pricing, signup form)
- Show a popup (extra explanation, images, short CTA text)
- Play another video (next lesson, demo clip, related case study)
- Trigger a quiz/poll (multiple choice, rating, survey)
- Jump to a timestamp (let viewers skip to the section they care about)
One thing I’ve learned the hard way: a hotspot that opens a link is great, but only if the landing page is relevant to that moment. If it feels mismatched, your click-through might go up briefly—and then conversions won’t follow.
About “590% increase” type numbers: I recommend treating those as context-dependent because they vary by platform, audience, and what “user activity” includes. If you want to use a stat in your own pitch deck, cite the original study and clarify whether it’s about interactive video in general or a specific hotspot implementation.
Step 4: Plan Placement, Labels, and Hotspot Count
This is where most people rush. They start placing hotspots before they’ve thought through how many they want and what viewers will see.
My placement rules (simple, but they work):
- Place hotspots at “attention moments”: when a product feature appears, when text explains a concept, or when the video naturally pauses.
- Avoid covering key visuals: if the hotspot box blocks the main subject, viewers will struggle to understand what they’re clicking.
- Use stable areas: don’t put hotspots over fast-moving objects unless the tool supports precise tracking (most don’t).
- Keep hotspot count reasonable: for marketing videos, I usually target 1–3 hotspots per minute. For training lessons, you can go a bit higher, but still aim for clarity over chaos.
Label/icon tips that reduce confusion:
- Use short CTA text like “See specs”, “Get the template”, or “Try the quiz”.
- Keep the label high-contrast and readable. If your background is busy, the hotspot needs a darker outline or a simple icon.
- Don’t rely on color alone. Add an icon or a symbol so it’s obvious even for color-blind viewers.
Step 5: Set Up a Real Workflow (H5P Example)
I’ll show you a concrete workflow using H5P because it’s common in e-learning and it makes hotspot behavior pretty straightforward.
What I tested: I built a short H5P video with hotspots that (1) opened a URL and (2) displayed a popup, then I checked how it behaved on a phone.
Workflow (typical H5P steps):
- In your H5P content editor, choose a video interaction type (often something in the “interactive video” family).
- Upload or select your video.
- Go to the timeline and add a hotspot at the exact timestamp where the feature is shown.
- Choose the hotspot behavior:
- Link behavior: paste your destination URL and decide whether it opens in the same tab or a new one (based on your tool’s options).
- Popup/Info behavior: write a short explanation (keep it under ~2–3 lines if possible).
- Adjust hotspot size and placement so it’s clickable on mobile. If you can’t resize much, move the hotspot to a less cluttered region.
- Preview the content inside the H5P player and confirm the interaction triggers at the right moment.
Worked example: Suppose you’re doing a product demo. At 00:42, the video shows a feature button. I’d place a hotspot labeled “View details” and link it to a specs page. At 01:10, when the pricing slide appears, I’d swap to a second hotspot labeled “Get pricing” that opens your signup page. Two hotspots. No guessing. Clear intent.
Step 6: Test on Mobile and Fix Common Issues
Hotspots are great—until they’re impossible to tap. So test like a real viewer would.
Mobile testing checklist (quick but important):
- Tap accuracy: can you hit the hotspot without accidentally tapping nearby parts?
- Timing: does the hotspot appear long enough to click? (Some setups hide it too fast.)
- Readability: is the label visible on a small screen, especially over darker backgrounds?
- Viewport safety: check near the bottom of the screen where UI overlays (captions, controls) can interfere.
- Orientation: does it still work in portrait mode?
Common failure modes I’ve run into:
- Hotspots on moving subjects (click targets drift or overlap with other elements).
- Too many hotspots (viewers stop noticing them).
- Weak CTA copy (“Learn more” is vague—tell them what they’ll get).
- Bad landing pages (clicks happen, conversions don’t).
Step 7: Integrate Hotspots Smoothly into Your Video
Okay, you’ve created hotspots. Now you have to make them feel natural inside the story.
Do this:
- Place hotspots at natural “handoff” moments—when the viewer is already looking at the feature or concept.
- Use icons/labels that match your brand and are consistent across the video.
- Anchor hotspots to stable visuals (product images, diagrams, static text).
Avoid this:
- Don’t cover the main subject with tiny icons.
- Don’t stack multiple hotspots in the same area at the same time unless the tool clearly separates them.
- Don’t overload the viewer with popups that say nothing new.
When it’s done well, hotspots don’t feel like an add-on. They feel like the video is guiding the viewer.
Step 8: Measure the Impact of Your Hotspot Strategy
Here’s the part people skip, and it’s the part that actually improves results.
Most hotspot platforms provide analytics. Look for:
- Click-through rate (how many people clicked each hotspot)
- Interaction rate by timestamp (did clicks drop after a certain moment?)
- Post-click outcomes (did they reach the destination page, submit a form, or watch the next clip?)
Make decisions with thresholds:
- If a hotspot gets very low clicks, try one change at a time: move it slightly, make the label clearer, or shorten the popup text.
- If a hotspot gets clicks but conversions are weak, the issue is probably the destination (or the promise in the label).
- If hotspots are ignored across the board, reduce the count and focus on the top 2 moments.
In my experience, the biggest improvement usually comes from refining where the hotspot appears and what the CTA says, not from adding more hotspots.
FAQs
Interactive hotspots are clickable areas overlaid on videos. When viewers interact with them, they can trigger actions like opening a link, showing extra information, playing another video, or starting a quiz.
Most tools let you upload a video, scrub to a timestamp, place/draw a hotspot overlay, and then assign an action (URL, popup, quiz, jump link). After that, you preview and publish/embed your interactive video.
Hotspots can trigger actions like opening a URL, displaying additional info in a popup, playing another video, revealing a form, or launching interactive quizzes and polls—depending on the platform you’re using.