How to Use B-Roll Footage to Enhance Your Lectures in 10 Easy Steps
Using B-roll footage can make your lectures more engaging and easier to follow. Sometimes, a simple image or video clip can do a better job of explaining a concept than words alone. If you keep watching, I’ll show you how adding these visuals can turn a boring lecture into something your students actually want to see.
Stick with me, and you’ll learn easy ways to find or make the right B-roll, use it to create smooth transitions, and highlight key ideas—all without needing fancy equipment or long editing hours.
By the end, you’ll have quick tips and fresh ideas for using B-roll to boost your teaching and keep your audience hooked.
Key Takeaways
- Adding B-roll makes lectures more engaging and helps clarify complex ideas. Keep clips short (3-5 seconds) and balanced with your main content. Use visuals to emphasize key points and maintain student interest.
- Plan your B-roll in advance by matching visuals to your main ideas. Use different types of shots like close-ups, maps, or animations to support each part of your lecture. Good planning saves time and makes visuals more effective.
- Choose relevant B-roll like archival footage, diagrams, or screencasts that fit your topic. Source high-quality clips from stock libraries or shoot your own to keep visuals clear and professional.
- Use B-roll to keep viewers interested—break up long talking sections, add motion, and vary shot types. Make sure visuals support your narration without overwhelming it.
- Avoid common mistakes like overloading with flashy clips, using low-quality footage, or irrelevant visuals. Keep visuals consistent, concise, and accessible with captions when needed.
- Effective B-roll comes from intentional planning—know what each clip adds. Edit your footage carefully, focusing on clarity and purpose to make lessons memorable and easy to follow.

Use B-Roll to Enhance Your Lectures
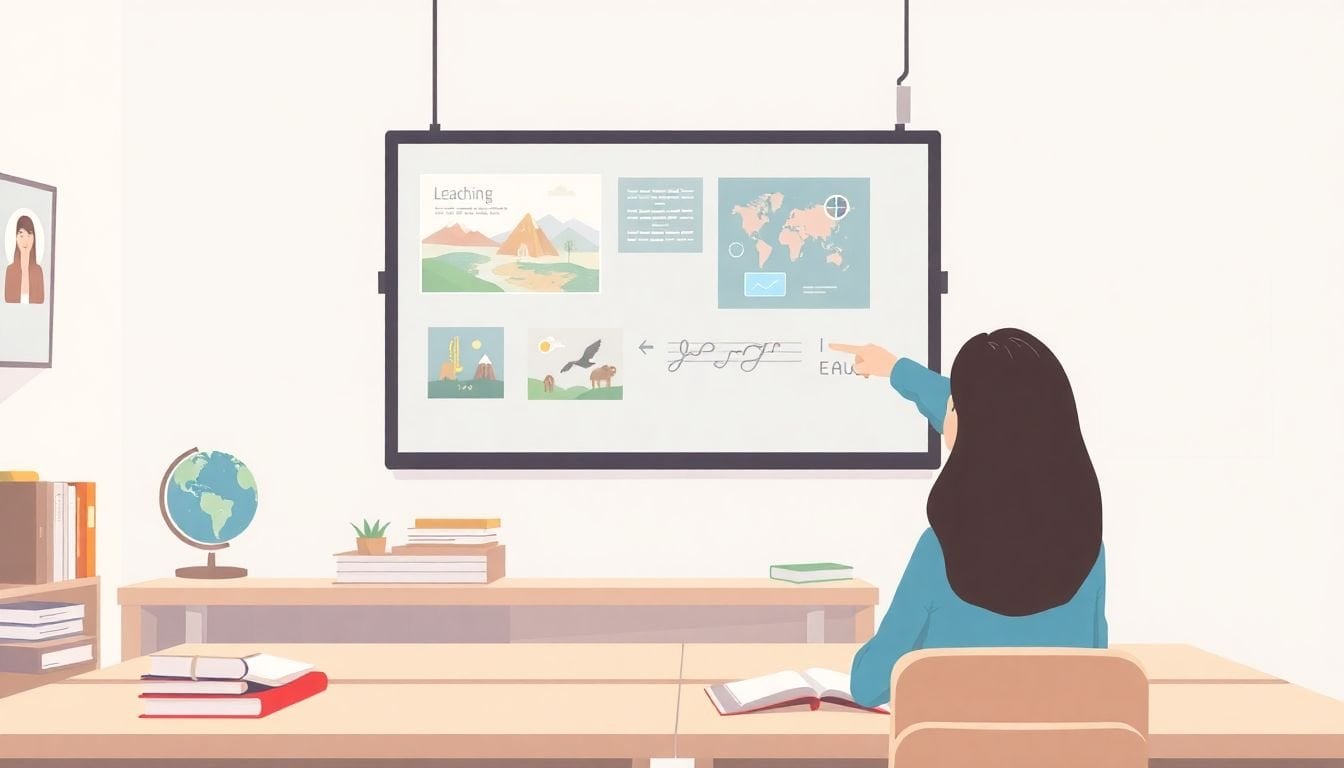
Adding B-roll to your lectures isn’t just about throwing in random footage; it’s about using visuals to reinforce your message and keep students engaged. Think of B-roll as the seasoning that makes your main dish more delicious—it supports and elevates the main content. For example, if you’re explaining a scientific process, insert close-up shots or animations that show what’s happening inside a cell. This keeps your audience visually interested and helps clarify complex ideas. A good rule of thumb is to balance your main footage with B-roll; many professionals aim for about 60% primary footage and 40% B-roll to prevent monotony. Keep clips short, around 3 to 5 seconds, unless you want to slow down the pace intentionally or highlight a particularly important moment. If you’re teaching history, inserting archival footage can add authenticity and context. Basically, well-placed B-roll makes your lessons more vivid and memorable, so don’t forget to plan your visuals in advance, whether you shoot them yourself or source them from stock libraries.
Define B-Roll and Its Purpose in Lectures
B-roll is supplementary footage used alongside your main teaching shots to add depth and clarity. Unlike A-roll, which is typically your talking head or your core presentation, B-roll serves to illustrate, emphasize, or explain what you’re saying. For instance, if you’re discussing the anatomy of the human heart, inserting a detailed diagram or close-up video of a beating heart helps students visualize the concepts. Its main purpose is to break up speaking alone, making the content more dynamic and easier to follow. B-roll can also help illustrate abstract ideas—like showing a busy city street to explain urban planning. Using different types of shots like close-ups, establishing shots, or reenactments can highlight key points and keep viewers engaged without overwhelming them. In fact, research suggests that a balanced use of B-roll improves viewer understanding by providing context and showing real-world examples. Think of B-roll as the visual glue that ties your lecture together and makes it stick in your students’ minds.
Plan Your B-Roll Content for Lectures
Before pressing record or sourcing clips, think about what visuals will best support your teaching points. Start by breaking your lecture into main ideas and then identify what kind of B-roll fits each section. For example, if you’re explaining a new concept, consider using diagrams, animations, or even real-world footage to illustrate it. Asking yourself questions like “What do I want my students to see?” and “How will this footage help clarify my main idea?” is a good place to start. Once you have an idea, create a shot list or storyboard to visualize where each clip will go and what type of shot it should be—think close-up, wide shot, or detail shot. This kind of planning saves time during editing and ensures your visuals are intentional—not just filler. Also, consider practicalities like sourcing B-roll from stock libraries such as **Storyblocks** or shooting your own clips if you have access to relevant locations. When you plan ahead, your B-roll becomes a powerful storytelling tool rather than an afterthought that feels disconnected from the main content.

Incorporate B-Roll Types That Support Your Teaching
Different types of B-roll can serve various purposes in your lectures, so choose what works best for your content. Archival footage adds authenticity, especially when discussing historical events or notable figures.
Close-ups can emphasize details, like showing a model or demonstration, making abstract concepts tangible.
Establishing shots set the scene, giving students context before diving into specifics.
reenactments or staged scenes can illustrate scenarios or processes that are hard to capture directly.
Mixing these shot types keeps the visual flow varied and engaging.
Think about what each clip adds to your story—don’t include footage just for the sake of it.
For tech-heavy topics, animations or screencasts work great as B-roll, helping to clarify complex procedures.
Using a combo of these options makes your lectures more lively and helps cater to different learning styles.
Best Practices for Editing B-Roll into Your Lectures
When you’re piecing your B-roll into the main footage, keep it simple and purposeful.
Cut clips to 3-5 seconds unless you want to slow the pace to allow reflection.
Use transitions sparingly; quick cuts often work better than fancy fades for maintaining focus.
Overlay text or graphics when needed to highlight key points within the B-roll.
Sync B-roll with your narration so that visuals and speech reinforce each other naturally.
Consider adding subtitles or captions to make the content accessible.
Always preview your edits, and see if your B-roll emphasizes your main message without distracting.
Remember, less is more—flooding your audience with too many clips at once can overwhelm them.
How to Source Quality B-Roll for Your Lectures
Finding the right footage is easier than ever thanks to many online resources. Stock libraries like **Storyblocks** offer thousands of HD and 4K clips in diverse categories.
Check licensing terms carefully—many sites provide royalty-free footage, but always verify your rights before using clips in recordings.
Some footage can be free, but premium clips are worth paying for if they perfectly match your topic.
Creating your own B-roll is also an option—use your smartphone, a tripod, and good lighting to shoot relevant scenes.
When sourcing, focus on relevance and quality; blurry or outdated clips can detract from your professionalism.
Keep a library of go-to clips for different topics—you’ll save time and maintain consistency across lessons.
Remember, compelling visuals don’t have to be expensive; a little creativity can go a long way.
Tips for Using B-Roll to Keep Your Audience Engaged
Engagement is key when delivering online or recorded lectures, and B-roll can be your secret weapon.
Break up long talking segments with relevant footage to prevent viewer fatigue.
Use motion—like panning or zooming—to make static clips more dynamic.
Insert interesting visuals during explanations of complex ideas for better understanding.
Incorporate humor or surprising visuals to surprise your audience and keep their attention.
Add animations or infographics to emphasize statistics or data points.
Change shot types and angles throughout your B-roll to avoid visual monotony.
Always align B-roll with your speech so visuals feel natural and supportive.
Test your videos on a few people beforehand—see if the clips keep them hooked or distract them.
Common Mistakes to Avoid When Using B-Roll in Your Lectures
Though B-roll can boost your content, using it poorly can have the opposite effect.
Avoid overloading your lecture with flashy visuals that distract from your main message.
Don’t use low-quality footage—it can make your entire presentation look unprofessional.
Refrain from inserting footage that’s irrelevant or doesn’t support the current topic.
Steer clear of long clips—keep everything short and to the point unless slowing down intentionally.
Mixing too many styles or formats can confuse viewers—stick to a consistent look.
Remember, captions are essential for accessibility—don’t forget to add them if needed.
Lastly, always check copyright restrictions before using third-party footage to avoid legal troubles.
Final Tips for Making the Most of B-Roll in Your Lessons
Using B-roll effectively takes practice, but a few simple rules can make a big difference.
Plan your visuals in advance—know what clip goes where and why.
Keep clips short and purposeful—don’t let them drag out or dilute your message.
Mix shot types and angles to keep things interesting without overdoing it.
Use B-roll to clarify, emphasize, or add context—never just for filler.
Regularly review your edits—do the visuals strengthen your storytelling?
Experiment with different footage styles and see what resonates with your students.
Remember, the goal of B-roll isn’t just to fill space, but to make lessons more memorable and easy to follow.
FAQs
B-Roll includes supplementary video clips that support your main content. It helps keep students engaged and emphasizes key points, making your lectures more visually interesting and easier to understand.
Identify the key concepts in your lecture and find relevant visuals that illustrate them. Sketch a rough outline to determine where B-Roll will enhance understanding or improve flow during transitions.
You can create your own footage or find relevant clips from stock video sites or free resources. Make sure the footage aligns with your lecture topics for maximum effectiveness.