
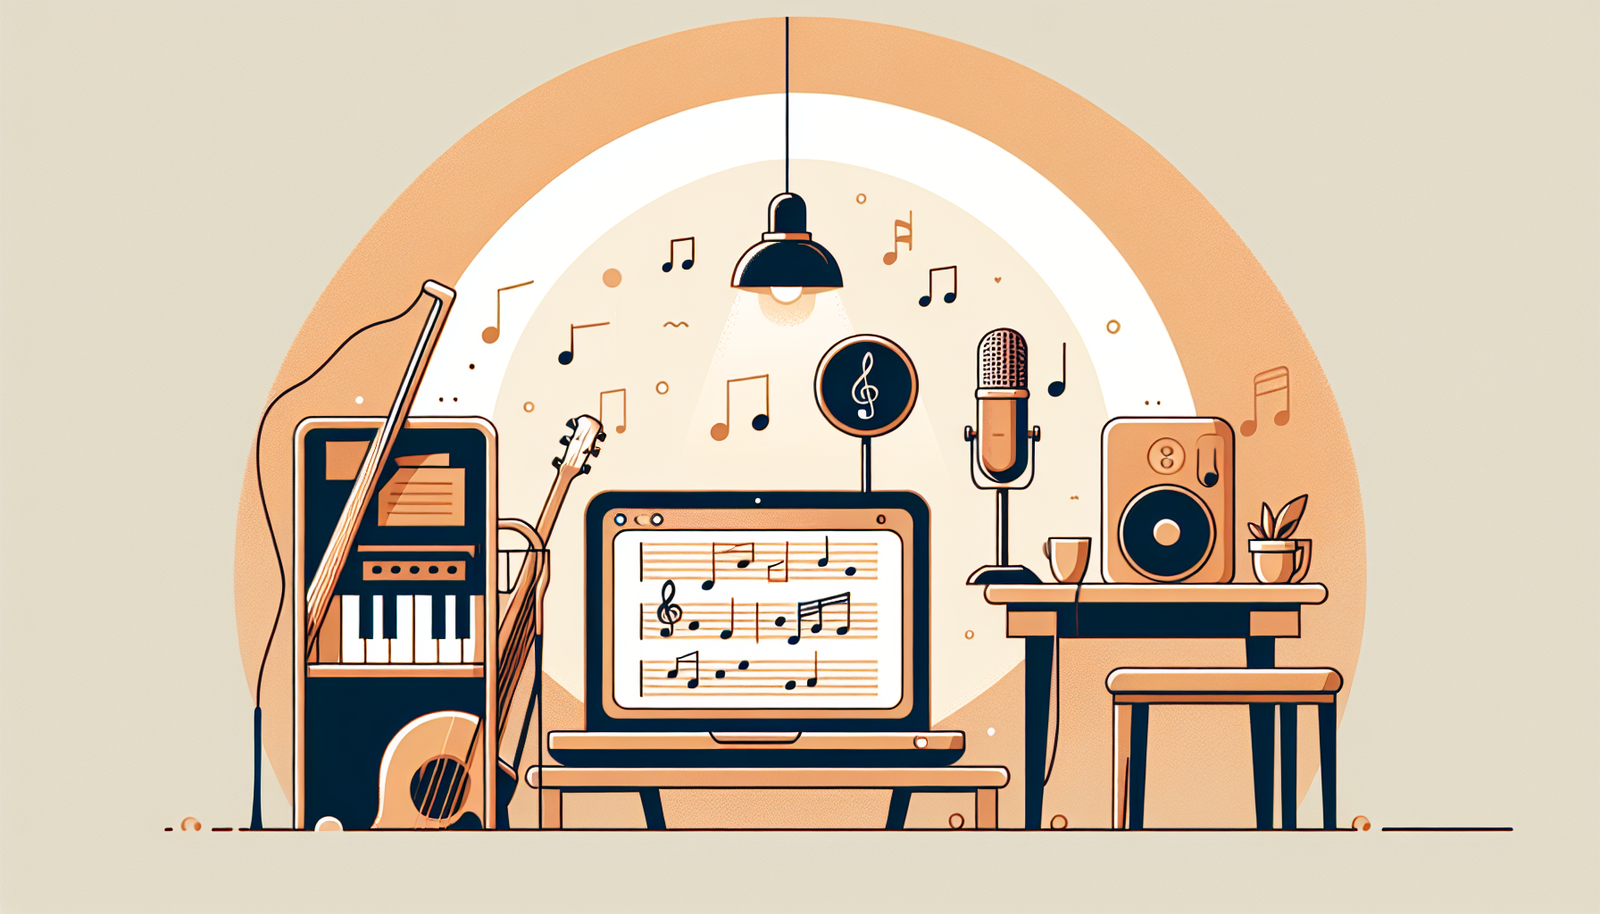
Teaching Music Online: 9 Essential Steps to Get Started
Online music teaching sounded a little scary to me at first, not gonna lie. I kept thinking: “How do I make this feel like a real lesson when I can’t physically guide their hands?” And yeah—if you’re wondering the same thing, you’re not alone. It’s a lot to juggle: audio, video, lesson structure, and getting students to actually practice between sessions.
What helped me most was treating it like a normal teaching job with a different delivery method. You don’t need fancy gear on day one—you need a clear plan, clean audio, and a repeatable lesson flow.
In this post, I’ll walk through the steps I used to get started teaching music online, plus the stuff I wish I knew earlier (like what to do when the audio lags or when students can’t see the notation clearly). Let’s get practical.
Key Takeaways
Stefan’s Audio Takeaway
- Start with what you already do well: your instrument/voice strengths, a small practice space, and a reliable mic.
- Pick a niche (even a small one) by matching your skills to what students are actively searching for.
- Online teaching can scale beyond 1:1 work, especially with group classes and recorded resources.
- Choose a model you can sustain weekly: one-on-one, groups, or a hybrid schedule.
- Set up for low-latency audio and clear visuals—this matters more than fancy video.
- Adapt your lesson structure with on-screen notation/targets, guided practice, and frequent feedback.
- Promote consistently with proof: short clips, student wins, and a simple offer (trial lesson + package).
- Steal what works from other instructors—then test it with your own students.
- Improve month to month using feedback, retention metrics, and a tighter curriculum.

Step 1: Start Teaching Music Online (Without Overthinking It)
Getting into online music teaching is easier than it looks—once you have a basic setup and a simple lesson routine.
Here’s what I did when I started: I booked a 30-minute slot for my first “trial” lessons, used the same structure every time, and kept my tech requirements modest. The goal wasn’t to be perfect. It was to be consistent.
Choose how you’ll teach first:
- Live lessons: Zoom, Google Meet, or Skype-style calls where you can talk, demonstrate, and hear them in real time.
- Pre-recorded lessons: You teach once, students watch on their schedule (good for theory, technique demos, and “watch me do it” practice).
- Hybrid: Live coaching + recorded practice clips (this is what I ended up preferring because it reduces repetition and keeps students accountable).
My quick decision checklist: do you want to (1) correct mistakes live, (2) build a library of resources, or (3) do both? Pick one for your first month so you don’t burn out.
Simple first-lesson flow (30 minutes):
- 5 min: quick introductions + what they want to learn
- 10 min: assessment (play/sing, then I ask 2-3 targeted questions)
- 10 min: teach one “fix” (one technique, one rhythm, one concept)
- 5 min: assign a practice plan + confirm how they’ll send updates
Consistency beats complexity. You can always upgrade your system later.
Step 2: Identify Your Skills and Market Demand (Pick a Niche You Can Own)
Before you market anything, you need to be clear on what you actually teach well. Not what you can play. What you can teach.
In my experience, students don’t search for “music teacher.” They search for outcomes like:
- “guitar lessons for beginners”
- “piano theory for adults”
- “singing lessons for breath control”
- “drums for rock timing”
- “how to read sheet music”
Do a 20-minute demand check:
- Search your instrument/genre on Google and YouTube. What videos keep ranking?
- Check community groups (Facebook/Reddit/local musician pages). What questions get asked repeatedly?
- Look at what people complain about: “I can’t stay motivated,” “notation is confusing,” “my teacher doesn’t explain rhythm,” etc.
Then match it to your strengths. Maybe you’re great at beginners. Or maybe you’ve got a knack for helping adult learners unlearn bad habits. Either one can work.
Niche ideas that actually sell (because they’re specific):
- “Piano for adults: reading + chord progressions in 8 weeks”
- “Guitar for beginners: strumming patterns + first songs”
- “Vocal coaching: confidence + breath + pitch accuracy”
- “Drums: timing for rock/metal + simple grooves you can use immediately”
One more thing: I’d rather be the “best option for a specific kind of student” than be generic and hope people pick me.
Step 3: Understand the Benefits of Online Music Teaching (Realistic Expectations)
Yes, online teaching has perks. You’re not stuck with a commute. Students can be anywhere. And you can reuse content.
But I don’t like the “10x or 1000x” style claims because they’re usually unrealistic unless you’re building a big platform. Here’s a more grounded way to think about it.
What scales well online:
- Group classes: If you run a 10-student group, that’s 10 learners getting coaching during one scheduled hour. That’s the biggest capacity boost most teachers see.
- Recorded practice materials: A single video can serve dozens of students, especially for technique drills and theory explanations.
- Async feedback (carefully): Short audio/video check-ins between lessons can reduce the number of “repeat sessions.”
What won’t magically scale: if you’re doing 1:1 coaching for 30 students, your time is still your bottleneck. You’ll need systems, not just more reach.
Flexibility advantage (the one I felt immediately): scheduling. No travel time means you can add an extra lesson slot on a weekday evening, and that small change can noticeably speed up your first stable income.
A quick reality benchmark: many new instructors can land their first students within a few weeks if they’re consistent with outreach and have a clear offer. The time depends on your niche, your portfolio, and how quickly you respond to leads.
Step 4: Choose a Teaching Model That Works for You (And Your Calendar)
Your teaching model isn’t just a marketing choice. It’s a “how do I survive this job” choice.
Here are the models I see work best:
- One-on-one: best for beginners who need constant correction, or advanced students working on specific repertoire.
- Group lessons: great for rhythm training, ear training, songwriting workshops, and “everyone practices together” accountability.
- Hybrid: live coaching + recorded drills. This is where you get the best balance of quality and sustainability.
Pick based on your energy level:
- If you can handle lots of feedback, start 1:1.
- If you want a more scalable schedule, start groups (even with 3–5 students).
- If you hate repeating the same explanations, add recorded mini-lessons.
Example schedule (weekly):
- 2 nights: 2x 30-minute 1:1 lessons (4 students)
- 1 evening: 60-minute group (up to 8 students)
- 1 short block: 20-minute async feedback window
That kind of structure keeps you consistent without turning every day into “lesson day.”
Step 5: Set Up the Right Technology and Tools (Audio Is Everything)
Let me say this plainly: the biggest reason online music lessons feel bad isn’t your teaching. It’s audio.
Here’s what I recommend based on what I’ve actually dealt with:
- Internet: aim for stable upload/download (if you can, use Ethernet). If your connection drops, your lesson becomes a slideshow of frustration.
- Microphone: a dedicated USB mic is a huge step up from laptop audio. If you sing, a condenser mic can sound great; if you’re amplifying an instrument, you may need to manage noise.
- Headphones: use headphones so you don’t create feedback loops or echo. Students will sound cleaner, too.
- Camera: 1080p is nice, but framing matters more. Put the camera so they can see your hands/fingers and the instrument clearly.
- Notation/visuals: a document camera or screen share with a notes app/notation software makes a bigger difference than another camera.
Budget-friendly setup order (if you’re starting from scratch):
- 1) Headphones
- 2) Mic (USB mic or simple audio interface + mic)
- 3) Lighting (face + hands visible)
- 4) Second camera only if you truly need it
Troubleshooting I’ve run into:
- Audio delay: switch to “call and response” drills (you play, they repeat) and reduce overlapping talking. I also ask them to record a 20–30 second clip between lessons if latency ruins accuracy.
- Student can’t see notation: zoom in on just one bar at a time. Don’t share a full-page sheet if the text becomes tiny.
- Echo: headphones for both sides + lower mic gain.
Tools are helpful, but your setup should be boring and stable. If it works every week, students trust it.
Step 6: Adapt Your Teaching Approach for Online Learning (So Students Stay Engaged)
Online lessons require a different rhythm—literally and figuratively. You can’t rely on “watch me and copy” as easily if the visuals aren’t tight or if students get distracted.
Here’s a method I use that keeps lessons from feeling flat:
- Demonstrate (30–60 seconds): show the exact thing they should do.
- Guided practice (2–3 minutes): they try while you give one clear correction.
- Feedback loop (repeat): they try again right away with your updated instruction.
- Micro-assignment: one practice target for between lessons (with a time goal).
Example for guitar strumming (45 minutes):
- 0–10 min: warm-up + listen to their current pattern
- 10–20 min: demonstrate the rhythm with a simple count (“1 & 2 & 3 & 4 &”)
- 20–30 min: they try while you correct one issue (muting, timing, or hand position)
- 30–40 min: they play along to a short loop you share on screen
- 40–45 min: assign “10 minutes/day: 3 rounds of 30 seconds with breaks”
One honest anecdote: my first online lessons felt “too teacher-heavy.” I kept talking. Students improved, but slowly. When I started forcing more short practice bursts (and less explaining), their progress jumped because they were actually doing the work during the session.
Also—visuals matter. Sheet music on screen should be big enough to read. If they can’t see it, they can’t learn it.
Step 7: Promote Your Online Music Lessons Effectively (With a Simple Offer)
No one will find you just because you’re passionate. Promotion is part of the job—even when it feels awkward.
But you don’t need to become a full-time marketer. You need a clear offer and consistent content that proves you can teach.
My recommended “starter offer” structure:
- Trial lesson: 20–30 minutes (free or low-cost)
- Follow-up package: 4 lessons over 4–6 weeks
Example pricing ranges (so you can sanity-check):
- Trial: $15–$35
- 1:1 lesson: $30–$80 depending on experience and niche
- Group lesson: often $15–$45 per student
Those numbers vary by country, but the structure stays the same: low-friction trial + clear next step.
Where to promote (and what to post):
- Instagram/TikTok: 20–40 second clips. Show a technique, a before/after, or a “common mistake” correction.
- YouTube (optional): longer tutorials for SEO and trust.
- Facebook groups/communities: helpful advice + occasional “I’m taking new students for X” posts.
Posting cadence that’s realistic: 3 short posts per week + 1 longer post every 2 weeks. If you can do more, great. If you can’t, consistency still wins.
And yes—word of mouth matters a lot. If you deliver a good first lesson and set practice expectations clearly, referrals happen naturally.
Step 8: Learn from Success Stories and Best Practices (Copy the Systems, Not the Hype)
When I’m stuck, I look at how other instructors structure their lessons. Not just what they teach—how they run the session.
Here’s what to pay attention to when you study successful online music instructors:
- How they explain concepts in simple terms
- Whether they use visual aids (notation, diagrams, screen share)
- How they handle mistakes (one correction at a time)
- How they assign practice (specific, measurable, and time-based)
Mixed-method instruction (what it actually looks like):
- Live: demonstrate + correct + guided practice
- Async: send a short video of the target drill and a checklist (“do this 3 times, record 20 seconds”)
- Feedback: review their clip next lesson and adjust one thing
That loop—teach, practice, feedback—keeps students progressing even when they’re not “in the room” with you.
Step 9: Continue Growing Your Online Music Teaching Business (Improve What You Measure)
After the first few students, the game changes. It’s not just “get more leads.” It’s “keep students learning and coming back.”
What I track (simple, not obsessive):
- Retention: do they book the next lesson package?
- Progress: can they do the target drill by week 2?
- Lesson quality: do they say audio/visual was clear?
- Time-to-first-win: how quickly do they feel improvement?
Gather feedback after each lesson: ask one question at the end, like:
- “What was the most helpful part today?”
- “What felt confusing or hard to follow?”
- “Was the practice target realistic?”
Then adjust your curriculum. If 3 students struggle with the same concept, that’s not their problem—it’s your material.
Also, keep up with new online teaching methods and tech. For example: better screen-sharing workflows, more accessible notation tools, or improved ways to collect practice recordings.
With dedication and small upgrades every month, your online teaching business becomes more stable—and more fun.
FAQs
To teach music online, you should have strong musical skills in your chosen instrument or voice, effective communication abilities, and familiarity with online teaching tools to engage and support your students.
Promote your online music lessons by using social media platforms, creating a professional website, networking with local musicians, and offering free trial lessons to attract students and build your reputation.
You will need a reliable computer or tablet, a stable internet connection, a good quality microphone and webcam, and music teaching software or platforms like Zoom, Skype, or dedicated music teaching apps.
Adapt your teaching methods by incorporating interactive tools, providing clear digital resources, encouraging student participation, and using technology to create engaging virtual lessons that accommodate different learning styles.