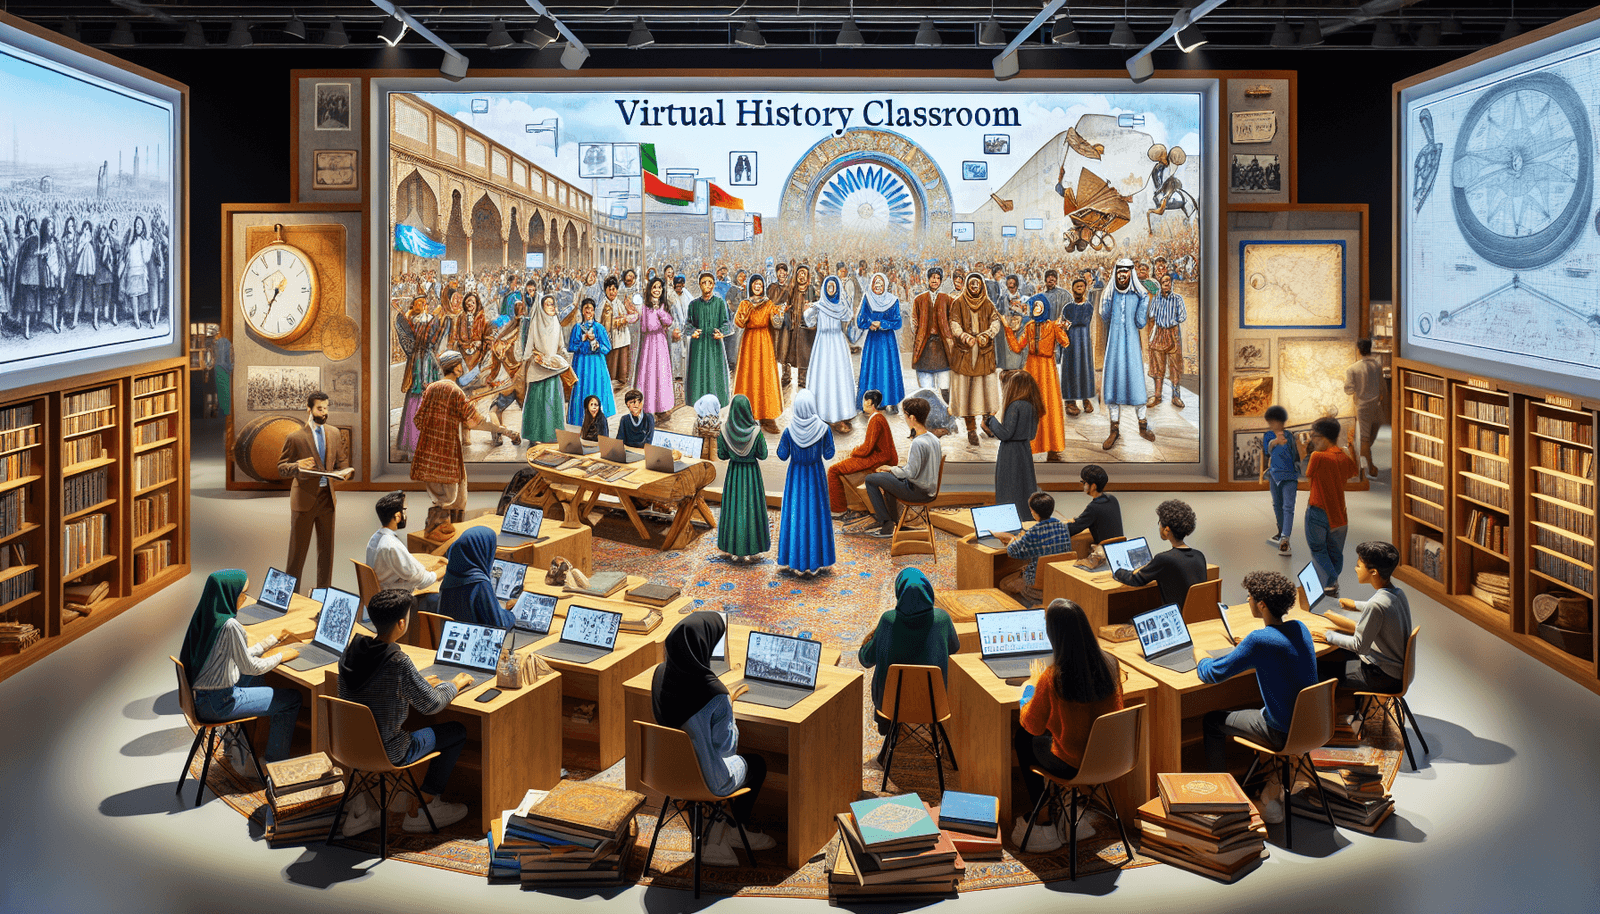
Teaching History Online: Effective Strategies for Success
Teaching history online can feel intimidating at first. I’ve had moments where I worried my students would show up, mute their cameras, and mentally check out. And honestly—history is already a heavy subject. If you don’t plan for online engagement, it’s easy for lessons to turn into “watch this, answer these questions, repeat.”
What I’ve learned (the hard way, too) is that online history works really well when you build structure, make participation low-pressure, and design activities that require students to use evidence—not just read it. If you stick around, I’ll share the exact strategies I use, including a sample mini-lesson and what I assess so you can copy the approach.
Let’s get into creating a classroom that feels inclusive, using digital resources with purpose, and making history feel like something students can investigate—not just memorize.
Key Takeaways
- Write a syllabus with measurable goals (not vague promises).
- Use multimedia (short clips, podcasts) paired with specific tasks.
- Build inclusivity with structured talk moves and choice-based participation.
- Connect events to current issues using weekly “then/now” prompts.
- Use tools like interactive timelines and collaborative writing with clear roles.
- Assess critical thinking using evidence-based claims and rubrics.
- Run interactive activities (debates, simulations, mystery challenges) on a weekly cadence.
- Give feedback on a predictable schedule (I aim for 48–72 hours when possible).
- Adjust based on student data: participation logs, quick surveys, and exit tickets.
Stefan’s Audio Takeaway
Effective Strategies for Teaching History Online
Teaching history online can be rewarding, but you can’t wing it. The biggest difference from in-person classes is pacing and accountability. In my 10th-grade US history course (a 4-week unit on the Great Depression and the New Deal), I switched from mostly lectures to a “lesson loop” that repeats weekly: Hook → Source work → Short discussion → Exit ticket.
Here’s what I actually did, step by step:
- Syllabus that students can use: I list weekly learning targets (1–2 per week), what “good work” looks like, and how participation is measured (more on that below).
- Multimedia with a job: Instead of “watch this video,” I attach a 3-question viewing guide (timed for 8–10 minutes).
- Interactive discussions: I use a discussion protocol (students post first, then reply to two peers using sentence starters).
- Community tools: I keep one consistent space for questions (a pinned thread) so students don’t hunt for answers.
One quick thing I noticed: when students know what the next step is, they’re less likely to disappear. Confusion kills participation faster than boredom does.
Create an Inclusive and Interactive Online Learning Environment
Inclusivity online isn’t just “be kind.” It’s about designing participation so quieter students still have a real way to contribute.
In my experience, the easiest win is to give students multiple entry points. Some will talk. Some will type. Some will need time to think before responding. So I build that into every lesson.
Build participation routines (so it feels safe to join)
- Use polls before breakout rooms: I run a 1-question poll (60 seconds) to warm up opinions.
- Breakout room roles: Each student gets a role card (Summarizer, Evidence Finder, Skeptic, Connector). It prevents the “one person does everything” problem.
- Discussion sentence starters: I provide prompts like: “My evidence is…,” “I agree because…,” “I’m not convinced because…,” “A question I still have is…”
- Choice-based participation: Students can respond by speaking, typing, or posting a short audio comment (30–45 seconds).
Check learning preferences early (and actually use them)
Don’t wait until midterm. In week one, I ask students how they prefer to learn (videos, readings, discussion, visuals, live help). Then I use that info for scaffolding. For example, if a student marks “visuals,” I’ll provide a timeline graphic and ask them to annotate it.
Is it extra work? Sure. But it’s the kind of work that pays off when students start taking ownership.
Engage Students with Relevant Historical Content
Students don’t engage with history because it’s old. They engage because it helps them make sense of the world. So I try to connect “then” to “now” every week.
When I taught the Great Depression unit, I paired each source set with a current parallel: unemployment, bank failures, government relief, and public trust. The goal wasn’t to force comparisons—it was to help students ask better questions.
Use “Then/Now” prompts (simple, effective, repeatable)
- Then: What did people believe or fear during the event?
- Now: What modern issue feels similar, and why?
- Bridge: What’s different, and what would make the comparison unfair?
I also use storytelling, but not in a “teacher monologue” way. I structure it as a narrative students solve. For example: “Who benefits?” “Who pays?” “What evidence would prove or disprove this story?”
Let students explore topics they care about (with guardrails)
Personalized projects work best when you give a clear menu of options. In my class, students chose one mini-topic (labor, migration, propaganda, relief programs) and had to produce:
- 1 primary source citation (from a provided list)
- 1 short claim (1–2 sentences)
- 1 explanation of how the source supports the claim
This keeps the assignment focused while still letting students bring their interests.

Utilize Digital Resources for Enhanced Learning
Digital tools are great—if you use them with a clear learning target. Otherwise, it’s just “cool tech” that doesn’t improve learning.
Interactive timelines with Sutori (and how I run them)
I like Sutori because students can annotate events and connect sources. Here’s a setup that usually takes me about 20–30 minutes upfront:
- Setup: Create a timeline with 6–10 “cards” (each card = one event or decision).
- Add sources: Paste 2–3 short excerpts or images per card (keep it manageable).
- Assign roles: In groups of 3–4, each student is responsible for 2 cards.
- Time: 15 minutes in class + 10 minutes after for edits.
- What I assess: A quick rubric: accuracy (0–2), evidence use (0–2), clarity (0–2), and connection to course theme (0–2).
Example student prompt (the part students actually do): “Choose one card. Write a 3-sentence explanation: What happened? What evidence shows it? Why does it matter to the unit theme?”
Collaborative writing with Google Docs (so everyone contributes)
Collaborative writing can get messy fast unless you assign structure. Here’s what works for me:
- Setup: Share one Google Doc with group edit access.
- Use a template: Section 1: Claim (1–2 sentences). Section 2: Evidence (quote + context). Section 3: Reasoning (how evidence proves the claim).
- Moderation: I check every 10–15 minutes during breakout time and leave one “nudge” comment per group.
- Time: 20 minutes writing + 5 minutes sharing.
- Assessment: I grade the final doc and also look at contribution (revision history) when possible.
Example prompt: “Write a paragraph answering: What caused the shift in public support for government relief? Use at least one primary source excerpt.”
Forums and webinars (with moderation plans, not just links)
Online forums work best when you set participation targets. In my class, I aim for:
- Weekly posts: Every student posts once.
- Replies: Each student replies to 2 peers using evidence (not “I agree”).
- Turnaround: I reply to at least 5–8 students per week with feedback or follow-up questions.
For webinars, I don’t just “add one because it’s available.” I pick a topic that matches the week’s skill.
- Example webinar topics for history classes: “Interpreting primary sources,” “How historians evaluate evidence,” “Public memory and contested narratives.”
- How I integrate it: Students complete a 5-minute source preview before the webinar, then they bring 1 question from that source to the live session.
- What students submit after: A short reflection (120–180 words) that answers: “What new evidence or method did I learn, and how would I apply it to our unit?”
If you want a starting point for reputable history programming, you can reference the American Historical Association (and then filter by topic so it actually fits your lesson).
Develop Critical Thinking and Analytical Skills
Critical thinking online is all about making students slow down and justify claims. If you ask “What do you think?” you’ll get opinions. If you ask “What evidence supports your claim?” you’ll get analysis.
Teach a simple evidence-claim structure (and reuse it constantly)
I use this format for most written responses:
- Claim: One sentence.
- Evidence: Quote or paraphrase + context.
- Reasoning: Explain how the evidence proves the claim.
Open-ended questions work even better when you add constraints. For example:
- “Which policy had the biggest impact on workers’ daily lives—at least according to the source? Use two details.”
- “What is the author trying to persuade you to believe? Identify one rhetorical strategy and explain its effect.”
Case studies that force comparison (not just summary)
Case studies are great because they naturally create “multiple viewpoints.” I give students two short primary excerpts that contradict each other, then ask them to:
- Identify what each source emphasizes
- Explain why the sources might differ (audience, purpose, timing)
- Decide which source is more reliable for a specific question
That last step is key. It’s where analysis shows up.
Implement Interactive Learning Activities
Interactivity isn’t just “fun.” It’s how students practice the skills history demands: argumentation, interpretation, and evidence use.
Virtual debates with a clear scoring system
Debates work best when you give students a structure to prepare. Here’s one I used for a unit on New Deal programs:
- Motion: “The New Deal programs did more harm than good.”
- Preparation: 12 minutes in breakout rooms to gather evidence.
- Format: 2-minute opening statement, 1-minute rebuttal, 1-minute closing.
- Scoring: I grade on claim clarity (0–2), evidence accuracy (0–3), reasoning (0–2), and respectful engagement (0–1).
Want to keep it fair? I require both sides to cite at least one primary source excerpt during the debate.
Mini-lesson example: “Solve the Historical Mystery” (with clues + rubric)
This is the kind of activity students talk about later. It also works well online because the evidence is right there.
Student-facing mystery prompt:
“Between 1933 and 1935, a local community experienced a sudden change in public support for government relief. Your job is to figure out what likely caused the shift. You must build your conclusion using the clues below.”
Primary source clues (example set—use your own excerpts):
- Clue 1: A newspaper editorial praising relief efforts (note the language used to describe recipients).
- Clue 2: A relief office notice about eligibility rules (look for strictness or new requirements).
- Clue 3: A letter from a worker describing job conditions (identify what improved or didn’t).
- Clue 4: A community meeting transcript showing criticism about “fairness” or “fraud.”
Student deliverables:
- 1) Mystery report (200–250 words): A claim + explanation of the cause.
- 2) Evidence table: 4 rows (one per clue) showing “what the clue says” and “how it supports your claim.”
- 3) Counterpoint (2 sentences): What alternative explanation could be true, and what clue challenges it?
Assessment rubric (quick version):
- Evidence use (0–4): Uses at least 3 clues accurately.
- Reasoning (0–4): Explains how evidence leads to the conclusion.
- Accuracy & context (0–3): Doesn’t misread sources; includes relevant context.
- Counterpoint (0–2): A real alternative, not a random guess.
If you run this on a weekly cadence, you’ll see students start naturally “thinking like historians”—even the ones who usually stay quiet.
Provide Regular and Meaningful Feedback
Feedback is where online classes can feel personal. Without it, students assume nobody is paying attention. With it, they start improving quickly.
A routine that actually keeps up (and doesn’t burn you out)
Here’s what I’ve used successfully:
- Timing: Aim for 48–72 hours for major assignments. For smaller tasks (discussion posts, exit tickets), respond within 24 hours when possible.
- Frequency: I give feedback at least once per week on a graded skill (evidence use, reasoning, or citation).
- Format: I mix quick text feedback with occasional video comments (30–60 seconds). Students notice the effort.
- Peer review: I set up one peer-review thread per unit and provide a checklist so it doesn’t turn into “nice job.”
Example peer review checklist:
- Is the claim clearly stated?
- Does the evidence include a specific detail from the source?
- Did the writer explain the “so what”?
- What’s one sentence that could be stronger?
Also—don’t forget check-ins. I do a 2-minute “How’s it going?” poll after each lesson. The results tell me whether to reteach or move forward.
Adapt and Improve Online Teaching Practices
Reflecting isn’t optional. Online teaching changes fast because tools, student habits, and attention patterns keep shifting.
After each unit, I look at three things:
- Participation data: Who’s posting, who’s lurking, and where the drop-off happens.
- Assessment patterns: Are students struggling with evidence, reasoning, or organization?
- Student feedback: I ask: “What part helped you learn the most?” and “What was confusing?”
Then I adjust one variable at a time. If students struggled with evidence, I’ll shorten the reading and add an evidence example. If discussion was weak, I’ll change the prompt and require a source detail in every reply.
That’s how online history stays dynamic instead of feeling like the same slideshow every week.
FAQs
Use diverse resources that reflect different perspectives, require respectful participation norms, and build structured ways for every student to contribute (polls, roles in breakout rooms, and sentence starters for discussion). Choice matters too—some students participate better by typing or submitting short audio reflections.
Connect history to current issues using “then/now” prompts, use storytelling as a framework for inquiry, and pair multimedia with specific tasks (like a short viewing guide or evidence prompt). Then make discussion prompts require evidence, not just opinions.
Interactive timelines (like Sutori), collaborative writing tools (like Google Docs), reputable online archives, virtual museum resources, and well-moderated discussion forums. The key is to attach each tool to a specific learning task and clear assessment criteria.
Regular feedback keeps students from guessing. It helps them correct misconceptions, strengthen evidence-based reasoning, and understand what “good” looks like in your course. When feedback is consistent, students participate more confidently because they know you’re tracking their progress.