Shooting 360-Degree Walkthroughs for VR Lessons: 8 Easy Steps
Shooting 360-degree walkthroughs for VR lessons can seem tricky at first, and it’s easy to worry about making it all work smoothly. The good news is, if you keep things simple and follow a clear plan, creating engaging VR content becomes much easier. Stick around, and I’ll show you a step-by-step way to produce immersive lessons that can make your students feel like they’re right there.
By the end of this, you’ll have a straightforward roadmap to design, film, and share your own 360-degree VR lessons without pulling your hair out. Whether you’re new to this or just want to sharpen your skills, these easy steps will help you get started confidently. So, let’s jump in and turn your ideas into a cool virtual experience!
Key Takeaways
Key Takeaways
- Start by setting clear goals for what learners should learn from the VR walkthrough; this keeps the content focused and meaningful.
- Choose easy-to-use equipment and software to produce quality 360-degree videos without frustration.
- Plan your route and interactive points beforehand to make the experience engaging and ensure learners stay involved.
- Use a stable setup, proper lighting, and multiple takes when filming to get clear footage that looks good in VR.
- Edit your videos carefully by adding hotspots, annotations, and trimming unnecessary parts for a smooth flow.
- Test your VR content across different devices to fix issues and improve the experience before sharing widely.
- Introduce the VR lesson with clear instructions and follow up with activities to reinforce what learners have experienced.
- Utilize online resources and communities to improve your skills, stay updated, and create more effective VR lessons in the future.

Step 1: Define Learning Goals for the 360-Degree Walkthrough
Start by asking yourself what you want learners to take away from the VR experience—are they mastering a procedure, exploring a location, or understanding a concept?
Clear goals help shape your entire walkthrough, so don’t skip this step.
For example, if you’re creating a healthcare training, your goals might include teaching proper hand hygiene or emergency response steps.
Writing down specific objectives ensures your content stays focused and measurable.
It’s also useful to think about how you’ll assess whether learners have achieved these goals later on, like quizzes or practical tasks.
Remember, a well-defined goal acts as a map so learners don’t get lost in the virtual maze or wander aimlessly.
If you’re unsure about what makes a good learning goal, you might check out [how to write a lesson plan for beginners](https://createaicourse.com/how-do-you-write-a-lesson-plan-for-beginners/), which guides you through setting clear, achievable objectives.
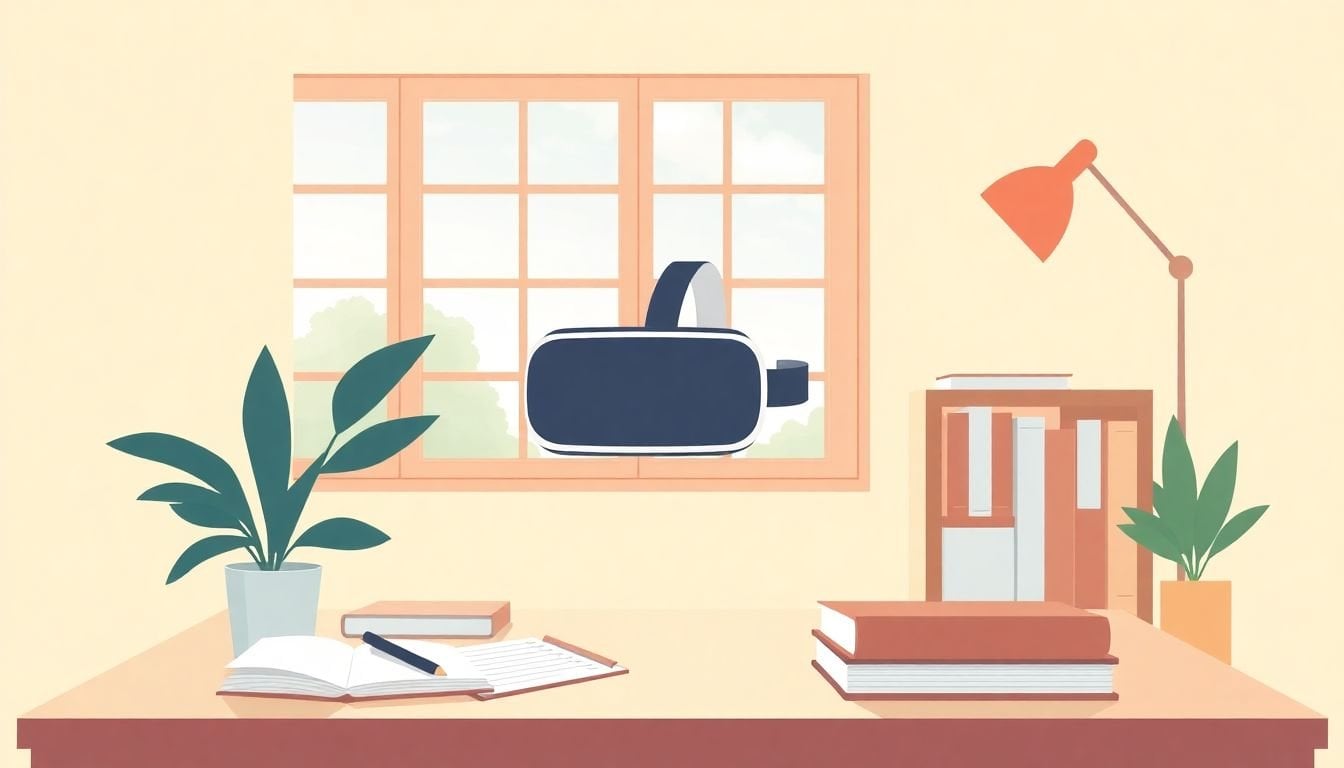
Step 2: Select the Right Equipment and Software for 360-Degree Video
Choosing the right tools is key if you want your walkthrough to look professional and be easy to produce.
Start with a decent 360-degree camera—brands like **Insta360**, **Ricoh Theta**, or **GoPro MAX** are popular for their affordability and quality.
Think about what fits your budget and the kind of environment you’re capturing—interior, exterior, or both.
Once you have your footage, pick user-friendly software like **Spatial**, **Krpano**, or **Unity** for editing and stitching videos.
Many of these platforms offer built-in options for adding hotspots or interactivity, which can make your walkthrough more engaging.
If you’re doing this for educational purposes, consider options that allow you to embed quizzes or annotations directly into the video.
Pro tip: test your setup with a quick trial run to ensure the quality is good and the software works smoothly—nothing worse than recording hours of footage only to realize your software crashes!
For more detailed guidance, you might want to参考 [software to create online training courses](https://createaicourse.com/software-to-create-online-training-courses), which covers popular editing tools tailored for e-learning content.
Step 3: Plan the Walkthrough with Interactivity and Engagement
Before hitting record, sketch out the virtual route and decide where the learners’ attention should go at each step.
Think about adding clickable hotspots that reveal additional info or photos—these little tricks make the experience feel more like exploring a real environment.
Include moments that prompt learners to reflect or answer questions—like “What do you notice about this room?” or “How would you handle this situation?”
This keeps them actively involved rather than just passively watching.
If you’re creating a walkthrough for a sales training or hotel tour, adding interactive elements like booking buttons or extra videos can boost engagement.
Plan the pacing: don’t rush through key details to avoid confusion, but also keep it concise enough to hold attention.
A good tip is to map your idea on paper or use a simple storyboard—think of it as creating a virtual tour blueprint.
Want some inspiration? Check out how to create a course on [effective teaching strategies](https://createaicourse.com/effective-teaching-strategies/) for tips on engaging learners effectively, even in VR.

Step 4: Capture 360-Degree Footage Effectively
Getting good footage starts with understanding your environment and planning your shots beforehand.
Use a tripod or stable mount to keep the camera still, especially in indoor or detailed scenes—shaky footage can distract learners.
If possible, shoot during times with good lighting—natural light works great, but avoid direct sunlight that creates glare or shadows.
Move slowly and steadily when adjusting the camera to avoid motion sickness and ensure clear visuals.
Tip: record multiple takes of key sections, so you have options when editing and stitching.
Don’t forget to double-check audio quality if your device captures sound, or consider recording voiceovers separately to add clarity later.
Quick pro tip: wear a headset while filming to see how your footage might look in VR, helping you catch issues early.
Depending on the scope of your project, consider adding close-up shots for important details, especially in instructional content.
Stats show that properties with high-quality 360-video get 87% more views; so, investing time in good footage really pays off ([source](https://createaicourse.com/compare-online-course-platforms)).
Step 5: Edit and Enhance Your 360-Degree Video Content
Editing is where your raw footage turns into a smooth, engaging experience.
Use software like **Krpano** or **Unity** to stitch your videos together seamlessly—attention to detail here is key to avoid distracting glitches.
Add hotspots, infobuttons, or annotations to guide viewers through specific points of interest, especially useful in training or real estate tours.
Keep the flow natural—cut out repetitive or shaky parts, and consider adding background music or narration to enhance immersion.
If you want learners to focus on specific detail, overlay arrows or labels. For example, in healthcare tutorials, highlight equipment or anatomy features.
Pro tip: optimize your videos for different devices—what looks good on a desktop might need adjustment for a mobile or VR headset display.
Remember: short, focused segments tend to keep learners’ attention better, so break long footage into bite-sized clips where possible.
Seeing that 90% of adults have looked at a virtual tour makes editing crucial; polished videos hold attention longer and drive better learning outcomes ([source](https://createaicourse.com/lesson-writing)).
Step 6: Test and Optimize for Various VR Platforms
Before launching your walkthrough, it’s smart to test your content on different devices—smartphones, dedicated VR headsets like Oculus Quest, or PC-based setups.
Each platform has its quirks: some require specific file formats, or certain interactivity features might work better on one kind of headset.
Get feedback from a small group of users, paying attention to navigation ease, visual quality, and any technical glitches.
If possible, use real-user testing to see if the experience is immersive and engaging without causing motion sickness or confusion.
Adjust your content based on this feedback—tighten the pacing, modify hotspots, or enhance clarity where needed.
Remember, you want your VR lesson to be accessible and seamless—nothing derails learning faster than a technical hiccup.
Data shows that 83% of businesses using 360 virtual tours report gaining a competitive advantage ([source](https://createaicourse.com/compare-online-course-platforms)), so testing thoroughly helps maximize your return on investment.
Step 7: Implement the VR Lesson in the Learning Environment
Once your video is polished and tested, it’s time to introduce it into your learning setup.
Make sure your learners have access to compatible devices and clear instructions on how to navigate the VR experience.
Offer guidance on getting started—like how to don a headset or operate controls—so learners can jump right in without frustration.
If you’re conducting a live session, consider demonstrating first, then letting learners explore at their own pace.
Encourage learners to take notes or pause when needed—many platforms allow stopping or rewinding sections, which can aid understanding.
Follow up after the experience with discussion questions or quizzes to reinforce key points and check understanding.
This approach aligns with research showing that immersive VR lessons boost knowledge retention and engagement ([source](https://createaicourse.com/effective-teaching-strategies)).
Step 8: Share Additional Tips and Resources for Educators
Want to make the most out of your VR walkthroughs? Start by exploring key resources and communities online.
Look into platforms like **Create AI Course**, which offers guides on creating engaging e-learning content such as [lesson plans](https://createaicourse.com/lesson-writing/).
For creating interactive quizzes and assessments to embed directly into your VR lessons, check out tools like **Create AI Course**’s guide on [making quizzes for students](https://createaicourse.com/how-to-make-a-quiz-for-students/).
Don’t forget that regular updates and refinements keep your content relevant and effective—VR technology is always evolving!
Networking with other educators can also provide fresh ideas, technical tips, and inspiration—try joining online forums or social media groups dedicated to VR in education.
To get started with your own VR lessons, ask yourself if you’re ready to create your first course—[it’s easier than you think](https://createaicourse.com/can-anyone-create-a-course/).
Harnessing these resources will help you stay ahead in this ever-changing education landscape and deliver memorable, impactful lessons.
FAQs
Define specific skills or knowledge students should gain, determine measurable outcomes, and align goals with your overall training or educational objectives for an effective walkthrough.
A quality 360-degree camera and compatible editing software are key. Make sure the equipment supports your desired resolution and that the software allows for necessary adjustments and enhancements.
Add interactive elements like hotspots, quizzes, and clickable objects to keep learners actively involved and enhance the educational experience within the VR environment.