Lighting Techniques for Webcam Recordings: 9 Easy Steps
Are you tired of looking at yourself on camera and wondering why your videos seem dull or poorly lit? It’s a common problem, and good lighting can make a huge difference in how you appear on screen. Luckily, with a few simple tips, you can brighten up your webcam recordings without spending a fortune.
If you keep reading, you’ll learn easy lighting tricks that turn your setup from okay to professional-looking. I’ll guide you through simple setups, affordable tools, and quick adjustments so you look your best every time.
Get ready to make your videos shine—literally! You’ll soon be creating content with clear, well-lit visuals that keep viewers focused on what you have to say.
Key Takeaways
Key Takeaways
- Use natural light by sitting in front of a window or add an affordable ring light or LED panel directly in front of you. Diffuse harsh lighting to avoid shadows and bright spots for an even glow.
- Proper lighting is about direction and balance. Light from the front or slightly side reduces shadows, while background lighting helps separate you from the background. Warm or cool light depends on your style.
- Position your main light at eye level or slightly above, and angle side lights at 45 degrees. Avoid placing lights behind you to prevent silhouette effects. Adjust brightness to match your camera exposure.
- Minimize shadows by using multiple diffuse lights, bouncing light with reflectors, and keeping clutter away from your background. Smooth lighting helps viewers focus on you and your message.
- Set up a simple 1-2-3 lighting system: key light in front, fill light at an angle, and background light for depth. Tweak brightness and positions for a natural, professional look with minimal equipment.
- Choose budget-friendly tools like LED ring lights, softboxes, and portable panels. Use diffusers like shower curtains or parchment paper to soften harsh light if needed.
- Position lights carefully: main light at eye level or slightly above, side lights at 45 degrees, and background lights aimed at the wall. Keep distances consistent and adjust exposure settings for the best effect.
- Test your setup by recording short videos and reviewing on different devices. Adjust your lights based on shadows, brightness, and color balance to achieve a polished look.
- Use tricks like diffusing light, matching white balance, and avoiding reflective surfaces. Natural light is good, but balancing it prevents unwanted changes, ensuring your face stays well-lit and appealing.

1. Achieve Optimal Lighting for Webcam Recordings
Getting your lighting just right can make your webcam videos look much sharper and more professional without breaking the bank.
Start by sitting facing a natural light source like a window; this provides soft, even lighting that flatters your face.
If natural light isn’t enough, consider adding an affordable ring light or LED panel directly in front of you—placing it slightly above eye level works best.
Make sure your light source isn’t harsh or casting too many bright spots; diffusing it with a lampshade or softbox can help soften shadows.
Experiment with the placement—sometimes moving your light a few inches can make a huge difference in how evenly your face is lit.
Remember, the goal is to avoid strong shadows on your face or background, so tweak your setup until you get a smooth, balanced glow.
2. Understand Key Lighting Principles
Lighting isn’t just about having lights on; it’s about how the light interacts with your face and space.
One simple rule is to light from the front or slightly side to reduce shadows and make your features pop.
Keep your background relatively dark or evenly lit so you don’t distract from your face—no one wants a bright background stealing focus.
Warm light (around 3000K) creates a cozy vibe, while cooler light (around 5000K) can give a bright, professional look—choose what fits your style.
Use the “three-point lighting” concept if you want a more polished look: a key light in front, a fill light to soften shadows, and a background light to separate you from the backdrop.
But for most casual setups, just the front-facing light is enough—think of it as giving your face a gentle spotlight.
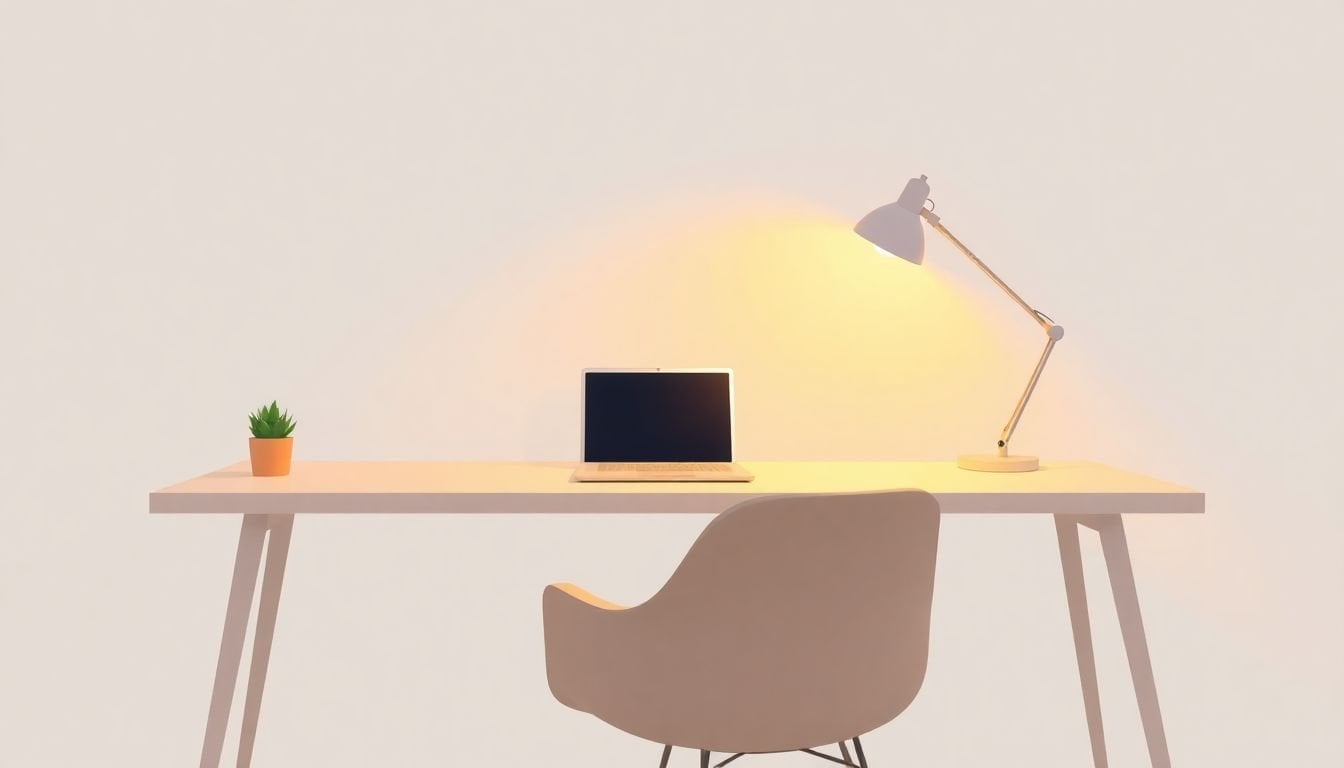
3. Set Up Front-Facing Lighting
Placing your light source in front of you, at eye level or slightly above, is the easiest way to brighten up your face evenly.
If you’re using a ring light, position it so it encircles your webcam or screen for a flattering, shadow-free glow.
For side lights or panels, angle them toward your face at roughly a 45-degree angle to add depth without creating shadows.
Make sure the light is not too close—that can cause hot spots—or too far—resulting in dim, unflattering illumination.
Adjust the brightness so your face is well-lit but not washed out; a good rule is to match the light’s intensity with your camera’s exposure settings.
Finally, avoid placing lights directly behind you, as that can cause a silhouette effect and obscure your face.

4. Minimize Shadows in Your Videos
Shadows can make you look unprofessional and hide your best features, so learning how to reduce or eliminate them is key.
First, add multiple light sources at different angles—using softboxes or diffused LED panels works well—to fill in shadows and create a more even glow.
Position your lights so they gently wrap around your face, avoiding harsh angles that cast deep shadows.
If shadows are still an issue, try rearranging your lights, moving them closer or farther away, until the face looks natural and balanced.
Use a reflector or a piece of white foam board opposite your main light to bounce light back onto shadowed areas.
In small rooms, avoiding clutter near your background can also help, since a busy backdrop might cast distracting shapes or shadows behind you.
Remember, the goal is to keep your face consistently lit so viewers focus on what you’re saying, not weird shadows.
5. Create a Simple 1-2-3 Light Setup
If you don’t want to fuss with complicated lighting, a basic 1-2-3 setup can do a lot of the heavy lifting.
Start with a main light directly in front of you—this is your key light and the most important source.
Add a second, softer fill light at a 45-degree angle to fill in shadows and add depth.
Finally, place a background or hairlight behind you to separate you from the background and give dimension.
This simple setup offers a big boost in video quality without needing expensive equipment or a lot of space.
Experiment with brightness levels for each light—sometimes dimming the background light slightly helps prevent your background from competing with your face.
Once you get comfortable, you can tweak the distances and angles for a look that feels natural and professional.
6. Choose Affordable Lighting Tools
You don’t need to spend a fortune to get good lighting—there are plenty of budget-friendly options.
LED ring lights are popular because they’re inexpensive, easy to set up, and give a flattering, even glow.
Affordable softbox kits from brands like **Neewer** or **Viltroo** can be found online and deliver soft, diffuse light.
Clip-on LED lights or portable panels are great if you’re on the go or have limited space—just make sure they have adjustable brightness and color temperature.
For diffusing harsh light, inexpensive hacks like placing a white shower curtain or parchment paper over your light can do the trick.
When shopping, look for features like adjustable brightness, color temperature, and compatibility with your power source.
And remember, sometimes less is more—build your setup gradually and see how your videos improve.
7. Position Your Lights for the Best Effect
Where you place your lights can totally change how you look on camera.
For a natural, professional look, position your main light at eye level or slightly above, angled toward your face.
Side lights should be about 45 degrees from your face, filling in shadows and adding depth.
Keep your background lights behind you, pointed at the wall or background, to help separate you from your environment.
If using a ring light, make sure it encircles your webcam or screen for the most even illumination.
Try to keep your lights at a consistent distance—too close and you risk hot spots; too far and your face looks dull.
Using a light meter or a camera’s exposure settings can help you fine-tune the brightness for the best results.
8. Test and Adjust Your Lighting Setup
Once you have your lights in place, don’t just stare at yourself and hope it looks good.
Record a short test video and review it on different devices—what looks great on your phone might not on your work computer.
Pay attention to shadows, bright spots, and overall color balance; tweak your lights accordingly.
If certain areas are too bright or too dark, adjust the distance or intensity of your lights.
Use camera settings like exposure and white balance to fine-tune your look—many webcams have these options.
Keep adjusting until your face looks natural, evenly lit, and free of distracting shadows.
Don’t forget to check your background lighting—sometimes small changes can make your entire video pop.
9. Implement Additional Tips for Successful Webcam Lighting
Lighting isn’t just about the equipment—it’s about the little tricks that make a real difference.
Keep your lights soft and diffuse; harsh beams create unflattering shadows.
If you notice color casts, adjusting the white balance on your camera or lights can neutralize them.
Make sure your room has minimal reflective surfaces—glossy floors or shiny walls can bounce light and cause glare.
Use natural light when possible, but it’s best in moderation—too much sunlight can change throughout the day.
Consider using a backdrop cloth or curtain to block unwanted background light and keep focus on you.
Remember, the goal is to make yourself stand out with even, flattering lighting that doesn’t look staged or fake.
With a little experimentation and these tips, your webcam videos will look more professional and inviting in no time.
FAQs
Use natural light when possible, position lights facing your face, and avoid strong backlighting to ensure your face is well-lit and clear on camera.
Ensure even lighting on your face, avoid shadows, and position lights to minimize glare and hotspots for a natural look on camera.
Position your light source directly in front of you, slightly above eye level, to illuminate your face evenly and reduce shadows during recordings.
Use multiple light sources from different angles and diffuse lights to soften shadows, achieving a more balanced and professional look.