Incorporating Sign Language in Video Content: 8 Essential Tips
I’ve run into the same problem a lot of creators do: I’ll upload a video, it looks great, the audio is clear… and then someone tells me they can’t follow the spoken parts well. That’s the moment you realize accessibility can’t be an afterthought.
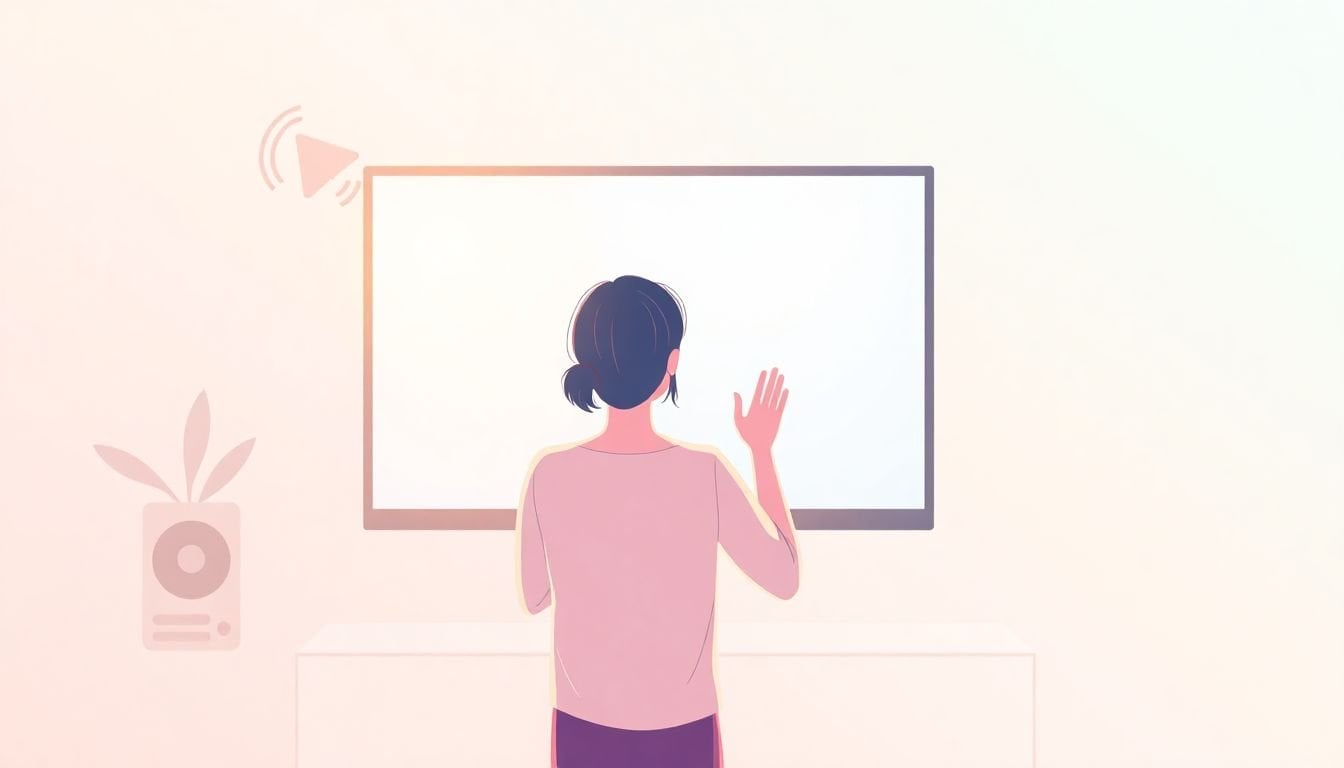
If you’re making videos for a course, a product demo, or even internal training, adding sign language (and doing it well) helps deaf and hard-of-hearing viewers actually keep up. And honestly? It also improves clarity for everyone else.
In my experience, the biggest win isn’t just “having an interpreter.” It’s making sure the signing is readable, properly placed, and timed so it matches what’s being said.
Key Takeaways
- Add sign language to improve accessibility for deaf and hard-of-hearing viewers, not just to “check a box.”
- Pick a method that fits your content: live interpreting, pre-recorded interpreter footage, or animated signers when appropriate.
- Synchronize signing to the spoken audio using a repeatable editing workflow (timecodes, markers, and QA passes).
- Design for readability: interpreter placement, stable framing, good lighting, and low visual clutter.
- Use the right tools for overlays, captions, and timing—don’t rely on guesswork.
- Work with certified ASL interpreters early so you get accurate, natural signing (and not awkward literal translations).
- Test with proficient signers/deaf reviewers before release and fix the specific issues they flag.
- Inclusion tends to boost engagement because more people can follow your message clearly.

1. Incorporate Sign Language in Video Content for Accessibility
Adding sign language isn’t just a nice-to-have. It’s one of the clearest ways to make your message accessible to deaf and hard-of-hearing viewers.
Here’s the practical way I think about it: if your video is built around spoken explanations, screenshots, or step-by-step narration, you’re already relying on audio. Sign language gives viewers an equivalent channel—so they don’t have to “work harder” to understand what you’re saying.
So, you’ve basically got two common paths: (1) include a signed interpreter overlay while the spoken content plays, or (2) provide separate sign language versions of the video (or segments) when it makes more sense.
Also, there’s a lot more sign-language video material available now than there used to be. For example, the YouTube-SL-25 dataset includes 3,200+ hours of videos across 25 sign languages. That matters because it gives teams style references for framing, motion clarity, and how signers are typically presented—useful when you’re planning your own interpreter shots and QA checks.
2. Choose Effective Methods for Adding Sign Language
There isn’t one “perfect” way to add sign language. In my experience, the best method depends on your format and how often you’re publishing.
Live interpreting works well for live streams, webinars, and events where you can’t pre-edit everything. The downside? You still need a clean camera setup and you’ll want someone coordinating timing so the interpreter isn’t guessing.
Pre-recorded interpreter footage is usually the most reliable for courses and evergreen content. You can rehearse, lock the camera, and get consistent signing across episodes.
Animated signers can be helpful for prototypes or when you need quick turnaround. But for real learning content, animation often struggles with nuance and readability—especially with fast speech or technical vocabulary.
Quick decision checklist I use:
- Is the content time-sensitive? Choose live or semi-live.
- Do you need consistent quality across many lessons? Pre-recording wins.
- Is the topic technical or vocabulary-heavy? Pre-recording + certified interpreter usually performs best.
- Do you have budget for review rounds? If not, don’t rely on “we’ll fix it later.”
And yes—if you can, ask your audience. A short survey can tell you whether they prefer interpreter overlays, separate sign-language tracks, or both.
3. Ensure Synchronization of Sign Language Footage
Synchronization is where a lot of accessibility projects quietly fall apart.
If the signing starts too early or too late, viewers will either miss the meaning or feel like the interpreter is “lagging.” And when you’re teaching steps, even a second or two can change comprehension.
Here’s a workflow I’ve used that’s repeatable:
- Mark timecode anchors: Before editing, I go through the spoken audio and drop markers at the start of each sentence or key instruction.
- Cut the signing into matching chunks: Instead of trying to line up a full-length signing reel, I match segments to those anchors.
- Handle overlaps deliberately: When the speaker pauses mid-thought, I keep that pause on the signing side too. When the speaker overlaps (talking while showing something), I decide whether the sign should pause or continue based on clarity.
- Target latency: I aim for signs to land within about 0.3–0.7 seconds of the corresponding spoken phrase during quick QA passes. If the signing is clearly readable but the timing is off, I fix timing first—then revisit translation.
- Do a “scrub test”: I watch at normal speed, then scrub frame-by-frame through transitions (especially where the interpreter changes handshape or facial expression).
Tools help, but they don’t replace QA. In Adobe Premiere Pro, for instance, you can align audio and video precisely and adjust clip in/out points to tighten timing. The key is involving your interpreter during the process—because they can tell you whether a timing tweak is actually changing meaning or just improving readability.

4. Consider Design and Production Best Practices
Even perfectly timed signing won’t help if it’s hard to see. So I treat interpreter visibility like a production requirement—not a “nice framing.”
- Interpreter placement: Put the signer where viewers can keep their eyes without constantly tracking across the screen. Picture-in-picture in the corner usually works, but don’t shrink the signer too much.
- Lighting: Bright, even lighting beats fancy lighting. I’ve noticed shadows can wreck hand visibility fast.
- Background: Avoid busy or high-contrast patterns that steal attention from the hands and face.
- Camera stability: No zooming mid-take. If the shot changes, it changes how readable the signing is.
- Contrast: Choose clothing and background colors that don’t blend into each other. If your signer wears something close to the background, you’ll lose detail.
- Audio mix: Keep background music low enough that spoken instructions are still clear. If audio is muffled, you’re forcing viewers to rely entirely on signing.
One more thing: if you’re showing slides or screen recordings, make sure important visuals don’t cover the signing area during key moments.
5. Utilize Technology and Tools for Integration
Technology can make this easier, but it can also create problems if you don’t know what to look for. Here’s what I recommend focusing on.
Editing and overlay tools: Adobe Premiere Pro is a solid option for synchronizing and layering interpreter footage with your main video. You can fine-tune timing, add markers, and keep the signing track stable.
Captioning support: If you’re adding captions (which you should), make sure your caption style doesn’t clash with the interpreter overlay. In practice, I’ve found it’s best to keep captions in a consistent location and test readability on both mobile and desktop.
Sign-language resources: The YouTube-SL-25 dataset can be useful for planning. I don’t use it as a “translation shortcut,” but I do use it to see how signers are framed, how hands are positioned, and what typical overlay layouts look like in real content.
Sign-language apps and platforms: There are more apps showing up that help with sign-language generation, interpreter overlays, or translation workflows. For context, the global sign language apps market is projected to reach over USD 14 billion by 2031 (source: Grand View Research). Why does that matter for video production? Because the tools are increasingly targeting production needs like export formats, overlay generation, and faster iteration—especially for teams publishing at scale.
My selection criteria when evaluating tools:
- Accuracy controls: Can you review and correct outputs?
- Supported sign languages/regions: Make sure it matches your target audience.
- Export and workflow fit: Do you get standard formats (MP4/MOV) and predictable timing?
- Overlay flexibility: Can you position the interpreter or sign track without breaking the layout?
- Cost vs. review time: If the tool “saves time” but creates more review work, it’s not really saving anything.
6. Collaborate with Certified ASL Interpreters
If you’re using ASL (or any sign language), I strongly recommend certified interpreters. Not because “certified” sounds good—because it changes the quality of the signing.
In my projects, interpreters catch issues that aren’t obvious from the spoken script. Word-for-word translation often sounds awkward in sign language, and facial expressions and grammar matter way more than people expect.
Here’s how I like to involve interpreters:
- Early review: Share your script and any on-screen text before recording.
- Vocabulary list: Provide names, acronyms, product terms, and any repeating phrases. Ask the interpreter how they want those handled.
- Production check-ins: If you’re doing pre-recorded signing, schedule at least one review round after the first pass.
- Consistency across episodes: If you’re producing a series, keep the same interpreter (or same style guide) so signing stays consistent.
Also, don’t treat check-ins as optional. Even experienced interpreters benefit from knowing what’s on screen, when it appears, and what the viewer should focus on.
7. Test and Verify Sign Language Accuracy
Once your edit is “done,” that’s when testing actually starts.
What I do is run two QA passes:
- Pass 1 (signers/proficient reviewers): I ask fluent signers to check accuracy, naturalness, and whether any signs look unclear at typical playback speed.
- Pass 2 (Deaf/hard-of-hearing viewers): I look for comprehension issues—places where the signing is technically correct but doesn’t help the viewer understand the lesson.
During one project, this approach saved us from a subtle problem: the signing matched the words, but the timing didn’t match the viewer’s attention during a screen change. After adjusting timing around the visual transition, comprehension improved immediately.
If you’re short on time, do a focused test on your riskiest segments: quick explanations, technical terms, and sections with screen overlays. Those are the moments where small timing or clarity issues show up fastest.
And yes—focus groups can be worth it, but even 3–5 targeted reviewers can uncover the majority of issues if you choose them well.
8. Recognize the Benefits and Impact of Inclusion
Here’s the part people sometimes overlook: inclusion helps more than just the deaf and hard-of-hearing audience.
When you add sign language, you’re also improving overall clarity—especially when your content is dense or fast. Viewers can cross-check meaning between spoken words and signed equivalents.
It’s also easier to build trust when people feel like you designed for them. And while “video preference” stats aren’t the same as accessibility outcomes, the underlying point is still true: video is a primary format for learning and communication, so making it usable for more people matters.
In practice, I’ve seen teams get better engagement when accessibility is treated as part of the production standard, not a last-minute add-on. More viewers can follow along, and fewer people bounce because they can’t keep up.
So if you’re planning your next upload, consider sign language inclusion as a real quality upgrade—because it is.
FAQs
Most creators use an interpreter overlay (picture-in-picture) so sign language runs alongside the main speaker. Another option is providing a separate signed track or separate sign-language version for key lessons. Whichever you choose, make it obvious to viewers where to find the signing so they don’t have to hunt for it.
The most reliable options are live interpreting (for live events), pre-recorded interpreter footage (for courses and evergreen videos), and consistent picture-in-picture layouts. Animated signers can work for certain use cases, but for instruction-heavy content, I’d still prioritize human signing and review.
Sync by editing sign segments to match specific spoken anchors (timecodes, sentence starts, or key instructions). Use your editor’s timeline markers, do quick scrub tests around transitions, and then get feedback from proficient reviewers—because timing issues are often only obvious when someone watches specifically for signing clarity.
Certified interpreters help ensure the signing is accurate, natural, and culturally appropriate—not just “close” to the spoken script. That matters because sign language relies on more than hand shapes; facial expressions, timing, and grammar carry meaning too.