How To Set Up a 7-Step Meted Usage Billing Process with Stripe
I know setting up subscription billing based on usage sounds tricky and confusing. It can feel overwhelming to find a way to do it right without messing up bills or losing track of what customers owe.
But keep reading, and I’ll show you a simple step-by-step approach to make it work smoothly—so your billing is accurate, automated, and less of a headache.
We’ll walk through defining plans, using Stripe, tracking usage, automating invoices, and solving common issues—all in plain language that makes it easy to follow.
Key Takeaways
- Set clear usage metrics and pricing beforehand to ensure transparency and avoid confusion for customers.
- Use Stripe’s tools to create usage-based plans, track consumption, and send real-time usage data via API.
- Automate invoice generation based on recorded usage, ensuring bills are accurate and customers receive them on time.
- Handle complex billing scenarios like overages or hybrid plans carefully, with clear rules and customer communication.
- Regularly troubleshoot and reconcile data to fix errors, prevent disputes, and detect unusual activity early.
- Continuously review and improve your billing process by gathering feedback, analyzing trends, and updating pricing models as needed.

Step 1: Define Your Metered Usage Billing Plan
Before you jump into setting up billing, you need to figure out exactly what usage you want to bill for and how you’ll charge for it.
Think about the main metrics your customers will care about, like API calls, data transferred, or minutes streamed.
For example, if you’re running a cloud service, you might charge per gigabyte of storage or per compute hour.
Setting clear definitions helps prevent confusion later on and makes your billing transparent.
Decide whether you’ll use a tiered system (more usage, higher rates) or a flat rate per unit—both have their pros and cons.
You should also think about the billing cycle—monthly is common, but weekly or quarterly can work depending on your customer base.
Create a simple rate card that spells out exactly what each usage unit costs, including overage charges if applicable.
The goal? Make it easy for both you and your customers to understand what they’re paying for and why.
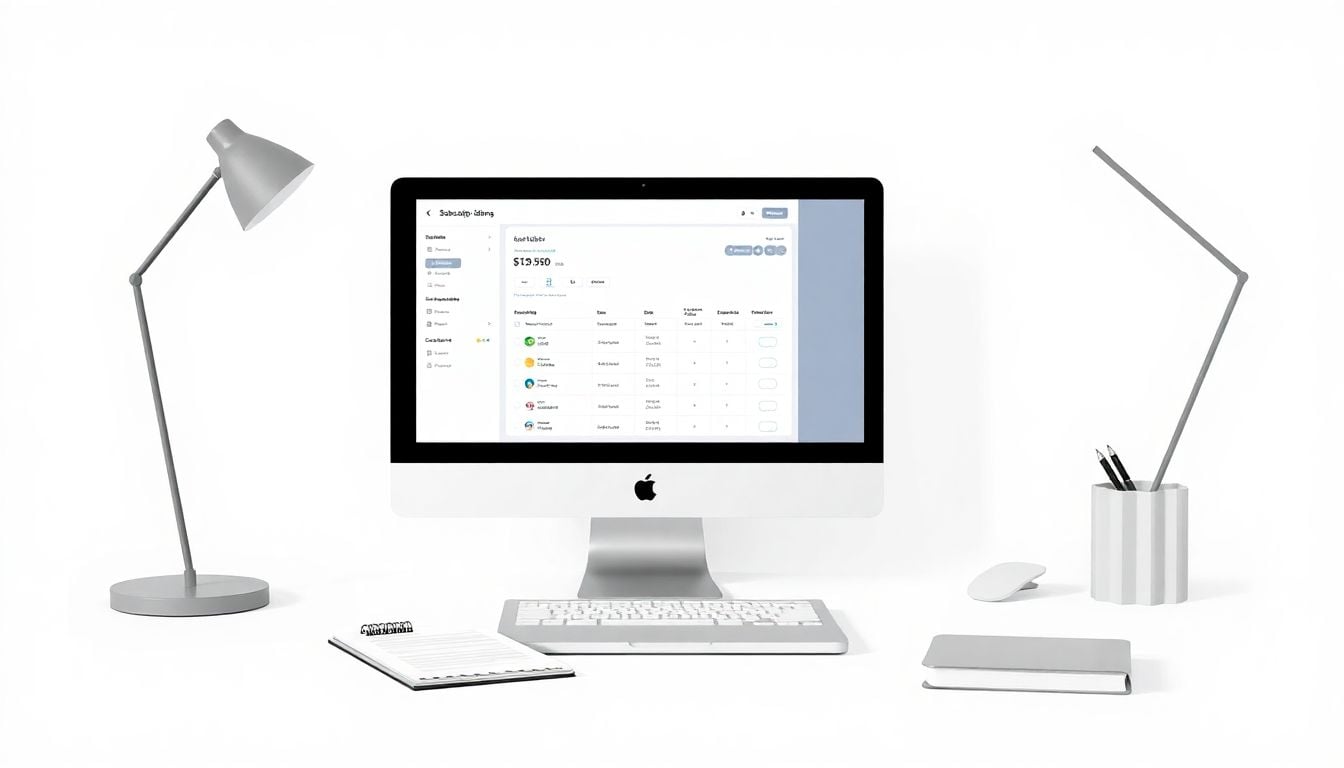
Step 2: Set Up Metered Usage with Stripe
Getting started with Stripe is pretty straightforward, especially since they offer robust tools for metered billing.
Stripe’s Billing API allows you to create usage records tied to subscriptions, so you can record consumption in real-time.
Start by setting up products and prices in Stripe, making sure to specify that the plan is usage-based.
You can assign different rates to different usage types if needed—think multiple metrics on one plan.
Next, integrate your app or platform to send usage data to Stripe using their API endpoints for usage records—this is where the magic happens.
To keep things running smoothly, set up webhook notifications to update you on successful usage recording or to handle errors quickly.
Finally, test your setup with dummy data before launching to make sure usage is being tracked accurately and billed correctly.
Stripe also offers helpful dashboards, so you can monitor consumption trends and spot any inconsistencies early on.
Step 3: Accurately Track and Record Usage
Precise tracking is the backbone of metered billing, so don’t cut corners here.
Use automated systems to collect usage data in real time—manual updates lead to errors and frustrated customers.
For example, if you’re offering API access, embed code snippets that send usage data to Stripe each time an API call occurs.
If your service involves large data transfers, consider integrating monitoring tools like Prometheus or Datadog to track consumption automatically.
It’s smart to give your customers visibility into their usage through dashboards, so they can keep an eye on their consumption and avoid surprises.
Implement safeguards to prevent double-counting or missing data, such as regular checks and reconciliation routines.
Remember, the goal isn’t just to record usage, but to do it accurately, transparently, and in a way that can scale as your business grows.
Finally, set up alerts for unusual spikes or drops in usage, which can indicate system glitches or potential abuse—quick detection saves headaches later on.

Step 4: Automate Billing and Invoicing
Once you’re tracking usage accurately, it’s time to set up automated billing.
Use Stripe’s invoicing features to generate bills based on usage records automatically.
This means customers get their invoices promptly without manual intervention, reducing errors and delays.
Schedule monthly billing cycles to match your defined usage periods, so everyone’s on the same page.
Make sure your system calculates overage charges clearly—like charging $2.50 for each extra 5GB beyond the limit—to keep your billing transparent.
Including detailed usage summaries on invoices helps customers understand what they are paying for and prevents surprises.
You can also customize invoice templates with your branding, making billing feel more professional and trustworthy.
Consider setting up email notifications that alert customers when their bills are ready, reducing follow-up queries.
Finally, regularly review the automation workflow to catch any glitches early and fine-tune the process for smoother operation.
Step 5: Address Advanced Scenarios
Handling complex billing scenarios makes your setup more flexible and suited to different customer needs.
Think about combining fixed fees with usage-based billing in a hybrid model—many companies find this balances revenue stability and customer fairness.
For example, a base fee of $10 with additional charges for usage over set thresholds offers clarity and predictability.
Set up rules for proration if customers change plans mid-cycle, so they aren’t billed unfairly.
Handle overage charges automatically, for example, charging extra for data exceeding a certain cap, and clearly warn customers about these costs upfront.
Offer customers the ability to pause or adjust plans mid-cycle without billing hiccups, preventing dissatisfaction.
Use tiered pricing to encourage higher usage—like charging $10 per unit for the first 100 units, then $8 afterward—tailoring offers to different customer segments.
Finally, keep an eye on usage trends with dashboards that show real-time data, so you can spot patterns or issues early.
Step 6: Troubleshoot Common Challenges
No system is perfect, and billing setups can run into issues—here’s how to handle the typical ones.
First, double-check your usage tracking integration if discrepancies pop up—errors often come from API misconfigurations or delayed data.
Implement regular reconciliation routines so you can compare your internal records with Stripe data, catching errors early.
If customers dispute charges, be transparent: provide detailed usage logs and invoice breakdowns to clarify the costs.
Set up alerts for unusual usage spikes that might indicate fraud or system glitches—this way, you can act fast.
On the technical side, ensure your webhook endpoints are reliable and have fallback plans in case of failures.
Finally, keep your team trained on billing procedures so they can quickly identify and resolve issues without delays.
Step 7: Review and Optimize Your Billing Process
Continuously improving your billing setup helps keep customers happy and your revenue steady.
Start by collecting feedback from customers about the clarity and fairness of your billing.
Use analytics dashboards to track payment success rates and identify recurring issues or delays.
Experiment with different pricing models, like usage tiers or hybrid plans, to see what resonates best.
Periodically review your rate card to ensure your pricing remains competitive and profitable.
Automate routine checks, like verifying that invoices reflect usage correctly, freeing up your time.
Stay updated on new features from Stripe or other tools you use—they can simplify things or add value.
And don’t forget to document your processes—this makes onboarding new team members easier and reduces mistakes over time.
Keeping your billing process simple, transparent, and adaptable helps grow trust and retention among your customers.
FAQs
The first step is to clearly define your billing plan, including what usage will be metered and how customers will be billed. This ensures your billing process is organized and aligns with your product or service.
Use Stripe’s metered billing features, such as usage records or API integrations, to record customer usage precisely. Regularly monitor and verify this data to prevent billing errors.
If usage data is incorrect or incomplete, review your collection methods, verify API connections, and ensure sensors or tracking tools function properly. Correcting this ensures accurate billing.