How to Implement Interactive Transcripts in 9 Easy Steps
Quick confession: the first time I tried adding transcripts to my own video lessons, I made it way more complicated than it needed to be. I had the text, I had timestamps… and yet the transcript didn’t actually line up when I scrubbed the timeline. Viewers ended up scrolling manually anyway, which kind of defeats the whole point, right?
So I rebuilt it the simpler way: a clean transcript panel, a “Show transcript” toggle, and a sync routine that highlights the right chunk as the video plays. If you’ve got a basic HTML page (or a WordPress theme) and you can paste a little JavaScript, you can do the same.
Below are the steps I used—plus the bits I wish I’d known earlier (like accessibility attributes and what to test when seeking/pausing).
Key Takeaways
– Write a transcript in plain language, then split it into short chunks (usually 1–3 sentences). Add timestamps that match natural pauses so each chunk is clickable and easy to find.
– Add a toggle button (with proper aria attributes) so viewers can show/hide the transcript without page reloads.
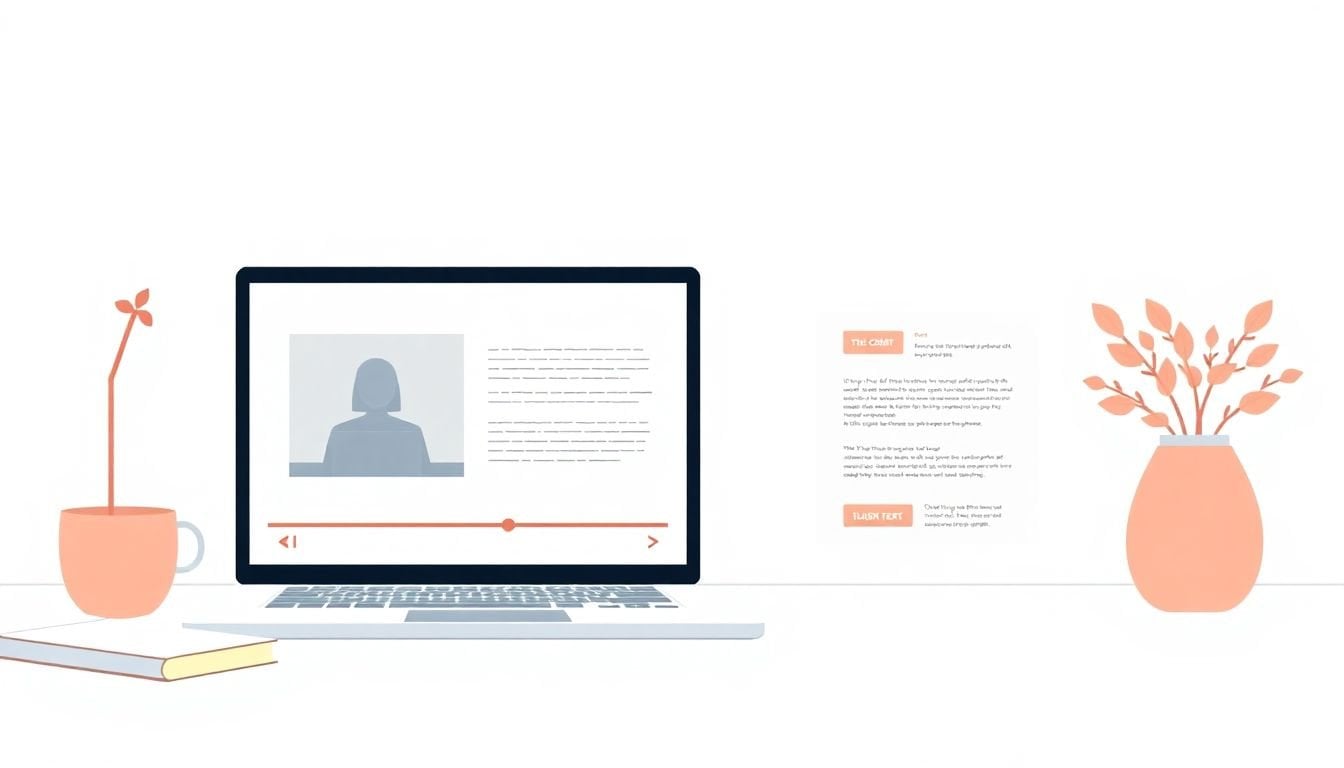
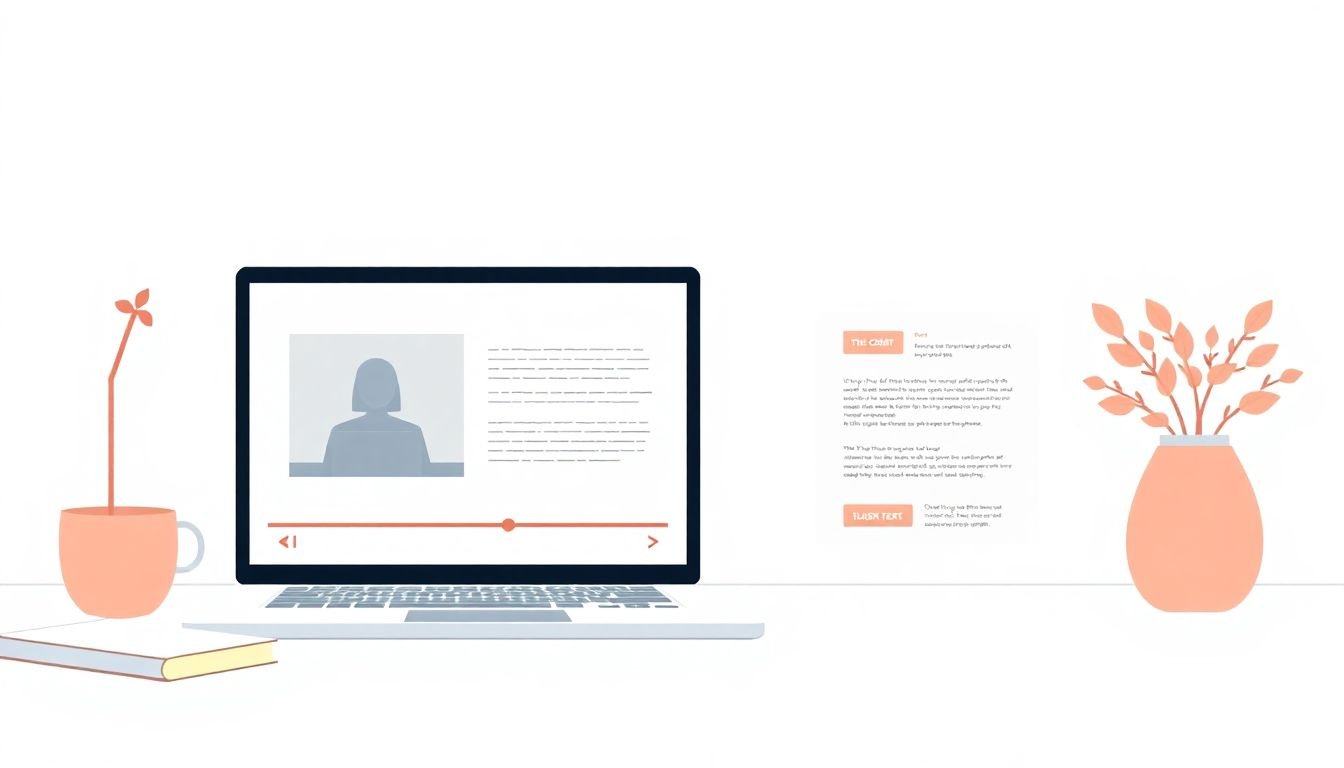
– Render the transcript into a dedicated container (for example, <div id="transcript">) and style it for readability: line height, max height, and an overflow scroll area.
– Sync text to playback by mapping timestamps (or WebVTT cues) to DOM elements. Highlight the active chunk and optionally scroll it into view.
– Handle real-world playback: pause, resume, and especially seek (scrubbing). Test with fast-forward and jumping to random timestamps.
– Customize what matters: search, “jump to section” links, and a clear layout on mobile. If you add a download button, make sure it’s labeled.
– Don’t just “add keywords.” Use transcript text as the source of truth for what’s actually in the video—then structure it so humans (and search engines) can scan it.
– Troubleshoot quickly: check timestamp format, verify the correct player events, and watch for off-by-a-few-seconds issues caused by cue granularity.
1. Create Your Interactive Transcript
I start with the transcript as the “source of truth,” not as an afterthought. If your text is off by even a few words, the sync feels sloppy and users notice.
Write the transcript in simple, direct language. Then split it into chunks that match how people actually watch videos: usually one idea per chunk, with a natural pause at the end.
Here’s a practical rule I use: keep chunks short enough that someone can skim and still understand what’s happening. If a chunk is longer than ~2–3 sentences, it’s harder to highlight cleanly.
Next comes timestamps. You don’t need to timestamp every single word. You do need to timestamp the start of each chunk so you can reliably map playback time to the correct section.
Example chunk mapping (easy to work with in code):
- 00:00 – “In this lesson, I’m going to show you how to build interactive transcripts…”
- 00:28 – “First, we’ll generate the transcript text and split it into sections…”
- 01:05 – “Now let’s add a toggle button so learners can show/hide the transcript…”
- 01:42 – “Then we sync the active chunk while the video plays…”
If you want help generating the first draft, tools like Rev (and similar transcription services) can speed things up. I still recommend a full pass for accuracy—especially names, technical terms, and any “listen carefully…” moments.
Once your transcript is ready, you can embed it in your page or convert it into a format your player can use (like WebVTT cues) for syncing later.
2. Add the Interactive Transcript Button
This part seems small, but it’s where most “almost there” implementations fail. If the transcript toggle feels hidden or awkward, people won’t use it.
I prefer a button right under (or next to) the video controls. Label it like Show transcript and when opened, switch to Hide transcript.
Use a real <button> (not a styled <div>) and wire up accessibility attributes. Something like this:
<button id="transcriptToggle" aria-expanded="false" aria-controls="transcript">Show transcript</button>
Then, in your click handler, toggle visibility and update aria-expanded. That way screen readers understand the state, and keyboard users aren’t stuck.
If you’re on WordPress, you can absolutely use plugins to get the toggle behavior quickly—but I still like checking the HTML output to make sure it’s accessible and doesn’t break on mobile.
3. Set Up HTML Elements for Transcript Display
Now you need a dedicated container for the transcript. I like a <section> or a <div> with an ID so the script can target it cleanly.
Here’s the markup I’ve used successfully:
<section id="transcriptWrapper" hidden>
<div id="transcript" role="region" aria-label="Video transcript">
<div class="cue" data-start="0">00:00 — In this lesson, …</div>
<div class="cue" data-start="28">00:28 — First, we’ll generate …</div>
</div></section>
And the CSS for readability + scroll (this is the “don’t make it a giant wall of text” part):
- Max height: keeps the transcript from pushing the page down forever.
- Overflow-y: auto: allows internal scrolling.
- Active styling: highlights the cue that matches the current time.
For example:
#transcript { max-height: 320px; overflow-y: auto; padding: 12px; line-height: 1.6; }
.cue { padding: 8px 10px; border-radius: 8px; margin-bottom: 6px; }
.cue.active { background: #eaf2ff; outline: 2px solid #007BFF; }
One more detail I care about: make the transcript chunks focusable if you want them to be clickable. Even if you don’t add full keyboard navigation, you should at least keep the active state visible and readable.
4. Sync Transcript Text with Video Playback
Here’s the part that actually makes it “interactive,” not just “readable.” The idea is simple: as the video time changes, find the transcript chunk whose start time is the latest one that’s still <= the current playback time.
In my implementation, I used the HTML5 player’s timeupdate event. If you’re using a custom player (like Video.js or JW Player), you’ll swap in their equivalent events—but the logic stays the same.
Let’s say your chunks use data-start in seconds. Example:
<div class="cue" data-start="0">00:00 — …</div><div class="cue" data-start="28">00:28 — …</div><div class="cue" data-start="65">01:05 — …</div>
Working sync code (highlight + optional scroll):
const video = document.querySelector('video');
const cues = Array.from(document.querySelectorAll('.cue'));
// Convert NodeList to sorted array of {el, start}
const cueData = cues.map(el => ({ el, start: Number(el.dataset.start) }))
.sort((a,b) => a.start - b.start);
let activeIndex = -1;
function setActive(index, shouldScroll) {
if (index === activeIndex) return;
if (activeIndex >= 0) cueData[activeIndex].el.classList.remove('active');
activeIndex = index;
if (activeIndex >= 0) {
cueData[activeIndex].el.classList.add('active');
if (shouldScroll) cueData[activeIndex].el.scrollIntoView({ block: 'nearest' });
}
}
video.addEventListener('timeupdate', () => {
const t = video.currentTime;
// Find last cue whose start time is <= current time
let idx = -1;
for (let i = 0; i < cueData.length; i++) {
if (cueData[i].start <= t) idx = i;
else break;
}
// Don’t scroll on every tick; only scroll when user is actively reading
setActive(idx, false);
});
That “don’t scroll on every tick” detail matters. If you scroll on every timeupdate, the transcript can fight the user’s scrolling and feel janky.
What about seeking? I usually add a quick scroll when the user jumps:
video.addEventListener('seeking', () => {
const t = video.currentTime;
let idx = -1;
for (let i = 0; i < cueData.length; i++) {
if (cueData[i].start <= t) idx = i; else break;
}
setActive(idx, true);
});
In my experience, this small tweak makes the whole thing feel “real” when learners scrub around.
5. Customize Your Transcript Features
Customization is where interactive transcripts stop being a checkbox and start being genuinely useful.
Here are the features I’ve seen work best:
- Search inside the transcript: a simple input that filters cues by text match. Keep it case-insensitive.
- Click-to-jump: when someone clicks a cue, set
video.currentTimeto that cue’sdata-start. - Download: let learners download the transcript as plain text or PDF (if you’re generating PDFs server-side).
- “Key takeaways” view: optionally show only the first sentence of each chunk (or only chunks marked as “important”).
Example click-to-jump (so the transcript is actually interactive):
cueData.forEach(({ el, start }) => {
el.style.cursor = 'pointer';
el.addEventListener('click', () => {
video.currentTime = start;
// highlight immediately for responsiveness
setActive(cueData.findIndex(c => c.start === start), true);
});
});
And please, keep it responsive. If your transcript is too wide or the active highlight is hard to see on mobile, people won’t use it.
6. Follow Best Practices for User Experience
UX is the difference between “cool feature” and “people actually benefit.”
- Make the toggle obvious: near the video controls and labeled clearly.
- Use contrast and readable font sizes: if the transcript is light gray on white, it won’t pass real accessibility checks.
- Keep the transcript scannable: short chunks, visible spacing, and an active highlight that stands out.
- Don’t hide the transcript from keyboard users: if it’s collapsed, update
hiddenoraria-expandedcorrectly. - Verify accuracy: even one wrong timestamp can make learners think the video is “wrong.”
One thing I always do before publishing: I test on a phone with the transcript open and closed. If the layout shifts or the active highlight jumps weirdly, it’s noticeable fast.
7. Understand the SEO Benefits of Interactive Transcripts
Yes, transcripts can help SEO—but I don’t treat them like a magic keyword generator.
Search engines can’t “watch” your video, but they can crawl text. When your transcript is structured and accurate, it gives search engines something meaningful to index.
In practice, what I’ve seen improve is the ability for people to find the exact part of a lesson. If your transcript contains the same terms you use in the video (and those terms match your course topic), you’re more likely to rank for those queries.
Also, transcripts make repurposing easier. You can pull headings from the transcript chunks and turn them into FAQs, blog sections, or course notes—without re-writing from scratch.
Just keep it honest: the transcript should reflect what’s actually said, not a keyword list you “sprinkle” in.
8. Explore Tools and Resources for Implementation
If you don’t want to start from scratch, there are some solid options.
- YouTube captions/transcripts: https://support.google.com/youtube/answer/2734790
- Vimeo transcripts: https://vimeo.com/help/faq/video-management/transcripts
- Video.js: https://videojs.com/
- JW Player: https://www.jwplayer.com/
For generating transcript text faster, services like Rev and Otter.ai can be helpful, especially for the first draft. I still recommend reviewing and adjusting timestamps—especially if your lesson includes quick transitions.
Do a quick “fit check” before you commit: what player are you using, what transcript format can it export (SRT/WebVTT), and how much control do you need over the UI?
9. Troubleshoot Common Issues
Even when everything looks right, interactive transcripts can break in subtle ways. Here’s what I check first when syncing feels off.
- Timestamp mismatch: make sure your timestamps are in the same unit (seconds vs milliseconds) and that
data-startmatches your sync logic. - Off-by-one cue: if the highlight lags, adjust your “<= current time” logic or your cue start times.
- Seek behavior: test clicking the transcript while the video is paused, then again while playing. Seeking is where most bugs show up.
- Wrong element targeting: if nothing highlights, confirm your selectors (like
.cueand#transcript) match the HTML. - Performance on long videos: for very long transcripts, consider reducing cue granularity or debouncing scroll-to-active.
I like running a tiny test matrix before launch:
- Chrome + Firefox: verify highlight and click-to-jump
- Safari (macOS/iOS): verify seeking and scroll behavior
- Fast scrubbing: jump to 10 random timestamps and confirm the correct chunk activates
And finally—keep your transcript updated. If you edit the video later but forget to update the timestamps, users will feel that mismatch immediately.
FAQs
An interactive transcript is text that’s synced to what’s happening in the video. Viewers can read along, jump to specific sections, and find answers faster—plus it helps accessibility for people who prefer reading or need captions.
Add a real <button> and connect it to your transcript container. Then use JavaScript to toggle visibility (and update aria-expanded) so it works well for both mouse and keyboard users.
Most issues come from timestamp mismatches, cue start times that don’t align with the video, or JavaScript that’s targeting the wrong elements. Always test pause/resume and especially seeking (scrubbing), because that’s where sync problems become obvious.
Yes. Many platforms (like Vimeo and YouTube) provide transcript/caption tools, and some players (like Video.js and JW Player) can be configured for cue-based syncing. If you want faster transcript generation, services like Rev and Otter.ai can help with the first draft.