
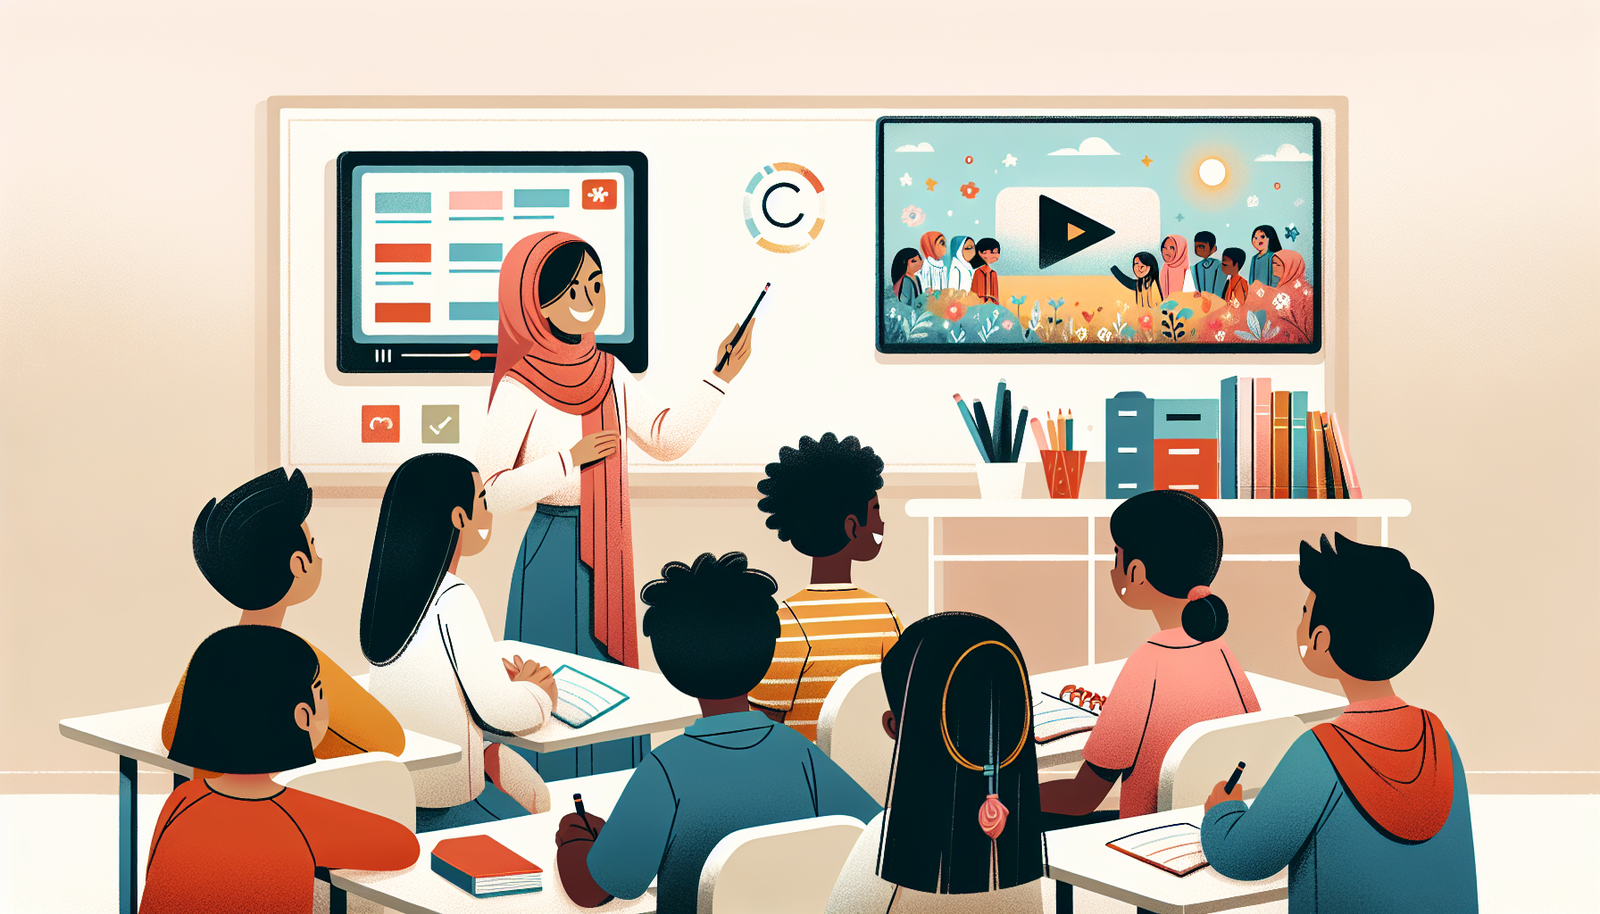
How to Use Video to Boost Student Engagement in Education
If you’ve ever watched a class drift off halfway through a lesson, you already know the feeling: you’re teaching, but they’re not really with you. I’ve been there—especially when the content is dense or students are still coming off recess/lunch. And no, it’s not just a “motivation” problem. Sometimes the format simply doesn’t help.
Video isn’t magic, but it can make engagement easier because it gives students something to hold onto: visuals, pacing, and a clear reason to pay attention. In my experience, the biggest win isn’t “a cool clip.” It’s using video as a structured part of the lesson—before, during, and after—so students have a job to do.
In this post, I’ll walk through practical ways to use video to boost student engagement across subjects (I’m thinking middle school through high school, but the approach works earlier too). I’ll also share a simple classroom workflow I’ve used, plus a measurement plan you can actually run without fancy tools.
Key Takeaways (Make It Measurable)
- Use “short + purposeful” video: target 3–7 minutes for direct instruction clips, 1–3 minutes for concept warm-ups, and 8–12 minutes max for a full mini-lesson segment (then break it with a pause task).
- Plan interaction points: include at least 2–3 pause questions per video (predict/compare, quick check, or “what evidence supports this?”).
- Accessibility isn’t optional: captions on every video, audio clearly mixed (no student has to “guess” words), and provide a transcript or summary for longer clips.
- Don’t leave students passive: every video should have a “while watching” product (notes template, claim/evidence chart, or a 3-question exit ticket).
- Follow up the same day: schedule a discussion prompt or activity immediately after—ideally within 5–10 minutes—so the video doesn’t become background noise.
- Track engagement like a teacher, not a marketer: use a quick 5-question pulse survey + a participation metric (questions raised, responses submitted) + a pre/post concept check.

How Video Boosts Student Engagement
Video can make students pay attention because it changes the “shape” of instruction. Instead of only reading or listening, they’re tracking visuals, narration, and movement—all at once. That’s especially helpful when a topic is abstract (fractions as models, photosynthesis, historical causes, lab procedures, you name it).
Here’s what I’ve noticed in my own classroom: when I use video as a trigger (a question, a prediction, a quick problem), students don’t just watch. They anticipate. They want to know what happens next.
For example, I once used a 6-minute explainer on cause and effect in history. Before playing it, I asked students to write one prediction: “What do you think the main cause will be?” Then I paused at two timestamps to ask, “Which detail from the video supports your prediction?” That simple pause routine turned the video into evidence-based discussion instead of passive viewing.
And yes—video supports different learning preferences. But I don’t think of it as “learning styles” in a strict way. I think of it as multiple entry points. Some students need visuals to anchor meaning. Others need audio pacing. Many just need both.
Quick lesson idea you can steal: use a short clip as a pre-class hook. Have students come in with a one-sentence takeaway and one question. When class starts, you’re not starting from scratch—you’re building on what they already saw.
Also, don’t underestimate interactivity. If students can’t respond, they’ll eventually drift. Pause the video for a poll, a “write for 60 seconds” prompt, or a partner discussion. Even a simple “thumbs up/down” check can work, as long as it’s tied to a specific question.
Types of Videos to Use in Education
You don’t have to rely on one format. Different video types serve different purposes—introducing a concept, practicing a skill, or building motivation.
Instructional videos (teacher-made or curated): Great for explaining a concept and modeling a process. Keep them tight and focused on one objective.
Demonstration videos: Think science labs, math problem-solving, writing strategies, or art techniques. Students can watch the steps, then try the same steps immediately.
Testimonial or student-story videos: When students hear “I used to struggle with this too,” it changes how they view the work. Just make sure the story connects to a learning strategy—not just inspiration.
Animations and explainers: These shine when the subject is hard to visualize (cell structures, economic systems, geological processes). I like them because they reduce confusion from “messy” real-world visuals.
Live Q&A or recorded mini-lessons: If you can do it, live sessions build closeness fast. If not, a recorded Q&A can still work—answer questions students submit ahead of time.
Video quizzes: These are underrated. Students watch a segment, answer a question, and get immediate feedback. If you use them, aim for frequent checks (every 2–3 minutes) rather than one big quiz at the end.
One more thing: mix formats across a unit. If every day is the same style of video, engagement drops. Variety keeps attention fresh.
Benefits of Using Video for Student Engagement
Let’s talk outcomes, not just vibes. In my experience, video helps most when it supports understanding and participation—not when it replaces teaching.
1) Better focus during complex explanations: Students can “see” what you mean. That reduces the mental load of translating text into a mental model.
2) Replayability: Students can pause and rewatch. That matters when they miss a step in math or don’t catch the reasoning in a science explanation.
3) Communication and connection: Seeing your face and hearing your tone makes the instruction feel more human. It’s not a small thing. Students respond differently when they feel like a real person is talking to them.
4) Access for students who need alternatives: If reading is a barrier, video can help. But don’t stop there—pair video with a short text summary or guided notes so students still practice literacy.
5) Time efficiency (with a catch): Yes, video can help you cover ground. The catch is you still need the follow-up activity. Otherwise you’ve just “spent time watching.”
What I’d call the real benefit: video makes it easier to turn learning into something students can act on—questions, tasks, and evidence.
Best Practices for Creating Educational Videos
Creating effective educational videos is less about fancy production and more about clarity. Students can forgive simple visuals if your message is organized.
Keep the length realistic: 5–10 minutes works well for a single mini-lesson segment—especially if you’re teaching one concept and you’ve built in pauses. If your content is longer, don’t force it into one sitting. I usually split it into two parts with a quick “reset” task in between.
Use a script or outline (seriously): Even a simple bullet outline prevents rambling. I write down the exact key points I want students to capture, then I build the video around those points.
Plan pause points before you record: Decide where students will respond. For example:
- After the definition: “In your own words, what does it mean?”
- After the example: “What’s the evidence from the example?”
- Before the wrap-up: “What’s one thing you’re still unsure about?”
Make visuals do real work: If you’re showing slides, highlight key terms. If you’re demonstrating a process, zoom in on the step students need to replicate. Editing helps, but clarity helps more.
Captions matter: Add subtitles/captions whenever possible. I’ve found students use them constantly—not just for accessibility, but because they catch details faster when the words are on screen.
Test on the devices your students actually use: Before you teach with it, check volume levels, readability of text, and whether the video buffers. If the subtitles look blurry on phones or Chromebooks, fix it now—not during class.
For editing and design, tools like Canva and Camtasia can help you make polished materials without starting from scratch.
Implementing Video into Lesson Plans
Here’s the workflow I use most often because it’s repeatable. It’s also easy to adjust for different grade levels.
Step 1: Match the video to one learning objective. If the video doesn’t directly support the objective, skip it. Students can feel when content is “extra.”
Step 2: Set expectations before pressing play. Give students a while-watching task. Not “watch carefully.” Something specific.
Step 3: Watch in segments with pause questions. Even if you’re showing a single video, pause it at planned points. Ask students to answer, predict, or connect to the objective.
Step 4: Do a quick follow-up immediately. Within 5–10 minutes, students should produce something: a short discussion, a chart, a practice problem, or a mini exit ticket.
Step 5: Offer a “revisit” option. Let students rewatch a section later (for homework, station work, or reteach). This is where video really earns its keep.
Want a concrete example? Let’s say you’re teaching 9th-grade biology and the objective is “Students can explain photosynthesis using inputs and outputs.” You could start with a 4–6 minute animation. While watching, students complete a simple input/output table. Then you pause and ask: “What evidence in the video shows where light energy is used?” After the video, students write a 3-sentence explanation and trade with a partner to check for missing terms.
Another practical approach: use a documentary-style clip for a hook, but keep the discussion structured. Students will otherwise drift into opinions only. Try prompts like “Which claim does the speaker make?” and “What data or example supports it?”
And yes, video can be homework. Just don’t send it with nothing to do. Assign a 3-question worksheet or have students submit one “confusion point” they want to resolve in class.
Measuring the Impact of Video on Engagement
If you’re going to use video, you should know whether it’s working. I don’t mean “did they like it?” I mean: are they more engaged and is understanding improving?
Here’s a simple measurement plan you can run in 2 weeks.
1) Baseline (before video): Use a short pre-check (5–8 questions) on the objective. Then do a quick engagement pulse survey (1 minute).
Example survey questions (5-point scale):
- I stayed focused during the lesson.
- I understood the main idea.
- I participated (asked/answered/discussed).
- The lesson felt relevant to what we’re learning.
- I know what to do if I get stuck.
2) During video lessons (participation metrics): Track one or two concrete behaviors. For example:
- Number of student responses to pause questions (whole class or in small groups).
- Number of questions submitted on a “parking lot” note card or form.
- Completion rate of the while-watching task.
3) After (post-check): Give the same style of assessment (not identical questions, but same skills). Then compare results.
4) Interpretation (what to look for): If scores improve but engagement metrics stay flat, you might need more interaction points. If engagement jumps but scores don’t, the video may be fun but not aligned tightly enough to the objective—or the follow-up activity isn’t pushing students to use the information.
5) Timeline example: Day 1 baseline + pre-check. Days 2–6 video-based lessons with pause tasks. Day 7 post-check. Then review patterns and adjust video length, pause frequency, and follow-up activity for the next unit.
That’s it. No complicated analytics required. You’ll still get real feedback you can act on.
Overcoming Challenges with Video in the Classroom
Video can be awesome, but it comes with real-world problems. Here are the ones that show up most, and what I do about them.
Tech and access issues: Some students won’t have reliable internet or working headphones. My fix is simple: provide an offline option (downloadable file or a low-data alternative) and keep a text summary/worksheet ready.
Overwhelm or “too much video”: If the video is long, students stop processing and start zoning out. When that happens, I shorten it and add pause tasks. If you need more time, split it into two segments and interleave practice.
Distractions: Students multitask. They’ll still do it even with great videos if you don’t structure the viewing. Use guided questions, a note-taking template, or a task that requires video evidence.
Accessibility gaps: If captions are missing or audio is unclear, engagement drops fast. Always check captions, volume, and text size ahead of time.
Bottom line: the video is only one part of the plan. Your structure is what keeps it from becoming “just screen time.”
Tools and Resources for Creating Engaging Videos
The right tools can help you produce videos faster, but you don’t need top-tier gear to get results.
Recording: For live sessions, Zoom is convenient. For pre-recorded content, OBS Studio is great if you want screen capture and better control.
Editing: Adobe Premiere Pro and iMovie are solid options depending on your budget and comfort level.
Graphics and templates: If you want clean slides and visuals, Canva and Snappa are user-friendly.
Animated explainers: For animation, try Animaker or Vyond when you need to visualize processes.
Stock footage: Don’t overlook free resources like Pexels and Videvo. They can make your videos more dynamic without spending hours filming.
FAQs
Video enhances student engagement by providing dynamic visual content that supports understanding, sparks discussion, and encourages active participation. When you pair it with pause questions or a while-watching task, students aren’t passive—they’re engaged.
Instructional videos, demonstrations, animated explainers, expert interviews, and real-life simulations tend to work best. The key is matching the format to the objective and keeping the clip focused on one skill or concept.
Key benefits include improved retention through visual support, increased motivation, the ability to rewatch difficult sections, and stronger communication because students can hear and see the instructor. It also gives you a reusable resource for review.
Keep videos concise, plan your script, use clear visuals, and make sure audio is easy to understand. Add captions and test on common student devices. Most importantly, build in engagement through pause points and a follow-up activity.