
How to Use Trello for Managing Online Courses Effectively
Online courses have a way of multiplying. One minute you’re scripting lesson 1, the next you’re chasing quiz questions, updating slides, and wondering why your deadline suddenly moved. I’ve been there—if your “system” is a pile of sticky notes and a half-updated spreadsheet, Trello will feel like relief.
In my experience, Trello works best when you treat it like a workflow board, not just a place to dump tasks. Once you set it up with the right lists, card templates, and a simple way to track due dates, everything becomes easier to see and easier to manage. And yes—students benefit too when you share the right level of access.
Below is how I set up Trello for course management, including a board structure you can copy, card examples I actually use, and the collaboration model that keeps feedback from turning into chaos.
Key Takeaways
- Use a dedicated Trello board for your course so tasks, resources, and feedback stay in one place.
- Choose list structure intentionally: course stages (stage-based) or calendar weeks (time-based).
- Build cards around deliverables (each lesson/module) and include checklists for the “hidden work” (review, formatting, publishing).
- Use color-coded labels for status + role (e.g., Needs Review, Draft, Instructor, Student Request).
- Add due dates to cards, then use the Calendar Power-Up so deadlines are visible at a glance.
- For collaboration, use a clear permission strategy: instructors edit, students comment/request, and attachments live on the relevant card.
- Track progress weekly and shrink problem cards into smaller tasks when you see the board getting stuck.

How to Use Trello for Managing Online Courses
Here’s the quick version: Trello helps you turn course chaos into a visible workflow. You can see what’s in progress, what’s waiting for review, and what’s actually ready to publish. And because it’s card-based, you can attach everything to the exact lesson or module—drafts, PDFs, slide decks, links, and feedback threads.
In my setup, I don’t try to track every tiny step as its own card. Instead, I build cards around deliverables (like “Module 3: Lesson 1 video + quiz”), and then I use checklists inside the card for the granular tasks. That keeps the board readable.
Setting Up Your Trello Board for Course Management
Start by creating a dedicated board. Log into Trello, click Create new board, and name it something clear like “Online Course Management - Cohort April 2026” (the cohort part matters if you run multiple intakes).
Now decide what you’re managing with the board. I’ve used Trello for two different course styles:
- Build-first courses (you create everything before launch): the board is mostly content production + review.
- Run-and-iterate cohorts (you release weekly): the board becomes a mix of production + weekly facilitation.
That decision changes your list structure, so don’t rush it.
My recommendation: create one board per course (or per cohort if you’re doing live updates). Don’t cram multiple courses into one board—your labels and due dates will turn into a mess fast.
Creating Lists for Course Organization
Lists are the backbone of your Trello course workflow. You have two solid options, and which one you choose depends on how your course runs.
Option A: Stage-based lists (best for content production)
- To Draft
- Drafting
- Needs Review
- Ready to Publish
- Published
This works great when you’re building a course over, say, 6–10 weeks and you want to see where each lesson is in the pipeline.
Option B: Week/module lists (best for weekly release schedules)
- Week 1 (or Module 1)
- Week 2
- Week 3
- Week 4
- Backlog
In a cohort I ran recently, I used week-based lists and it made weekly planning way easier. When I looked at the board every Monday morning, I knew exactly what students would see next.
What I do when I can’t decide
Use stage-based lists for the production board, and create a separate “Cohort Support” board for student questions and assignment feedback. It’s a simple split, but it prevents student comments from burying your production tasks.
Adding Cards for Course Content and Tasks
Cards are where the real work happens. Each card should represent a deliverable or a request—not just a random task line.
For example, a strong card title looks like:
- Module 2 - Lesson 1 Video Script + Outline
- Week 3 - Quiz (10 questions) + Answer Key
- Assignment 2 - Rubric + Submission Instructions
Card description template (copy/paste style)
In the description, I include 3 things:
- Goal: what “done” means
- Inputs: links, notes, source docs
- Output: what gets published where
Example:
Goal: Publish a 12–15 minute video lesson on “Pronunciation rules.”
Inputs: student examples doc + style guide link.
Output: video file + transcript + downloadable worksheet.
Checklists that prevent last-minute surprises
Instead of relying on memory, I add checklists inside each card. Here’s a checklist I use for lesson creation:
- Script written (approved by instructor)
- Slides created (version 1)
- Record video + export MP4
- Transcript / captions added
- Worksheet or practice set created
- Quality check (audio, links, formatting)
- Final review complete
- Publish + notify cohort
Due dates: set them like a calendar, not like a wish
Add due dates right on the card so you get reminders and so the board reflects reality. For example, if a lesson must be ready by Friday to give you time for review, set the due date for Thursday afternoon. That buffer matters.
One thing I’ve noticed: due dates only help if you keep them consistent. If you sometimes use due dates for “draft ready” and other times for “published,” you’ll lose trust in the board. Pick one meaning and stick to it.
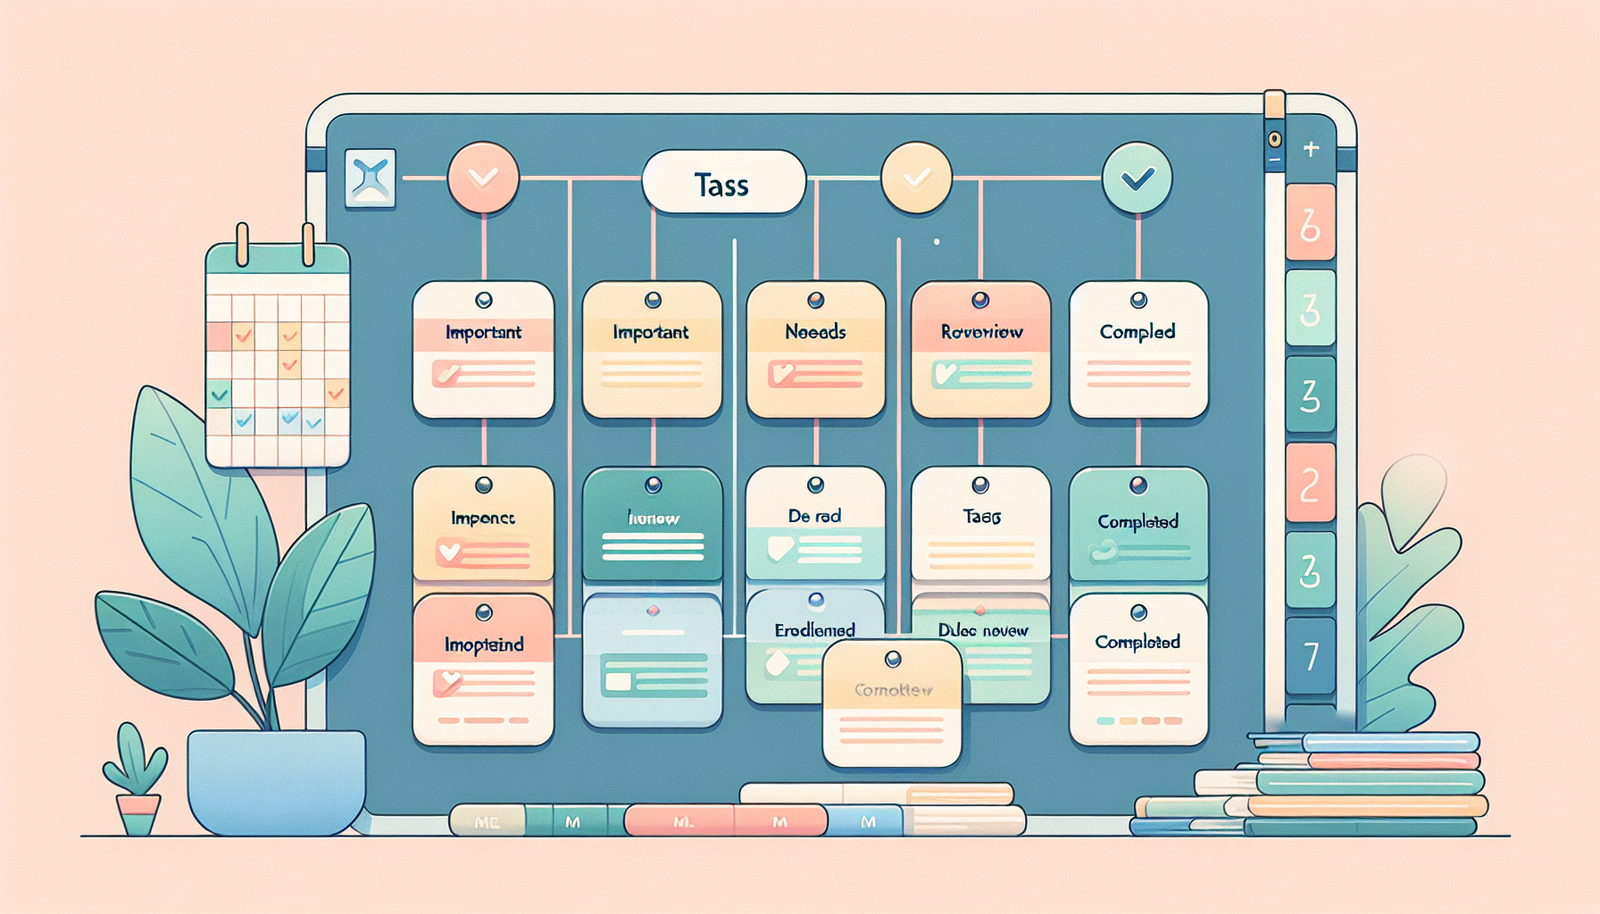
Using Labels and Tags for Easy Tracking
Labels are how you make Trello scannable. Without labels, you end up opening cards constantly. With the right labels, you can spot problems in seconds.
My label system (simple but effective)
I use labels for two purposes: status and type/role. For example:
- Status: Needs Review, Draft, Blocked, Ready
- Type/Role: Instructor Task, Designer Task, Student Request
To add a label, open a card, select Labels, and create the ones you need. Keep it small. If you create 25 labels, you’ll never use them consistently.
Tags (members) for accountability
Tagging people on cards is where collaboration becomes real. Instead of “someone should look at this,” you assign responsibility.
Here’s a concrete example from a cohort workflow:
- A student comments: “The instructions for Assignment 2 are confusing—especially the formatting.”
- The instructor replies on the same card and tags themselves or a reviewer.
- Then the instructor creates a checklist item like “Rewrite formatting instructions” and assigns it to the right person.
- Once updated, the instructor moves the card to Ready to Publish and adds a note: “Updated instructions posted (see version 2 PDF).”
That’s how you turn student feedback into an actual task, not just a conversation thread.
Integrating Deadlines and Due Dates
Deadlines keep your course from drifting. Trello makes it easy to add due dates, but the real trick is using them consistently.
How to set due dates (quick steps)
- Open the card
- Click Due Date
- Select the date from the calendar
Label deadlines so you can prioritize fast
I also label cards by timing so I can sort mentally without opening everything:
- Urgent: due within 48 hours
- This Week: due by end of the week
- Future: next week or later
Yes, Trello notifications can help. But here’s the downside I’ve experienced: if you add due dates to every single card, your notification stream becomes noise. Use due dates for deliverables and review checkpoints, not for internal notes.
Should you share the board with students?
It depends. If you share everything, students will comment on work-in-progress and you’ll get distracted. If you share nothing, students don’t know what’s coming.
My compromise: share a board view that shows upcoming weeks/modules and published materials, while keeping production details restricted. If you do share access, keep the “student request” cards clear so feedback has a home.
Collaborating with Instructors and Students
Collaboration is one of Trello’s best strengths—but only if you set a workflow that matches how people behave.
A collaboration model that actually works
- Instructors/editors: can create and move cards, update checklists, and attach final files.
- Students: can comment, ask questions, and attach suggestions (if you allow it), but they shouldn’t be moving cards around.
- Optional: separate “Student Questions” board if you have a large cohort.
Why separate? Because student questions are unpredictable. If you mix them with production tasks, you’ll spend half your time filtering.
How a student request becomes an instructor task
Let’s say a student gets stuck on a quiz question and comments on the “Week 3 - Quiz” card:
- Student posts: “Question 4 answer key doesn’t match the explanation.”
- Instructor replies and tags the item: “Needs review: quiz question 4.”
- Instructor adds a checklist item: “Verify question 4 logic + update explanation.”
- Instructor assigns that checklist item to the responsible reviewer (or tags them in the card).
- After the fix, instructor moves the card to Ready to Publish and leaves a note with what changed.
That’s the difference between “comments” and “course management.” Everyone knows where the work lives.
For resources, attach files and links directly to the relevant card (PDFs, slide decks, video links, rubric docs). It keeps everything tied to the lesson instead of scattered across email threads.
Tracking Progress and Adjusting Plans
Tracking progress in Trello is mostly about movement: cards change lists when work changes. If cards sit forever in one list, that’s your signal.
My weekly routine (what I actually do)
Every week, I do a quick pass:
- Move completed cards to Completed or Published
- Look for cards that have been in Needs Review for more than 5 days
- Check due dates for deliverables due in the next 7 days
When something lags, I don’t just “wait.” I break the card down. Big cards hide problems.
How to fix a stuck card
If a lesson card is stuck in review, I’ll split it into smaller checklist items like:
- Review slides only
- Review script only
- Review quiz only
- Fix formatting issues
It’s faster to complete smaller steps, and it’s easier to tell where the bottleneck is.
Also, I like doing a short weekly review with collaborators. Not a long meeting—just 15–30 minutes to scan the board, confirm who’s blocked, and decide what moves next.
Utilizing Power-Ups for Enhanced Functionality
Power-Ups can be useful, but they’re not automatically better. In my experience, the best approach is: pick 1–3 that solve a specific pain point, then leave the rest alone.
1) Calendar Power-Up (for weekly release dates)
What it does: turns your cards with due dates into a calendar view.
How to set it up:
- Open your Trello board
- Click Power-Ups in the board menu
- Find Calendar and enable it
- Choose the calendar view you want
Why I like it: when you’re releasing weekly, you don’t want to open every card to remember what’s due. You just look at the month.
2) Google Drive Power-Up (for lesson assets)
What it does: lets you attach Google Docs, Sheets, and Slides to cards.
When it’s worth it: if your team edits in Google Workspace, this saves you from downloading/re-uploading files.
Tradeoff: if your course team uses a different storage system (Dropbox, local files), you might not get much value.
3) Slack Power-Up (for faster updates)
What it does: posts notifications to Slack when cards change.
How to use it without annoying everyone: set it to notify only on the types of updates you care about (like comments or due date changes). If you leave it on for everything, your channel will become noise.
4) Custom Fields Power-Up (for structured tracking)
What it does: adds custom fields to cards.
My favorite use case for courses: track “Student-facing status” separately from “Production status.” Example custom fields:
- Production status: Draft / Review / Published
- Student-facing: Not released / Released / Updated
- Estimated duration: 10–15 min
Tradeoff: it adds complexity. If you’re a solo instructor running a small course, labels + checklists might be enough.
Quick Power-Up decision rule
If a feature reduces repeated work (like attaching Drive files) or reduces confusion (like Calendar visibility), keep it. If it mostly adds notifications or extra fields without solving a real problem, skip it.
Tips for Maintaining Your Trello Board
A Trello board doesn’t stay useful automatically. You have to keep it clean and keep it honest.
- Archive completed stuff monthly. Don’t leave old course versions sitting there forever. Once a month, archive cards/lists that are done.
- Update cards in batches. Instead of random edits all day, do a 20-minute “board update” session. Move cards, update due dates, and add final notes.
- Write card titles like a deliverable. If your titles are vague (“Work on lesson”), you’ll forget what it means later.
- Keep labels consistent. If “Needs Review” means one thing today and another thing next week, you’ll lose the value of the system.
- Have a default size for cards. If a card takes more than 1–2 days, split it. If it’s tiny (15 minutes), keep it as a checklist item.
- Don’t let feedback live only in comments. If a student comment requires action, turn it into a checklist item or a new card.
FAQs
Create a new board specifically for the course (and include the cohort name if you run multiple intakes). Then pick a list structure—either stage-based (To Draft → Needs Review → Ready to Publish) or week/module-based (Week 1 → Week 2 → Backlog). After that, build cards around deliverables and use checklists inside each card for the steps you always forget (review, formatting, publishing).
Invite collaborators from the board menu. For a smooth workflow, I recommend instructors have edit access, while students can comment and request changes on the relevant lesson/module cards. When a student request needs action, the instructor turns it into a checklist item or assigns it to a reviewer—so feedback becomes a trackable task, not just a discussion.
Power-Ups are add-ons that extend Trello boards. For course management, the ones I see most value in are Calendar (deadlines visibility), Google Drive (attach lesson assets easily), Slack (faster updates), and Custom Fields (structured tracking like student-facing status). Choose only what solves a real workflow problem—otherwise they just add clutter.
Review the board weekly, move cards to the correct stage, and archive completed items monthly. Keep card titles deliverable-based and use due dates only for meaningful checkpoints (draft ready, review due, publish date). If something is consistently stuck, split the card into smaller checklist items so you can see the bottleneck clearly.