
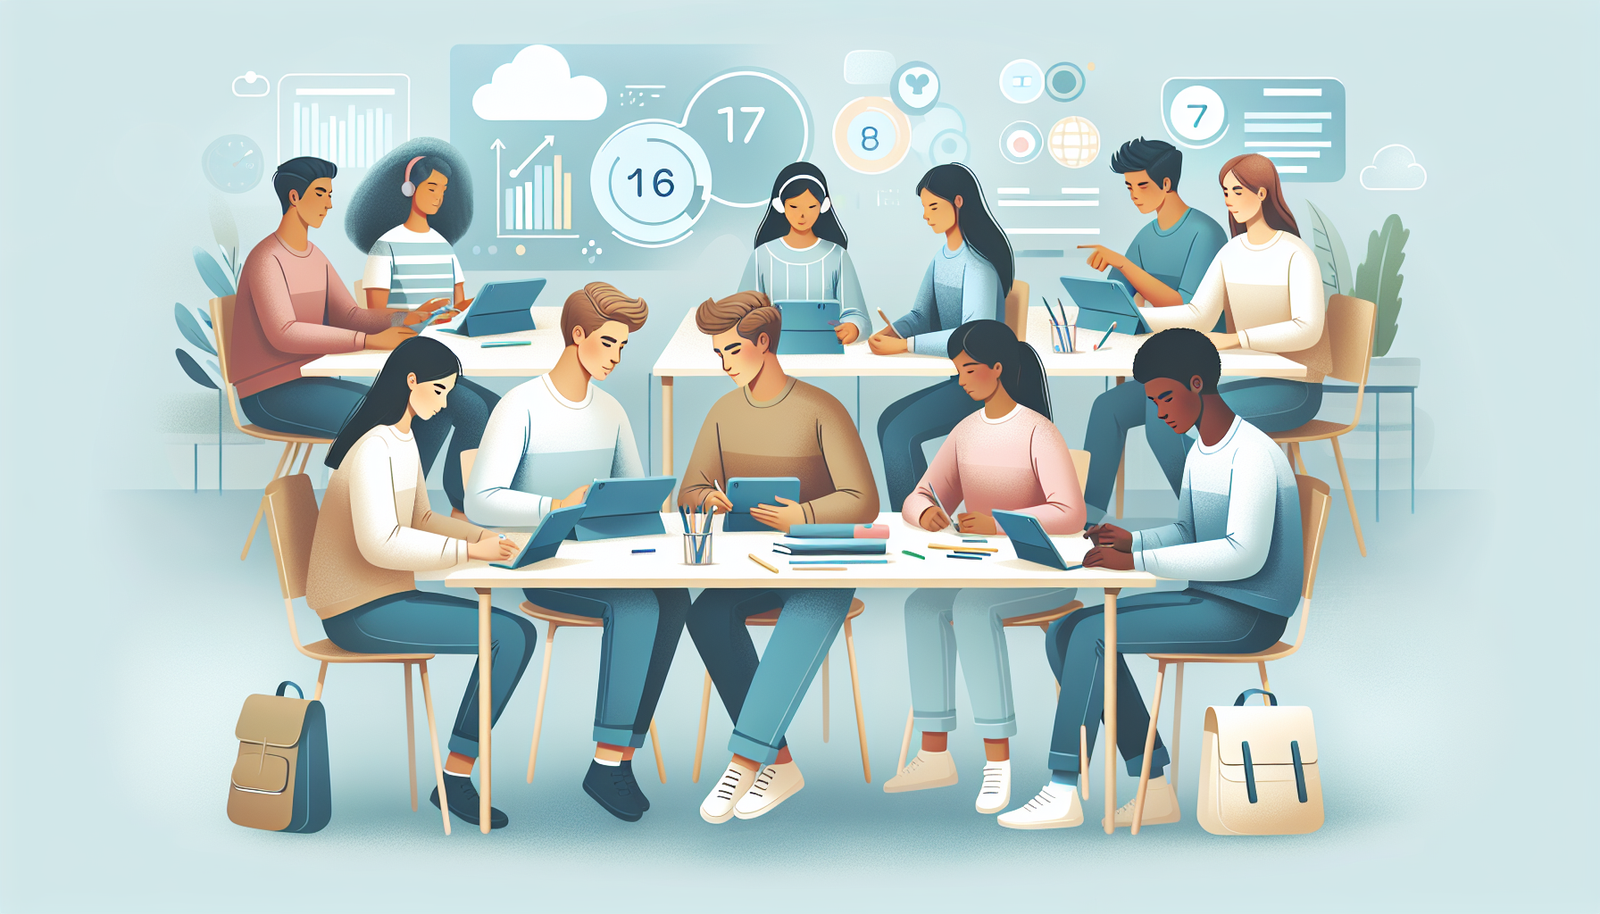
How to Use Mobile Devices for Collaborative Learning Effectively
I’ve taught with phones and tablets in a few different setups, and yeah—sometimes they’re a distraction. But when you use them with a clear plan, they can also turn group work into something more natural, more responsive, and honestly a lot more engaging for students.
So if you’re wondering, “Can I really use my phone or tablet for something educational and collaborative?” the answer is: you can. The trick is not starting with the apps. Start with the task, the group structure, and the rules for how students communicate and share work.
In this article, I’m going to walk through practical ways to use mobile devices for collaborative learning—real workflows you can copy, what I noticed works (and what doesn’t), and how to avoid the most common problems like miscommunication, uneven participation, and access issues.
Key Takeaways
- Mobile devices support collaborative learning through real-time chatting, shared documents, and quick feedback loops.
- Use tools that match the job: Google Docs for writing, Kahoot! for quick checks, WhatsApp/Teams for discussion, and Trello/Asana for task tracking.
- Pick apps students can actually use on day one—simple interfaces beat “feature-rich” every time.
- Set up a structured routine: shared workspace, clear roles, regular check-ins, and a communication protocol.
- Gamify with purpose (points tied to deliverables and collaboration behaviors), not just random quizzes.
- Plan for real constraints: device/internet gaps, off-task behavior, and miscommunication—then build guardrails.

Ways to Use Mobile Devices for Collaborative Learning
Mobile devices can make collaboration feel less like “everyone has to be in the same place” and more like “the group can move together.” In my experience, the best results come when you match the tool to the collaboration type.
1) Messaging for quick coordination (not chaos). If you use WhatsApp, Signal, Microsoft Teams, or even a class chat, set a purpose: planning, questions, or quick feedback. For example, during a 30-minute group research task, I ask students to post their question to the group chat using this format: “We’re stuck on ___ because ___; can someone explain ___?” That one rule reduces off-topic scrolling.
2) Collaborative documents for shared thinking. Google Docs (and similar tools) work great for writing, editing, and peer review. The big win is version history and real-time co-editing. What I noticed: students talk more when they can see edits happening live. It becomes easier to say, “Wait—why did you change that sentence?”
- Use case: Group lab report draft, book discussion notes, or a shared argument map.
- Tip: Turn on “suggesting” mode for peer feedback so students aren’t overwriting each other’s work.
3) Video meetings when you need real discussion. Zoom or Microsoft Teams can help when groups need to do something that can’t be handled well by chat alone—like negotiating roles, rehearsing presentations, or doing a debate. I usually reserve video calls for shorter check-ins (10–20 minutes) instead of making them the whole workflow.
4) Presentation tools for creative output. Canva, Google Slides, and Prezi are ideal when the group has to produce something visual. For collaborative success, I assign “slide ownership”—each student is responsible for 1–2 slides or one section. Otherwise, you get the classic problem: everyone edits everything, and nothing is finished.
5) Polls and interactive quizzes for “live” accountability. Kahoot! and similar tools are great for rapid feedback. But don’t use them only for fun—use the results to drive the next step. Example: after a Kahoot quiz on vocabulary, groups must generate one “misconception correction” poster based on the questions most students missed.
Benefits of Collaborative Learning with Mobile Devices
When mobile devices are used intentionally, you get a few benefits that show up quickly—especially in engagement and participation.
More participation (because it’s easier to contribute). Students who are quieter in class often participate more in chat-based discussion or collaborative documents. They can draft, revise, and respond without having to speak up immediately.
Faster feedback loops. Mobile tools make it easier for you to check progress. A shared doc with comments, a quick poll, or a short screenshot of a draft can tell you what’s working long before the final submission.
Better resource sharing. Students can pull in links, images, short videos, and notes right where the group is working. That reduces the “I forgot to bring the source” problem.
Improved collaboration routines. Once students learn the workflow—post updates, edit the shared doc, respond to peer feedback—collaboration becomes a repeatable habit, not a one-time event.
What about evidence? Research on mobile-computer-supported collaborative learning (mCSCL) generally finds positive effects on learning outcomes and engagement compared to more traditional approaches. One example you can look up is:
- O’Malley, C. et al. (2003) (often cited in early m-learning frameworks) discussing how mobile support can enhance context-aware, collaborative learning activities.
- Research syntheses in the mCSCL area commonly report improved collaboration processes (like interaction quality) and sometimes improved achievement, depending heavily on task design, group support, and tool choice.
I’m intentionally not repeating a random t-statistic here—because without the full citation (authors, year, study context), those numbers aren’t very useful. If you want, tell me your grade level and subject, and I can help you find a more specific study you can cite in your own materials.
Choosing the Right Apps for Collaborative Learning
Here’s the part that matters: don’t pick apps because they’re popular. Pick them because they fit the task. I use a simple decision criteria in my lesson planning:
Tool decision matrix (quick and practical)
- If the task is writing/editing: Google Docs, Microsoft Word online, or similar collaborative editors.
- If the task is discussion/planning: WhatsApp (or school-approved chat), Microsoft Teams, or Slack-style channels.
- If the task is presentations: Canva, Google Slides, or PowerPoint with co-authoring.
- If the task is project tracking: Trello or Asana for visible roles, deadlines, and checklists.
- If the task is quick understanding checks: Kahoot!, Google Forms, or Mentimeter-style polls.
- If the task needs media capture: Flip (or any camera + upload workflow) for short evidence clips, interviews, or demonstrations.
User-friendliness check (what I actually test):
- Can students join a shared doc without hunting for permissions?
- Does the app work well on mobile (not just desktop)?
- Can I reset access fast if someone forgets a login?
- Is there a clear “share” link students can copy in under 10 seconds?
Security checklist (especially if you’re sharing student work):
- Use school-managed accounts where possible (Google Workspace for Education / Microsoft Education).
- Check what permissions the app requests (camera, contacts, location). If it’s not needed, avoid it.
- Decide whether you’re using “view only” vs “comment/suggest” permissions.
- Confirm whether the tool stores chat logs or uploads publicly by default.
- Lock down sharing links to “anyone with the link” only if your school allows it.
Sample student workflow (so it’s not just “use the app”):
- Step 1 (Day 1): Teacher posts the assignment brief in a shared folder.
- Step 2: Each group creates a shared doc with their names + roles.
- Step 3: Students post a 3-bullet plan in the group chat: Goal / Sources / Next step.
- Step 4: During work time, students add comments to each other’s sections (suggest mode).
- Step 5: At the end, one student uploads a final link + screenshot of the completed checklist to the teacher.
And yes, involve students in choosing apps—but keep it structured. I usually give them 2–3 approved options and let them vote based on “ease of use” and “how fast we can share work.”
Setting Up a Collaborative Learning Environment on Mobile Devices
This is where most mobile learning plans succeed or fail. If you skip the setup, students spend the lesson troubleshooting instead of collaborating.
What I do first (before the first group day):
- Device readiness: Make sure students know how to log in and open the shared folder/doc.
- One practice task: Give a 10-minute “warm-up” where students edit a shared doc and leave one comment.
- Expectations: Teach a simple communication rule (example: “Ask one clear question + include what you tried.”)
A setup routine that works for real classrooms
- 1) Create one shared workspace hub: Usually a Google Drive folder or Microsoft Teams class channel.
- 2) Add a template: A shared doc template with sections for roles, sources, draft, peer feedback, and final submission.
- 3) Assign roles (and rotate): Example roles: Facilitator (keeps discussion on task), Scribe (updates shared doc), Research Lead (finds sources), and Presenter (submits final output).
- 4) Set check-in times: I like “two checkpoints” for a 1–2 week project: one halfway (progress proof) and one near the end (draft review).
- 5) Keep teacher visibility simple: Use a submission form or a single “turn-in” folder so you’re not hunting across apps.
Intro session I’ve used (quick version)
- 5 minutes: Demo how to open the shared doc and locate the correct section.
- 10 minutes: Students add one idea to the doc and leave one suggestion comment.
- 5 minutes: Whole-class debrief: “What was easy? What was confusing?”
Common troubleshooting (so you’re not stuck mid-lesson)
- “I can’t access the file.” Fix it by using a single class email/drive link and double-checking permissions.
- “The doc won’t load.” Have an offline backup plan: screenshots + later upload, or a low-bandwidth alternative like a text-based form.
- “Students are off-task.” Use timed work blocks (e.g., 12 minutes work + 3 minutes check-in) and require a deliverable each block (comment, screenshot, or checklist update).
- “Too many chats.” Require that all questions go into one channel/thread with a consistent format.
Engaging Students in Collaborative Learning Activities
If you want students to stay engaged, you need more than “work together.” You need momentum and clear rewards.
Gamification that doesn’t feel childish
In my experience, the best gamification is tied to collaboration behaviors and completed deliverables. Here’s a design you can use:
- Points for: (1) completing assigned contribution, (2) leaving a useful peer comment, (3) responding to feedback, and (4) meeting a checkpoint deadline.
- Roles: Each role has a specific “point target.” Example: Research Lead earns points only when sources are added and cited in the shared doc.
- Duration: 1–2 weeks with 2 checkpoint milestones.
- Public but fair: Share group progress (not individual grades) so students don’t get discouraged.
Example activity: “Misconception Rescue” using Kahoot! + Docs
- Day 1 (10 minutes): Kahoot! quiz on key concepts. Students see which questions they missed.
- Day 1 (15 minutes): In groups, students open a shared doc and write a “Rescue Plan” for the top 2 missed questions: What people think / What’s correct / One example.
- Day 2 (20 minutes): Peer review: groups leave comments on each other’s rescue plans.
- Day 2 (5 minutes): Quick exit poll: “Which explanation helped you most?”
Multimedia that actually adds value
Videos and podcasts work best when students have to produce something, not just watch. For instance:
- Students record a 45–60 second explanation clip (using their phone camera) and upload it to the shared folder.
- They add a short caption with a claim + evidence.
- Then the group uses a shared rubric to decide which clip best supports the final presentation.
Peer teaching (the easiest engagement boost)
Try “teach-back” roles. Each group member teaches one section to the group using the shared doc as their notes. It’s harder to hide when you have to explain your part.
Best Practices for Effective Mobile Collaborative Learning
Here are the habits I rely on to keep mobile collaborative learning organized and productive.
1) Start with clear outcomes (and make them visible)
- Example outcomes: “Produce a 1-page argument with 3 sources,” “Give and receive feedback using comment mode,” or “Deliver a 3-slide presentation with citations.”
- Post the checklist in the shared doc so students can self-monitor.
2) Communication guidelines (simple beats fancy)
- Ask questions in the same format every time.
- Require evidence when making claims (“What source supports that?”).
- Use respectful language and keep feedback about the work, not the person.
3) Accountability that doesn’t punish the whole group
Assign roles and rotate them. Then grade both the final product and the collaboration process. A lightweight rubric helps a lot.
Sample collaboration rubric (quick version)
- Contribution (0–4): Completed assigned work and met checkpoint deadlines.
- Collaboration (0–4): Left at least 2 meaningful peer comments/suggestions.
- Responsiveness (0–4): Updated work based on feedback.
- Quality (0–4): Final output meets the content requirements and is understandable.
4) Feedback timing matters
Don’t wait until the end. I try to give feedback at the halfway checkpoint, even if it’s just “good progress—add citations here” or “your draft is strong; clarify your evidence.”
5) Keep progress visible
Trello/Asana can be a lifesaver for group projects. Students love checking off tasks, and teachers love not having to chase updates across five apps.
6) End with reflection (and make it short)
Two questions is enough: “What helped the group move forward?” and “What would you do differently next time?”
Challenges of Mobile Collaborative Learning and How to Overcome Them
Mobile collaboration isn’t magic. The problems are predictable, though—and that’s good news because you can plan for them.
Challenge 1: Unequal access (devices and internet)
- What happens: One student can’t upload, another can’t open links, and the group stalls.
- What to do: Provide school devices when possible or create “offline-friendly” steps (write in a notes app, take a photo screenshot, upload later).
- Backup plan: Keep a printed mini-worksheet version of the assignment brief.
Challenge 2: Miscommunication
- What happens: Students interpret messages differently, and edits go in the wrong direction.
- What to do: Require check-ins at set times and use short summaries. Example: “By 3:10, our plan is ___.”
- Tool trick: Use comments in the doc for feedback instead of vague chat messages.
Challenge 3: Unequal participation
- What happens: One or two students do the work while others watch.
- What to do: Assign roles, rotate responsibilities, and require each role deliver a specific output (like “source list,” “draft section,” “slide section,” or “final checklist screenshot”).
Challenge 4: Distractions
- What happens: Students drift to games, social apps, or unrelated browsing.
- What to do: Use timed work sprints and require a deliverable each sprint (comment, screenshot, or checklist update). If your school supports it, consider app/site restrictions during work time.
Challenge 5: Teacher overload (too many platforms)
- What happens: Submissions are scattered across chats, docs, and links.
- What to do: Pick one “turn-in” location and require links/screenshots there.
Future Trends in Mobile Collaborative Learning
Mobile collaborative learning is moving fast. But not all “future trends” are ready for the classroom today—so here’s what I’d actually pilot in a safe, practical way.
1) AI-assisted feedback (use it carefully)
Some platforms are starting to add AI features for drafting, rewriting, and feedback. I wouldn’t let students use AI freely without guardrails. Instead, I’d pilot something like:
- Students submit a draft to the teacher-approved tool.
- AI suggests 2–3 improvements.
- Students must explain which suggestion they accepted and why (and cite evidence if it’s content-related).
- Keep privacy in mind: check whether student prompts are stored and whether accounts are managed by the school.
2) More “in-app” collaboration features
Expect chat apps and document tools to keep adding built-in workflows—like task checklists inside shared docs or tighter integration between presentations and comments. The benefit is fewer logins and less switching.
3) AR and immersive collaboration (limited right now, but promising)
AR can be cool for science and history, but it’s not always reliable on older devices. If you pilot AR, start with a small group and a single device model, and plan an alternative activity for students whose devices can’t run it smoothly.
4) Better accessibility and offline support
As schools push for inclusion, we’ll likely see more offline modes, captions, and text-to-speech options. That’s not “just a trend”—it directly affects whether collaborative learning is actually equitable.

Setting Up a Collaborative Learning Environment on Mobile Devices (A More Detailed Walkthrough)
If you want a simple “do this, then this” plan, here’s one I’ve used for a group project in a mixed-device classroom.
Step-by-step setup (2-day launch)
- Day 0 (prep): Create one shared folder and one shared doc template. Pre-load the rubric/checklist and role descriptions.
- Day 1 (launch): 15-minute training: students log in, open the template, and complete a 3-bullet example in the doc.
- Day 1 (assign roles): Each group chooses roles and posts a “group agreement” message in the chat: what we’ll do if someone falls behind.
- Day 1 (first checkpoint): Groups must submit a screenshot of their plan (not the final work yet).
- Day 2 (work block): Students collaborate in the shared doc with comment/suggest mode. Teacher circulates and leaves 1–2 comments per group.
- Day 2 (checkpoint): Each group submits one “draft proof” artifact (rough outline, slide draft, or source list).
My “no surprises” rule
Before students start, I show them exactly what “done” looks like. A lot of collaboration collapses because students aren’t sure what counts as a finished contribution.
Device management approach
- Keep the number of required apps small (usually 2–3 max).
- Use one login system (school accounts).
- Decide what happens if a device dies (pairing plan + offline writing step).
- Have a “help shortcut” students can use: one chat thread titled “Help—Group Name.”
Engaging Students in Collaborative Learning Activities (Specific Activity Ideas)
Here are a few collaborative activity formats that work well with mobile devices because they naturally use the phone/tablet strengths: camera, messaging, quick creation, and shared editing.
Activity idea 1: Photo evidence + shared writing
- Groups complete a “find and explain” task (e.g., math in real life, science observations, historical landmarks).
- They take 2–3 photos and upload them to the shared folder.
- In the shared doc, they write: Claim → Evidence (photo) → Explanation.
Activity idea 2: Collaborative debate prep
- Use chat for argument building (“Point / Evidence / Counterpoint”).
- Use Google Docs for the final debate script.
- Use a short video call for rehearsal (10 minutes) so students can practice speaking and listening.
Activity idea 3: Interactive quiz → group response
- Run a quick Kahoot! quiz.
- Groups review the missed questions and create a “fix it” explanation slide.
- Each group must include one example that matches their own context (not a generic definition).
Activity idea 4: Peer review with “comment roles”
- Assign reviewers to specific tasks: grammar check, clarity check, evidence check.
- Students leave comments in the doc using those categories.
- The writer must respond to each comment with a revision or a justification.
Best Practices for Effective Mobile Collaborative Learning (What to Do Every Time)
When I look back at the lessons that ran smoothly, they all share the same structure. If you copy this pattern, you’ll avoid a lot of headaches.
Repeatable structure (works for most subjects)
- Brief (5 minutes): What’s the goal and what does success look like?
- Model (5 minutes): Show one example of a strong contribution.
- Work sprint (10–15 minutes): Students collaborate with a deliverable requirement.
- Check-in (3 minutes): Groups post progress (screenshot, link, or 1-sentence update).
- Feedback (teacher + peer): Use comments/suggest mode for peer feedback.
- Wrap (5 minutes): Reflection: what improved after feedback?
One more thing I recommend
Keep a “collaboration norms” mini-poster on-screen (or in the doc): how to ask for help, how to give feedback, and when to update the shared checklist.
Challenges of Mobile Collaborative Learning and How to Overcome Them (Real Fixes)
Here’s how I handle the same issues again and again—because they always come up.
Miscommunication fix
- Require a daily “status update” format: We finished / We’re working on / We need help with.
- Use doc comments instead of chat when feedback is about specific text.
Unequal participation fix
- Track role outputs (source list, draft section, slides, final checklist screenshot).
- Rotate roles mid-project so students don’t get stuck with the “easy” tasks.
Distraction fix
- Use short timed blocks and deliverable checkpoints.
- Assign one “device job” per sprint (e.g., only edit doc during the sprint).
Access fix
- Create an offline-friendly step and a later upload pathway.
- Pair students strategically so the group doesn’t stall if one device fails.
Future Trends in Mobile Collaborative Learning (What to Pilot Safely)
If you want to try something new without putting student data at risk, pilot with small steps.
Safe pilot ideas for the next semester
- AI drafting support: Let students use AI only for brainstorming outlines, not final submissions. Require citations and a “human reasoning” explanation.
- Offline collaboration: Test apps that allow offline editing and later sync.
- Accessibility upgrades: Turn on captions, text-to-speech, and simplified reading modes where available.
And keep privacy front and center. Always check school policy, account management, and whether tools store student inputs.
FAQs
Mobile devices make it easier for students to collaborate in real time—through shared documents, messaging, and quick feedback. They also help with accessibility because students can revisit resources, contribute at different times, and share evidence (like photos or short clips) directly with the group.
I’d start with the task: writing/editing, discussion, presentation, or project tracking. Then I check mobile usability, sharing permissions, and whether students can access the tool quickly. If possible, test the app with a small group first and collect quick student feedback on what was confusing.
The big ones are unequal access (devices or internet), distractions, and miscommunication. You can reduce these by running a short training session, using role-based responsibilities, requiring deliverables during work sprints, and setting regular check-ins so groups don’t drift.
Set clear goals, keep the number of apps small, and use a shared workspace so students know where to submit work. Assign roles, use a simple collaboration rubric, and build in check-ins. Finally, end with a short reflection so students improve the process for next time.