
How to Engage Students With Collaborative Projects Effectively
I’m not going to pretend collaborative projects are automatically smooth. If you’ve ever watched a group of students stare at a blank document while someone scrolls TikTok, you know what I mean. It can feel like you’re trying to herd cats—especially when you’ve got mixed readiness levels, different personalities, and about 14 other things happening in the classroom.
Still, it can work. In my experience, the difference isn’t “teamwork vibes.” It’s structure. When students know the goal, their role, the checkpoint dates, and exactly what evidence they need to produce, collaboration stops being chaos and starts feeling purposeful.
In this post, I’ll walk you through a classroom-ready approach to collaborative projects that you can use across grade bands (middle school through high school), including a realistic timeline, concrete project types, and the assessment tools that keep everyone accountable. By the end, you’ll have a ready-to-use rubric criteria set, role templates you can adapt, and a sample project plan you can run next week.
Key Takeaways
- Collaborative projects work best when they’re built around a clear deliverable, short milestones, and specific role responsibilities.
- Small groups (3–5 students) tackling one shared goal make it easier to manage participation and planning.
- Students show stronger communication and critical thinking when you require evidence (sources, drafts, peer feedback, and reflections), not just “participation.”
- Use a few proven project archetypes: (1) research-to-presentation, (2) service/impact project, (3) creative product with a process log.
- Define goals up front, form intentionally diverse groups, and assign roles that prevent free-riding.
- Match collaboration tasks to learning preferences by offering multiple output formats (slides, video, infographic, podcast, demo).
- Assess with a mix of teacher checks, peer feedback, and individual reflection prompts tied to milestones.

Engaging Students with Collaborative Projects
Collaborative projects can absolutely boost engagement—but only when the work is designed so students can’t “opt out” quietly. The goal isn’t just teamwork. It’s building a product or solution that requires real contributions from every group member.
Here’s a practical starting point I’ve used: run collaborative projects in 3–5 student groups and keep the first version 2–3 weeks long. That’s long enough to plan, draft, revise, and present—without turning into an endless group-management headache.
Next, decide your deliverable before you decide your activities. For example, in science you might set the deliverable as a prototype + explanation. In ELA, it might be a multi-part persuasive campaign. In social studies, it might be a policy brief with a visual infographic.
Once the deliverable is set, you can make it workable by giving each student a defined chunk of the process. Take a science example: a renewable energy project where teams design a small solar-powered device. Instead of “everyone help,” assign responsibilities like:
- Research lead: finds 2–3 sources explaining how solar cells work and summarizes the key points.
- Design lead: drafts the device plan (materials, steps, and a simple diagram).
- Build/test lead: runs the build and records results (what worked, what didn’t, and why they think it happened).
- Communication lead: creates the presentation (slides or a short video) and writes the script.
What I noticed the first time I used this structure? Even the quieter students started contributing—because their role had an obvious output and a due date.
Benefits of Collaborative Projects for Students
Let’s talk about benefits in a way you can actually see in student work. “Improved communication” sounds nice, but what does it look like on the page?
Here are observable indicators I look for:
- Communication: students use specific evidence (not just opinions), cite sources in a consistent format, and revise based on peer feedback.
- Responsibility: each role has a submitted artifact (research notes, draft slides, prototype test log, script outline) rather than “I did my part” with no proof.
- Critical thinking: students compare options (“We chose X because…”) and explain trade-offs (“This solution saves time, but costs accuracy”).
- Problem-solving: students document iteration—what failed, what they changed, and what result they got after the change.
For example, when students are building a solar device, the “critical thinking” shows up when they don’t just say “it didn’t work.” Instead, they write: “The angle reduced output because the panel was tilted inconsistently. We adjusted the stand and retested at the same light distance.” That’s learning you can grade.
Collaboration also supports motivation. When students have a role and the group is relying on them, they’re less likely to tune out. It’s not because they suddenly love group work. It’s because the project design makes their contribution necessary.
Types of Collaborative Projects
You don’t need 20 different project ideas. I usually pick from three “archetypes” and reuse them across units.
1) Research-to-Presentation (2–3 weeks)
Students gather sources, build an outline, draft slides/notes, and deliver a presentation or recorded explanation.
- Constraint: require at least 3 credible sources and 1 revision cycle after peer feedback.
- Assessment: rubric categories for evidence, clarity, and individual role artifacts.
2) Service/Impact Project (1–4 weeks)
Students apply what they learned to solve a small local problem (awareness, improvement, or a measurable action).
- Constraint: define a specific action (e.g., “collect 50 survey responses,” “create 30 flyers,” “deliver 2 presentations to another class”).
- Assessment: check-ins + final reflection about impact and what they’d do differently.
3) Creative Product with Process Log (1–3 weeks)
Teams create a collaborative story, art installation plan, podcast series, or performance piece—while tracking the process.
- Constraint: require a process log (at least 3 entries: planning, draft, revision).
- Assessment: creativity + collaboration evidence (peer feedback + individual contributions).
If you’re wondering which one to start with? I’d pick Research-to-Presentation first. It’s the easiest to scaffold, and it naturally produces evidence for assessment.
Steps to Implement Collaborative Projects
Here’s the workflow I recommend if you want collaborative projects to actually run. Think of it as a checklist.
Step 1: Define the goal + deliverable (before you form groups)
Write the deliverable in student-friendly language. Example: “By the end, your team will submit a 6-slide deck and a 2-minute video explaining your solution using at least 3 sources.”
Step 2: Set milestones with due dates (and make them short)
For a 2–3 week project, use 3–4 milestones. Example milestones:
- Milestone A (Day 3–4): team plan + role assignments + topic approval
- Milestone B (Day 6–8): sources collected + outline drafted
- Milestone C (Day 10–12): first draft submitted + peer review completed
- Milestone D (Day 14–15): final product + individual reflection
Step 3: Form diverse groups intentionally
I like mixing strengths (not just mixing “ability”). If you can, group students with complementary skills—one strong reader, one strong presenter, one detail-oriented organizer, etc. If you don’t have that data, use quick diagnostics (a short pre-quiz + a “what are you best at?” interest card).
Step 4: Assign roles that produce artifacts
Roles shouldn’t be vague. Each role should create something students can turn in. A simple set of roles that works across subjects:
- Facilitator: keeps meetings on track and records decisions
- Researcher: collects sources and summarizes key points
- Builder/Writer: drafts the main content (slides, script, poster, prototype notes)
- Editor/Quality check: checks requirements (rubric items, formatting, accuracy) and manages revisions
Step 5: Build in check-ins (so you can catch problems early)
During check-ins, ask for the milestone artifact—not vibes. “Show me your outline.” “What did peer feedback change?” “Who still owes what?”
Step 6: Keep the environment structured but flexible
Students should have room to make choices (format, examples, design style), but the process stays consistent. That balance is what prevents the project from drifting.
Strategies to Enhance Student Engagement
Engagement doesn’t happen because you “want it to.” It happens when students can see (1) what to do next and (2) why it matters.
1) Offer output choice (without changing the requirements)
If the deliverable is “explain your solution,” let groups choose the format: slideshow, infographic, short video, or podcast. The requirement stays the same: evidence + clarity + role artifacts.
2) Use a “safe to be wrong” culture
I tell students: drafts are where the real learning happens. When they know you won’t punish mistakes, they’ll actually revise after peer feedback instead of treating the first draft as final.
3) Build peer review into the schedule (not as an afterthought)
If you skip peer review, groups often submit the same flawed plan they started with. With peer review, they get a second set of eyes at a time when revisions are still easy.
4) Use a simple tech workflow that matches the project stages
This is where tools help—when they’re tied to steps. A workflow that works well:
- Brainstorm: Padlet for idea clustering (each student posts 1 idea + 1 “why”)
- Source collection: shared doc/spreadsheet with links + 2-sentence summaries per source
- Outline: Google Docs shared outline with headings assigned by role
- Draft: slides/video script drafted collaboratively
- Peer review: form or comment-based feedback with required prompts
When students know the “what” and the “when,” they stop waiting for someone else to lead.
Tools and Resources for Collaborative Learning
Let me be honest: tools don’t fix weak project design. But the right tool can make the structure easier to run.
Google Workspace (Docs, Slides, Sheets): great for collaborative drafting and version tracking. I like using it for source notes and outlines because students can work simultaneously and you can quickly see who contributed.
Microsoft Teams: useful if you want a central hub for group chat, assignment posting, and video check-ins. It’s also helpful for classes that already use Microsoft licenses.
Trello: best for visual task tracking. Set up boards with columns like “To Do,” “In Progress,” “Peer Review,” and “Done.” Require each role to move their task forward by a milestone date.
Padlet: ideal for brainstorming and sorting ideas quickly. For example, require each student to post one source idea and one reflection (“How does this source help our claim?”).
If you want a more classroom-social feel, Edmodo can work well for controlled discussion and teacher-managed posts. And for subject practice, Khan Academy can support groups with targeted review before they apply concepts in the project.
One more thing: don’t assume students can use every platform well. Spend 10 minutes teaching the exact steps you want (how to comment, how to share, how to label drafts). It saves you hours later.
Assessing Student Participation and Learning Outcomes
Assessment is where collaborative projects either feel fair—or feel like a popularity contest. I try to measure both the product and the process, with individual evidence.
Teacher checks (formative): quick rubric-aligned check-ins at milestones. You can do this with a 3-minute observation and a screenshot/notes.
Peer assessment (structured): peer feedback with categories and required comments so students can’t just write “good job.”
Self-reflection (individual): prompts tied to roles and milestones.
Here’s a peer-evaluation template you can copy:
- Student name being evaluated: ____________________
- Group project: ____________________
- Rating scale: 1 = Not yet, 2 = Developing, 3 = Proficient, 4 = Strong
- Criteria (rate 1–4):
- Role contribution: Completed assigned tasks by deadlines (1–4)
- Collaboration: Listened, built on others’ ideas, stayed respectful (1–4)
- Quality of work: Submitted clear, accurate, usable artifacts (1–4)
- Accountability: Followed through after feedback and communicated updates (1–4)
- Required written feedback:
- One thing this student did well: ____________________
- One suggestion to improve future group work: ____________________
- Evidence examples (what artifact shows this?): ____________________
And here are reflection prompts that actually help students think (and that align with roles):
- Role-based: “What did your role contribute to the final product? Name one specific artifact you created or revised.”
- Milestone-based: “At which checkpoint did your group make the biggest improvement? What feedback caused the change?”
- Growth-based: “If you could redo one part of the process, what would you change and why?”
Finally, if you use digital portfolios, students can upload role artifacts (outline, draft, peer feedback notes, final product, reflection). It gives you a clear trail of learning without guessing who did what.
Overcoming Challenges in Collaborative Projects
Let’s be real: collaborative projects come with predictable problems. The good news? You can plan for them.
Challenge 1: Uneven participation (the “one person does everything” problem)
Fix: assign roles that require tangible outputs and require milestone submissions. If a student never submits their artifact, you don’t have to guess—you have evidence.
Challenge 2: Conflicting personalities and communication breakdowns
Fix: set communication expectations early (for example: “disagree with ideas, not people,” “use respectful language,” “meetings end with decisions recorded”). If disagreements pop up, ask groups to write down the issue, the options, and the decision they made—then reflect on what they’ll do next time.
Challenge 3: Groups lose momentum
Fix: use short milestones and quick check-ins. I like a “two-minute status” format: each student shares (1) what they finished, (2) what they’re doing next, and (3) what they need from the group.
Challenge 4: Tech problems derail the project
Fix: do a mini tech rehearsal before the project begins. Teach students how to access shared files, how to comment, and how to submit. If you don’t, you’ll spend class time troubleshooting instead of learning.
Real-Life Examples of Successful Collaborative Projects
I’ll give you examples, but I want to be transparent: I can’t verify specific school names, dates, and quotes from the prompt you provided. So below are example scenarios that mirror real-world collaborative project formats. If you want, tell me your grade level and subject, and I can help you shape these into something you can actually run.
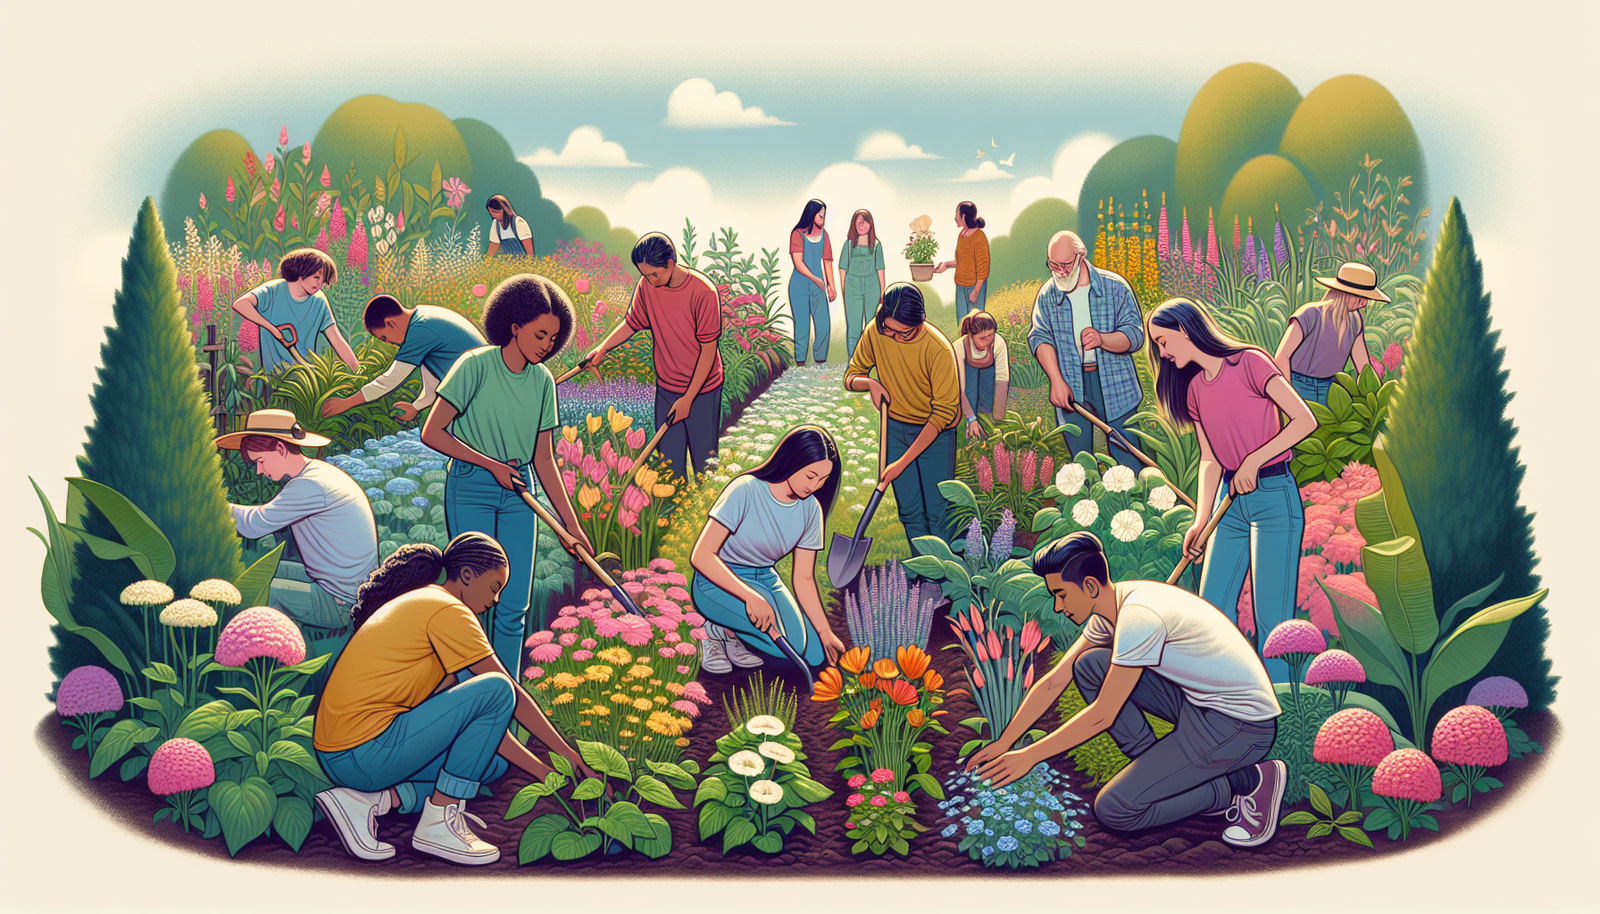
Example scenario: Community garden collaboration
Imagine a group of middle or high school students working on a community garden project. Teams design a plan, plant seedlings, and maintain the garden over several weeks. What makes it successful is the role structure: someone tracks watering schedules, someone documents plant growth, and someone creates signage explaining the science behind the plants and soil.
Example scenario: Engineering + local partner problem
Another common format is a college-level or advanced high school engineering project where students partner with local businesses. The key is a clearly defined problem brief and measurable deliverables (like a prototype, a cost estimate, and a user-testing report). Students learn fast because the work has a real audience and real constraints.
These examples work when you connect the project to a real deliverable and keep the process visible through drafts, checkpoints, and role artifacts.
FAQs
Collaborative projects help students think more deeply, communicate more clearly, and stay motivated because the work has shared purpose. They also expose students to different perspectives, which is where a lot of real learning happens.
Use a combination of peer evaluation, self-reflection, and teacher observations. Rubrics help a lot when they focus on individual role artifacts and specific behaviors (like evidence use, follow-through, and revision after feedback).
Uneven participation, mismatched skill levels, and logistics are the big ones. The best prevention is role-based accountability, milestone deadlines, and structured peer feedback so students aren’t guessing what “good teamwork” looks like.
Google Workspace, Microsoft Teams, and platforms like Padlet and Trello can make collaboration easier to manage. The real win is using each tool for a specific step—brainstorming, drafting, task tracking, and peer review—so students always know what to do next.