How To Deliver Courses Using Podcasting: A Complete Guide
Podcasting to deliver a course? Honestly, it’s one of the more underrated ways to teach. You get to use your voice, your stories, and your real explanations—without the pressure of being on camera. Still, I get why it feels intimidating at first. How do you turn “I know this stuff” into episodes people actually finish?
In my experience, the trick is treating your podcast like learning design, not just audio content. In the sections below, I’ll show you how to plan, record, edit, publish, and—most importantly—package your podcast so it supports course outcomes.
By the time you’re done here, you’ll have a practical workflow you can reuse for each episode, plus a few concrete targets for audio quality and performance metrics. Ready? Let’s make this useful.
Key Takeaways
- Pick an audience segment first (not “everyone”), then shape episodes around how they learn best—examples, repetition, demos, or case studies.
- Write course objectives in plain language and map each objective to a specific episode segment so learning doesn’t feel random.
- Choose a podcast format that matches your teaching style: solo for depth, interviews for perspective, and panels for breadth.
- Buy equipment based on your room and budget—dynamic vs condenser mics, monitoring headphones, and a simple editing tool.
- Use a repeatable episode template with a time plan (hook, teaching, application/recap) instead of a vague intro/main/conclusion.
- Record in a low-echo space and aim for consistent delivery (pace, mic distance, and stable input levels).
- Edit with a real checklist: cleanup (noise reduction), clarity (EQ/compression), and loudness targets (e.g., around -16 LUFS).

How to Deliver Courses Using Podcasting
Delivering courses through podcasting can be a really effective way to reach learners who want to study while they’re moving—commutes, walks, workouts, chores. But if you want it to feel like a course (not random episodes), you need a learning path.
Here’s what I recommend: treat each episode like a lesson with a specific job. Not just “talk about the topic,” but “help the listener do something” or “understand one key concept deeply.”
1) Start with a real audience segment
Instead of “beginners” or “professionals,” get specific. For example: “new real estate investors who need a simple underwriting checklist” or “freelance designers who want to price projects confidently.” When I’ve done this, my episode outlines get tighter fast.
2) Define course objectives you can measure
Objectives should be action-oriented. “Explain what an API is” is okay, but “build your first endpoint request and interpret the response” is better. Then you can map objectives to episode segments.
3) Build a course arc
Think in phases. A 6–10 episode course often works well as:
- Foundation: terminology, mental model, “what success looks like”
- Skills: step-by-step frameworks and examples
- Application: real scenarios, practice prompts, common mistakes
- Wrap-up: recap + next steps + how to keep improving
Benefits of Podcasting for Course Delivery
Podcasting has a few advantages that make it naturally suited for learning—especially when your learners don’t have long, quiet study time.
Flexibility is the big one. People can listen in short bursts. I’ve noticed that shorter “teaching moments” (10–20 minutes) often get more repeat plays than a single long lecture, even when the topic is the same.
Connection matters too. Written content can feel cold. Your voice adds warmth, urgency, and context. Listeners don’t just absorb facts—they hear the way you think.
Cost and setup are usually lower than video. You don’t need a studio. A solid mic, a quiet room, and basic editing software can get you surprisingly far.
Distribution is another win. Once your RSS feed is live, Apple Podcasts, Spotify, and others can pull your episodes automatically. That’s less manual work than trying to push content everywhere individually.
Choosing the Right Podcast Format for Your Course
I’ll be blunt: the “right” format is the one that helps you teach, not the one that sounds fancy.
Here are the formats that tend to work best for course delivery:
Solo episodes (best for frameworks and step-by-step teaching)
Solo lessons are great when you need consistent pacing and a clear structure. If your course is about a process—like “how to write a grant proposal” or “how to learn Spanish using spaced repetition”—solo episodes let you go deep without getting derailed by guest tangents.
Interviews (best for examples, credibility, and varied viewpoints)
Interviews work well when the course needs perspective. I like using interviews to show how someone applies the concept in real life. Just make sure you still have episode-level objectives. Otherwise, interviews can turn into “cool stories” without teaching.
Discussion panels (best for covering tradeoffs and common mistakes)
Panels are useful when learners need to understand different approaches. But they can be harder to edit and keep on track, so I only recommend them when you can manage the conversation tightly.
Mixed format (usually the easiest way to keep learners engaged)
If you’re unsure, alternate. For example, do solo episodes for the core material, then interviews for application. In my experience, this also helps you maintain consistency because not every episode requires a full teaching script from scratch.
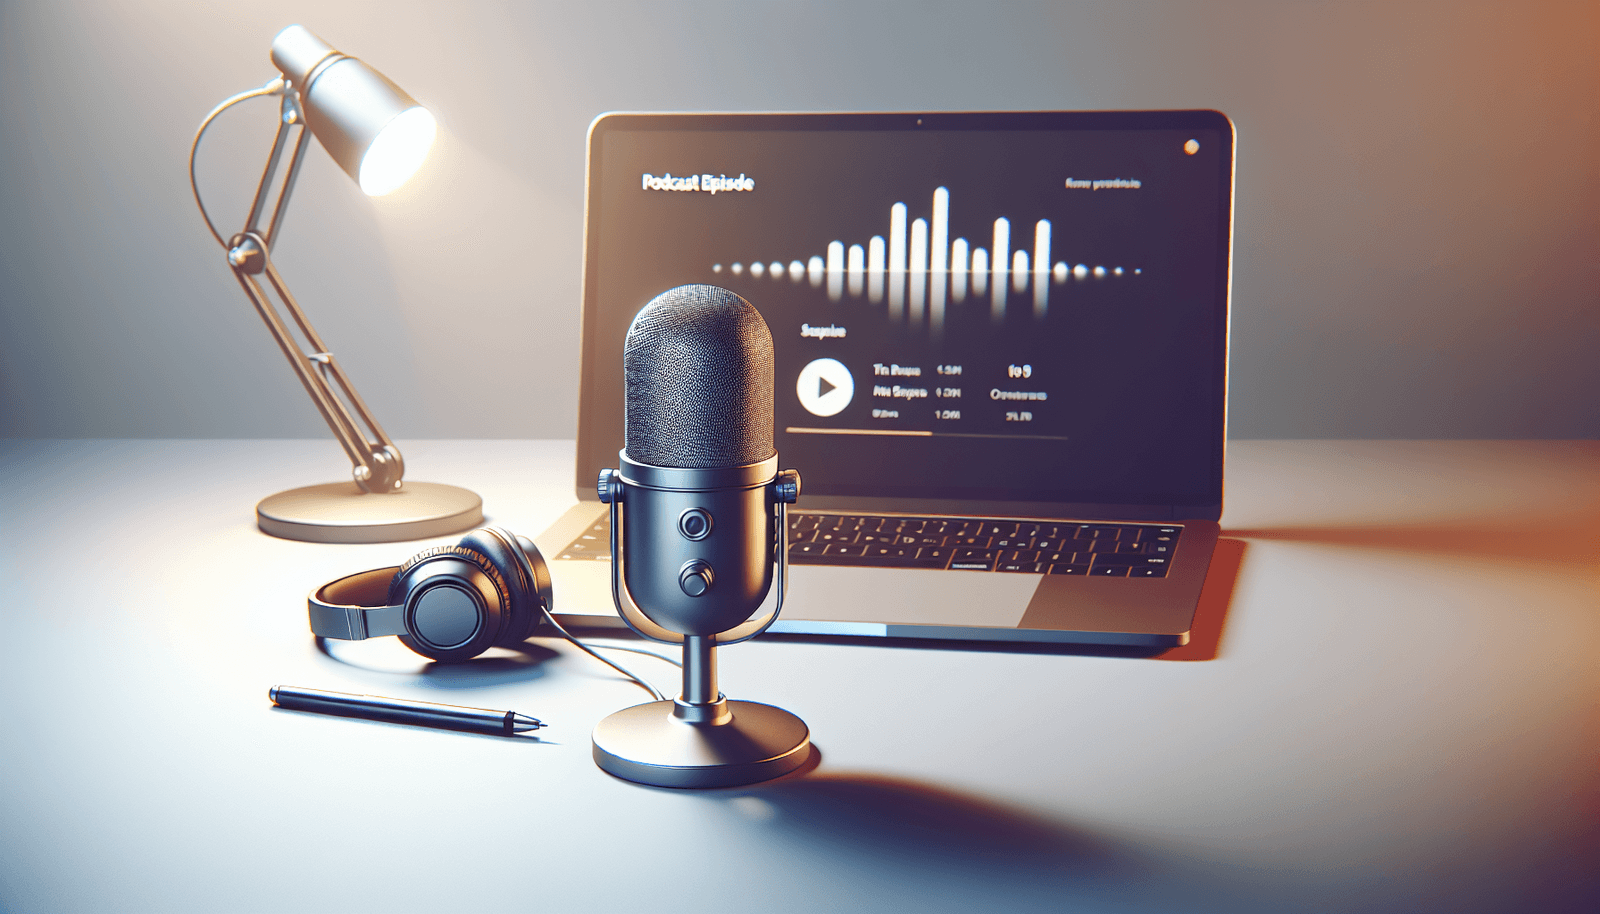
Setting Up Your Podcasting Equipment
You don’t need a $1,000 studio to start. But you do need to make smart choices based on your room and your budget. I learned this the hard way—my first mic sounded “fine” in recordings until I listened on headphones in a quiet environment. That’s when the room noise showed up.
Microphone: pick based on your space
- Small, untreated room (echo-y): consider a dynamic mic. It rejects background noise better.
- Quiet room (closet with blankets, carpet, low echo): a condenser mic can sound more detailed.
Common starting options people mention a lot: Blue Yeti and Audio-Technica AT2020. They can work, but your room matters as much as the mic model.
Headphones: don’t skip this
Closed-back headphones help you hear plosives, sibilance, and low-level noise. I use headphones to check if my voice is peaking too hard—because once you clip audio, editing can’t fully undo it.
Audio interface (optional, but helpful)
If you use an XLR mic, an interface improves signal quality and gives you more control than plugging straight into a laptop. If you’re starting with a USB mic, you can skip this for now.
Editing software
Free tools like Audacity and GarageBand are totally fine for course podcasts. The key is learning a consistent workflow, not chasing advanced plugins.
Practical recording settings
- Sample rate / bit depth: record WAV at 48 kHz / 24-bit if your software supports it. (It gives you more flexibility during editing.)
- Input level target: aim for peaks around -12 to -6 dB during speech so you never clip.
- Noise floor: you’re not looking for “silence,” but you want a consistent background that doesn’t jump around between takes.
A simple “good enough” setup
- Mic 6–8 inches from your mouth
- Pop filter or at least a windscreen
- Room treated with soft materials (blanket behind you, rug on the floor)
- One test recording, then listen back on headphones
Once you do that, you’ll stop wasting time editing audio that was already recorded too hot or too noisy.
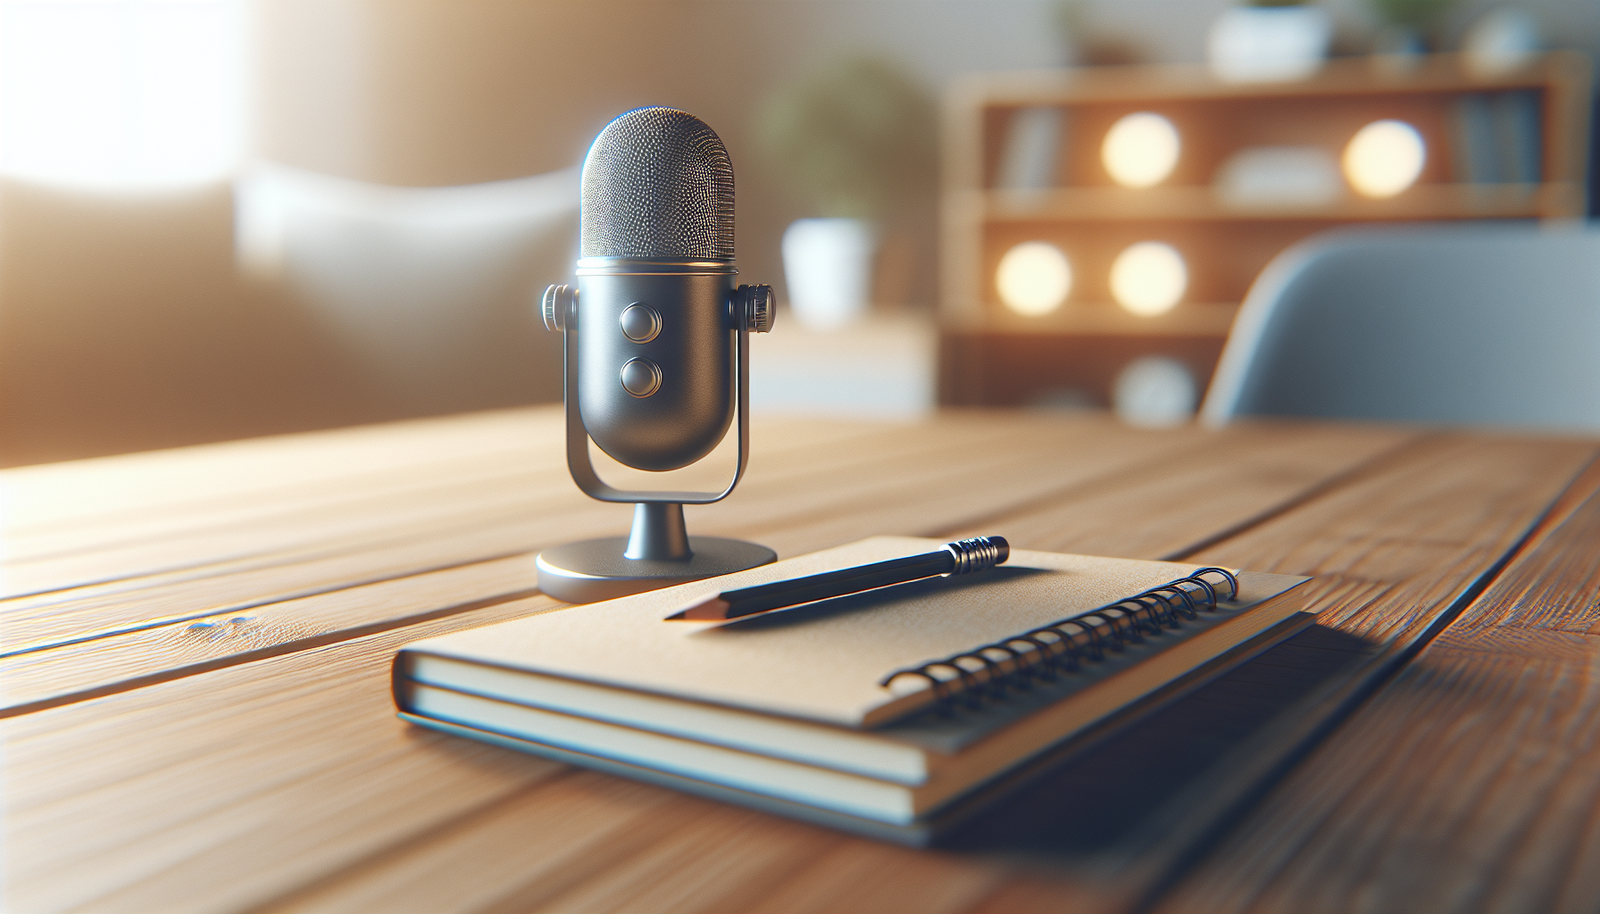
Planning Your Course Content for Podcasting
Planning is where podcast courses either become “real learning” or just a series of recordings. I always start with outcomes, not topics.
Step 1: Brainstorm topics, then rank them by learning impact
Write down every topic you could cover. Then ask: which ones unlock the rest of the course? In a good course, the early episodes remove confusion so later episodes feel easier.
Step 2: Map course objectives to episodes
Here’s a template I’ve used that keeps episodes from feeling repetitive:
- Episode title: includes the skill or outcome (e.g., “Episode 3: Write a Strong Problem Statement”)
- Learning objective: one sentence, action-based
- Key concept(s): 2–4 bullets
- Practice prompt: something the listener can do immediately
- Common mistakes: 2–3 things you’ll warn them about
Step 3: Use a time-based episode structure (not just “intro/main/conclusion”)
For a 20–30 minute episode, I like this breakdown:
- 0–2 min Hook: what problem this solves + quick “why now”
- 2–12 min Teaching: the core explanation + one example
- 12–20 min Application: walk through a scenario, checklist, or mini-demo
- 20–26 min Recap: summarize the key points in plain language
- 26–30 min Next step: a specific action + what to do before the next episode
Want a quick example? If your episode objective is “learn how to structure a lesson plan,” your teaching segment might explain the framework, your application segment might show a filled-out outline, and your recap might include a 5-step checklist the listener can reuse.
Step 4: Create a content calendar that matches your production reality
Don’t pick a schedule you can’t maintain. If editing takes you 3–4 hours per episode (it often does at the beginning), plan enough buffer time. I usually batch-record 2–3 episodes in one sitting once I’m in the groove.
Recording Your Podcast Episodes
Recording is the part people underestimate, mostly because they think the mic is the only variable. It’s not. Your environment and delivery matter just as much.
Before you hit record
- Do a 60-second test recording.
- Check levels (no clipping, and your voice sounds present).
- Listen for echo, fan noise, keyboard clicks, or street sounds.
- Close windows, silence notifications, and move distractions away.
During recording
- Speak slightly slower than you think you should. Audio makes everything feel faster.
- Keep mic distance consistent (about 6–8 inches is a common starting point).
- Use an outline, not a full script. I like bullet points and “trigger sentences” so it sounds natural.
- Pause intentionally. If you need a breath, do it—don’t rush through it.
Practice run (seriously worth it)
I usually do a quick rehearsal for the first episode of a batch. It helps me find my pacing and catch where I tend to ramble. That one habit saved me a lot of editing time later.
Save in a high-quality format
Record WAV (or another lossless format) for editing. MP3 is fine for distribution, but it’s not great for editing because it bakes in compression artifacts.
Editing and Producing Your Podcast
Editing is where your course podcast starts sounding “finished.” It’s also where you can fix most quality issues—if you have a repeatable workflow.
My editing checklist (simple but effective)
- 1) Remove dead air: cut long pauses and obvious mistakes.
- 2) Clean noise: use noise reduction carefully. Overdoing it can create that “underwater” sound.
- 3) EQ for clarity: reduce muddiness (often around 200–400 Hz) and add presence (often around 2–5 kHz) if needed.
- 4) Light compression: smooth out volume so your voice stays consistent. Start subtle.
- 5) De-ess if necessary: if “s” sounds are sharp, tame them.
- 6) Loudness normalization: aim around -16 LUFS for typical podcast loudness targets (platforms vary slightly, but this is a solid reference).
- 7) Add intro/outro: keep it short. If it’s 30 seconds, listeners will feel it every time.
- 8) Export settings: export MP3 at 128–192 kbps (or higher if your host recommends it) and verify the loudness didn’t drift.
You can use royalty-free music sources like Bensound for intro/outro tracks. Just make sure the music is low enough that it doesn’t fight your voice.
When I first tried editing without loudness normalization, some episodes sounded louder than others. That inconsistency is an instant turn-off. Once I standardized loudness, listener feedback got noticeably calmer—no one wants to “turn up the volume” halfway through.

Publishing and Hosting Your Podcast
Publishing is where your hard work turns into something people can actually find. The main thing to understand is that podcasts run on RSS feeds. Your hosting platform generates the feed; directories read it.
Step 1: Choose a host
I’ve seen creators have success with Libsyn, Podbean, and Transistor. Pick one that includes analytics and makes it easy to update metadata.
Step 2: Upload and fill out metadata properly
- Episode title: front-load the keyword (and keep it readable).
- Description: include a short summary + key takeaways + a link to course materials.
- Cover art: meet directory size requirements (most hosts guide you).
- Episode number/season: helps listeners follow the course arc.
Step 3: Submit to directories
Once you have your RSS feed, submit to Apple Podcasts, Spotify, and Google Podcasts. Submission timelines vary, but expect at least a few days for indexing on many platforms.
Avoid common RSS/metadata mistakes
- Wrong episode URL or file type
- Broken audio links
- Missing or incorrect episode tags/categories
- Description too short to understand what the listener will get
One practical tip: after publishing, open your feed in a browser and make sure the latest episode shows correctly. It’s a quick check that prevents “why isn’t it updating?” headaches.
Marketing Your Course Podcast
Marketing doesn’t have to be complicated, but it does need to be consistent. I focus on two things: getting the right people to try an episode and giving them a reason to keep listening (and take the course steps).
Social snippets that actually teach
Instead of only posting “new episode is live,” I share a specific takeaway. Example: a 30-second mini-explanation of a framework, plus “If you want the full lesson, listen to Episode 4.”
Community participation
Find groups where your audience already asks questions. Answer first. Then share your episode only when it directly solves the question. That approach gets better traction than dropping links randomly.
Collaborations
Guest spots can work, but I prefer collaborations where the guest helps reinforce the course outcome. “Here’s how I apply this concept” is more valuable than “here’s my opinion.”
Email works surprisingly well for course podcasts
Build a list and send:
- Episode announcements
- A short recap (3 bullets)
- A “do this before the next episode” action
This turns passive listening into active learning.
Engaging Your Audience with Interactive Elements
If you want podcast course learners to stick around, you need more than “listen and learn.” Give them something to do.
Q&A with learner questions
Invite questions ahead of time. Then record a Q&A episode or add a dedicated Q&A segment to your lesson episodes. The best part? Learners feel seen.
Polls and topic voting
Use a simple poll to decide the next episode topic. Even a basic “A or B” choice improves engagement because listeners feel involved.
Challenges tied to course outcomes
A challenge is just a practice prompt with a deadline. For example:
- “Complete the worksheet and share your result by Friday.”
- “Try the script and record a 60-second sample.”
Respond to comments and feedback
When people leave feedback, I recommend responding with either a clarification or a “here’s what we’re changing next.” That’s how you build trust—and it also gives you ideas for future episodes.
Measuring Success and Gathering Feedback
Downloads are nice. But for a course podcast, I care about whether learners are progressing.
Start with analytics from your host
Most podcast hosting platforms show downloads, episode popularity, and basic audience info. Use it to spot patterns like:
- Which episode titles drive first listens?
- Where do people drop off (if your platform gives retention signals)?
- Which topics get repeat plays?
Track course-aligned proxies
If you have course materials, quizzes, or assignments, track those too. Examples of metrics that map to learning:
- Email opt-in rate from episode pages
- Worksheet completion rate (or clicks on the practice prompt link)
- Quiz/assessment completion (even a simple Google Form works)
- Next-episode intent: how many listeners click “start lesson 2”
Ask for feedback in a way that leads to action
Don’t just ask “what did you think?” Ask targeted questions like “Was the example clear?” or “Which section felt too fast?”
In my own podcast testing, the biggest improvements came from listener notes like “I needed the checklist earlier” or “the recap was too brief.” Once I adjusted the structure and added a stronger recap, I saw better follow-through on practice links and more consistent email signups.
Tips for Maintaining Consistency and Quality
Consistency isn’t just about publishing on schedule. It’s about keeping the learning experience reliable.
Create a realistic cadence
If you can only do one episode every two weeks, that’s fine. Build a schedule you can sustain without burning out. I’d rather hear great episodes on a slower cadence than rushed ones that sound inconsistent.
Batch your workflow
Record multiple episodes in one session, then edit in a separate block. It keeps your focus and reduces the mental load of switching between teaching and technical work.
Make quality checks part of the process
- Always listen at the end of editing on headphones
- Check for plosives and harsh “s” sounds
- Verify loudness is consistent across episodes
- Confirm episode links and descriptions are correct before publishing
Refine your delivery over time
As you get more comfortable, you’ll naturally improve. But don’t rely on vibes—use feedback and your own notes. If you notice you ramble in certain sections, tighten the outline and add a “what we’re doing next” sentence so listeners don’t get lost.
FAQs
Podcasting gives learners flexibility and a more personal experience. People can listen while commuting or doing chores, and your voice helps build trust. It also tends to be lower-cost than video, while still letting you teach through examples, storytelling, and discussion.
Match the format to what the learner needs. Solo episodes are great for step-by-step frameworks. Interviews work when you want credibility and real-world applications. Panels can cover tradeoffs and multiple viewpoints. The best choice is the one that supports your learning objective for each episode.
You’ll want a decent microphone, headphones, and recording software. If you’re using an XLR mic, an audio interface helps. A pop filter (or windscreen) is a small investment that makes your recordings sound cleaner right away.
Use social media for short teaching clips, optimize your episode titles/descriptions for search, and send email updates to your list. Collaborations and guest appearances can also help, but always include a clear call-to-action in the episode so listeners know what to do next.