
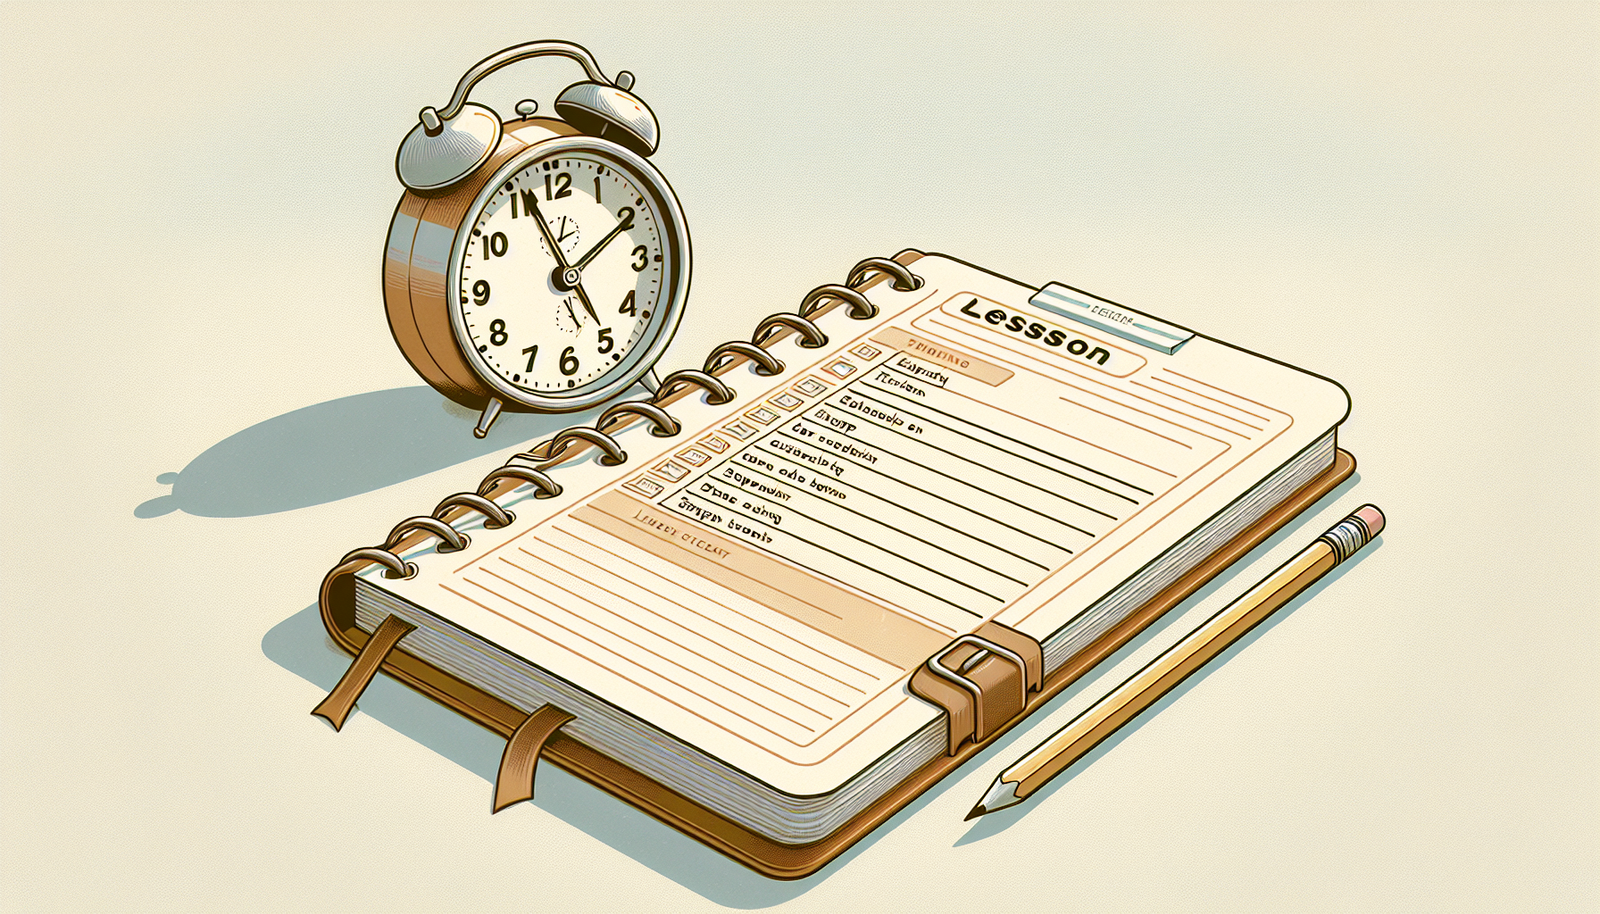
How Do You Write A Lesson Plan For Beginners: A Complete Guide
Writing a lesson plan can feel like trying to put together a puzzle with missing pieces—lots of structure, not a lot of clarity at first. If you’re new to teaching (or even just new to planning), it’s totally normal to feel overwhelmed by all the moving parts.
In my experience, the trick isn’t “writing the perfect plan.” It’s building a simple, repeatable plan you can actually use during class. Once you’ve got that roadmap, everything gets easier: you know what you’re doing, students know what to do, and you can spot quickly when something isn’t landing.
In this guide, I’ll show you exactly how to write a beginner-friendly lesson plan step by step—plus you’ll get filled-in examples (not just definitions). I’ll also include sample objectives, a timing breakdown, differentiation notes, and example assessment/exit ticket items you can copy and adjust.
Key Takeaways
- Lesson plans help you organize instruction, support classroom management, and keep students engaged—because you’re not improvising everything.
- Write clear learning objectives using SMART criteria so you can assess progress without guessing.
- Choose materials that directly match your objective (not just “nice to have” resources).
- A solid lesson plan usually has four parts: introduction, main activity, assessment, and conclusion.
- Timing matters. You should know what happens in the first 5 minutes and what happens in the last 5.
- Use bullet points and short teacher language so your plan is quick to scan during class.
- Build in flexibility. If students need more time, you should have a “Plan B” moment ready.
- After each lesson, revise based on student work (what they got right, what they missed, and why).
- Use real examples and templates as starting points—then customize for your grade level and your students.

How to Write a Lesson Plan for Beginners
1.1 What a Lesson Plan Really Does (and why it matters)
A lesson plan is your roadmap for one specific teaching session. It spells out what you want students to learn, how you’ll teach it, and how you’ll check whether they got it.
Here’s what I’ve noticed after writing and re-writing lesson plans over the years: when your lesson plan is clear, your classroom runs smoother. You spend less time wondering “what next?” and more time responding to students.
Also, lesson plans aren’t just for organization. They help you:
- align your lesson with the curriculum or standards you’re responsible for
- choose strategies that match your students (not just what sounds good on paper)
- manage pacing so you don’t end up with a rushed ending
- plan adjustments when students don’t understand on the first pass
1.2 Identify Learning Objectives (SMART, but usable)
Learning objectives are the “by the end of the lesson” outcomes. In plain terms: what should students know or be able to do when the bell rings?
SMART is a helpful framework, but you don’t need to turn it into a robot. You just need objectives that are specific enough to teach and assess.
Quick SMART checklist (use this while writing)
- Specific: What exact skill or concept?
- Measurable: How will you see it? (explain, solve, label, compare, cite evidence)
- Achievable: Can students do it with today’s instruction and practice?
- Relevant: Does it match the standard/unit?
- Time-bound: “By the end of this 45-minute lesson…”
Objective examples you can copy (by subject)
- Elementary ELA (Grade 4): By the end of a 45-minute lesson, students will identify the theme of a short story and cite two pieces of textual evidence to support their claim.
- Middle School Science (Grade 7): By the end of a 50-minute lesson, students will model the water cycle by labeling evaporation, condensation, and precipitation on a diagram with at least 3 correct labels.
- High School Math (Algebra I): By the end of a 60-minute lesson, students will solve linear equations in one variable (e.g., 3x - 5 = 16) and justify each step using inverse operations in a written explanation.
- Social Studies (Grade 6): By the end of a 40-minute lesson, students will compare two primary sources by listing one similarity and one difference using a vocabulary word from the lesson.
One more thing: if your objective is vague (“Students will understand photosynthesis”), you won’t know what to teach or what to assess. Instead, turn it into an action you can observe (“describe,” “explain,” “trace,” “compare,” “use evidence”).
1.3 Choose the Right Materials and Resources (match them to the objective)
Materials should serve the objective, not the other way around. Ask yourself: “What do students need to do today?” Then pick tools that help them do that.
For example:
- If the objective is modeling, you’ll want diagrams, manipulatives, or an interactive simulation.
- If the objective is writing with evidence, you’ll want a short text excerpt, sentence frames, and a rubric or checklist.
- If the objective is solving equations, you’ll want practice problems at different difficulty levels and a worked example.
In my classroom, I’ve learned not to overload the lesson with too many resources. A simple set—one anchor text, one diagram, one practice sheet—often works better than a “grab bag.”
Also, keep accessibility in mind. If you have multilingual learners, struggling readers, or students with IEP accommodations, plan for that up front: audio versions, word banks, visuals, graphic organizers, or extra time.
1.4 Structure Your Lesson Plan (a beginner-friendly template)
A good lesson plan is usually built around four core components:
- Introduction (hook + connect + set purpose)
- Main activity (teach + practice + guided support)
- Assessment (check for understanding, feedback, adjustment)
- Conclusion (review + closure + exit ticket or reflection)
1.4.1 Introduction (5–10 minutes)
This is where you set the stage. Your job isn’t just to “start the lesson.” It’s to help students understand why they’re learning and what success looks like.
What I typically include:
- a quick hook (question, image, scenario, or mini-demonstration)
- a connection to prior knowledge (“Last time we talked about… today we’ll…”)
- the objective in student-friendly language
- an agenda snapshot (“First we’ll… then we’ll practice… then you’ll show me…”)
Examples of intro language you can use:
- “Today you’ll learn how to compare two sources. By the end, you’ll write one similarity and one difference with evidence.”
- “Quick question: When you see the word ‘photosynthesis,’ what do you think it means? Today we’ll turn that idea into an explanation you can use.”
1.4.2 Main Activity (25–40 minutes)
This is the heart of the lesson. For beginners, it helps to plan the main activity as a sequence:
- Model (show one example)
- Guided practice (students try with support)
- Independent practice (students try on their own)
- Check-in (quick feedback loop)
In my experience, the most common beginner mistake is skipping the “guided practice” step. Students can’t jump straight from “watch teacher” to “do it alone.”
You can also build in variety: think mini-discussion, partner work, short teacher-led explanation, and a hands-on or written task—depending on the subject.
1.4.3 Assessment (5–15 minutes, built into the lesson)
Assessment doesn’t have to mean a big formal test. It just needs to tell you whether students met the objective.
Use a mix of:
- Formative checks during instruction (circulate, cold call strategically, mini whiteboards, quick polls)
- Summative evidence by the end (exit ticket, short quiz, paragraph, problem set)
Here’s what “constructive feedback” looks like in real time:
- Instead of “Wrong,” say: “Check the step where you distributed. What happens to the sign when you multiply by -1?”
- Instead of “Good job,” say: “Your evidence matches your claim. Can you add one more detail from the second paragraph?”
That feedback is also what you use to adjust the next lesson. If half the class misses the same step, that’s your clue.
1.4.4 Conclusion (3–8 minutes)
Close the lesson with a quick review and a final check. Don’t just “wrap up.” Give students a chance to show what they learned.
Common closure options:
- exit ticket (1–3 questions aligned to the objective)
- 60-second reflection (“What was hardest? What helped?”)
- quick review game or “teach-back” in pairs
1.5 Include Timing for Each Section (with a real example)
When you plan timing, you’re not trying to be rigid. You’re trying to avoid the classic problem: you spend 30 minutes on the intro and end up with no assessment.
Here’s a practical 45-minute structure I’ve used a lot:
- 0–5 min: Introduction hook + objective
- 5–15 min: Model + examples
- 15–30 min: Guided practice (teacher support)
- 30–40 min: Independent practice
- 40–45 min: Exit ticket + closure
If you’re teaching 60 minutes, add more practice time and keep the exit ticket short but meaningful.
Also, build in buffer time. Unexpected questions happen. If you’re pacing well, you’ll still have a clean ending.
1.6 Tips for Clear and Effective Lesson Plans (the stuff beginners need)
Let me give you the advice I wish I had when I first started planning seriously.
1.6.1 Keep it simple (and scan-friendly)
If you can’t glance at your plan and understand what’s happening next, it’s too complicated. Use short sections with bullet points. Your plan should look like something you can run during class—not something you’d print as a novel.
1.6.2 Use bullet points for objectives, materials, and checks
Try this layout:
- Objective: (1 sentence)
- Materials: (3–6 items max)
- Agenda: (timed bullets)
- Assessment: (exit ticket question(s))
- Differentiation: (supports + extensions)
1.6.3 Be flexible, but don’t improvise everything
Flexibility is good. Chaos is not. I like to build “if/then” decisions into my plan.
- If students finish early: give a one-question extension or challenge problem.
- If students struggle: re-teach with a second example and reduce the number of items on independent practice.
- If discussions run long: shorten independent practice and use the exit ticket as the assessment.
1.7 Review and Revise Your Lesson Plan (based on actual student work)
After the lesson, take 5–10 minutes and ask:
- Which objective did students meet? (based on exit ticket / work samples)
- Where did they get stuck?
- Was it a skill gap, a language issue, or a directions problem?
- What would I change next time?
Then revise one thing at a time. Maybe you need clearer directions. Maybe you need more guided practice. Maybe the objective was too big for one class period.
That cycle is how planning gets better—fast.
1.8 Fully Worked Example Lesson Plans (copy the structure)
Alright—this is the part that actually helped me when I was learning. Below are three complete beginner-friendly lesson plans. Each one includes objectives, materials, step-by-step timing, differentiation, and sample assessment items.
Example Lesson Plan 1: Elementary ELA (Grade 4) — Theme + Evidence (45 minutes)
Subject: English Language Arts
Topic: Theme in a short story
Objective (SMART): By the end of this 45-minute lesson, students will identify the theme of a short story and cite two pieces of textual evidence to support their claim.
Materials:
- Short story excerpt (1–2 pages) at grade level
- Theme & Evidence graphic organizer (table with “Theme” and “Evidence #1/#2”)
- Highlighters or colored pencils
- Exit ticket slip
Agenda (with timing):
- 0–5 min (Intro): Show 2–3 theme words on the board (e.g., “friendship,” “perseverance,” “honesty”). Ask: “What do these words have in common?” Brief discussion.
- 5–15 min (Model): Read excerpt aloud. Model how to highlight evidence and connect it to a theme statement. Teacher think-aloud: “This part shows… so the theme might be…”
- 15–30 min (Guided practice): Students work in pairs with the organizer. Prompt: “Find one quote that proves the theme. Then find a second quote.” Teacher circulates with a quick check: “Does your evidence actually support your theme?”
- 30–40 min (Independent practice): Students complete the organizer individually using a sentence frame: “The theme is __ because __ and __.”
- 40–45 min (Assessment + closure): Exit ticket (1 question): “Write the theme in one sentence and include two pieces of evidence.”
Differentiation:
- Support: Provide a word bank of theme words + sentence frames (“The theme is __.” “This shows __ because…”).
- Support: Pre-highlight one piece of evidence for students who need scaffolding (they still must find the second).
- Extension: Ask advanced students to explain how the evidence leads to a deeper theme (not just a surface-level idea).
Sample assessment items (exit ticket):
- Theme statement: 1 point
- Evidence #1: 1 point (quote or paraphrase)
- Evidence #2: 1 point
- Connection (“because” reasoning): 1 point
Example Lesson Plan 2: Middle School Science (Grade 7) — Water Cycle Modeling (50 minutes)
Subject: Science
Topic: Water cycle (evaporation, condensation, precipitation)
Objective (SMART): By the end of this 50-minute lesson, students will label a water cycle diagram with evaporation, condensation, and precipitation and write a 3-sentence explanation describing how water moves through the cycle.
Materials:
- Water cycle diagram (blank + labeled version for reference)
- Sticky notes or labels for evaporation/condensation/precipitation
- Water cycle simulation link or short video (optional)
- Exit ticket
Agenda (with timing):
- 0–8 min (Intro): Quick demo: show a cup of warm water and ask, “Where does the ‘missing’ water go?” Students write 1 prediction.
- 8–18 min (Model): Teacher models the diagram labeling. Think-aloud: “Evaporation happens when heat turns water into vapor…”
- 18–32 min (Guided practice): Students complete the blank diagram together. Teacher checks for common misconceptions (e.g., “condensation is when vapor becomes liquid”).
- 32–42 min (Independent practice): Students write the 3-sentence explanation using a template: “First, __ happens when __. Next, __ happens when __. Finally, __ happens when __.”
- 42–50 min (Assessment + closure): Exit ticket: label 1 small diagram + write one sentence explaining the role of heat.
Differentiation:
- Support: Provide a word bank (vapor, liquid, heat, cooling, clouds).
- Support: Students can use the sentence template for the explanation.
- Extension: Add a challenge: “Explain how the water cycle connects to weather (temperature changes, clouds, storms).”
Sample assessment items (exit ticket):
- Label evaporation correctly (1 point)
- Label condensation correctly (1 point)
- Label precipitation correctly (1 point)
- Explanation sentence includes heat + phase change (2 points)
Example Lesson Plan 3: High School Math (Algebra I) — Solving Linear Equations (60 minutes)
Subject: Mathematics
Topic: Solving linear equations in one variable
Objective (SMART): By the end of this 60-minute lesson, students will solve linear equations (e.g., 3x - 5 = 16) and show step-by-step reasoning using inverse operations, with at least 80% accuracy on a 5-problem exit ticket.
Materials:
- Board/slide with 1 worked example
- Practice worksheet (3 levels: basic, core, challenge)
- Exit ticket (5 problems)
- Optional: equation balance model manipulatives
Agenda (with timing):
- 0–10 min (Intro): Warm-up: 2 quick equations. Students solve and circle the step where they used an inverse operation.
- 10–25 min (Model): Work through one equation slowly. Emphasize the “undo” idea: Teacher says: “If I see +7, I undo it with -7 on both sides.”
- 25–40 min (Guided practice): Students do 2 equations on their own while teacher circulates. Teacher uses a checklist: Did they do the same operation on both sides? Did they keep variables grouped?
- 40–55 min (Independent practice): Students choose 3 problems: 1 basic, 1 core, 1 challenge. (Choice helps buy-in.)
- 55–60 min (Assessment + closure): Exit ticket (5 problems). Collect quickly for feedback.
Differentiation:
- Support: Provide a “step frame” on the top of the worksheet: 1) Distribute (if needed) 2) Undo addition/subtraction 3) Undo multiplication/division 4) Check.
- Support: Offer one extra worked example for students who need it.
- Extension: Include one equation with distribution or variables on both sides.
Sample assessment items (exit ticket):
- 3x - 5 = 16
- x/4 + 2 = 7
- 5(x + 1) = 2x + 9 (challenge)
- Check-your-work: substitute your answer into one equation
- One word problem that requires equation setup (short and simple)
What I’d actually look for when grading: not just the final answer. Do they show the correct inverse operations and keep both sides balanced? That’s usually where the learning gaps are.
1.9 Resources for Further Learning about Lesson Plans
Once you’ve got the basics down, it helps to keep expanding your toolkit. I like resources that give practical ideas you can use the next day.
If you want more lesson inspiration and classroom strategy ideas, these are solid:
- Edutopia (articles and video lessons on teaching strategies)
- Professional development workshops (especially ones where you build lessons with other teachers)
- Teacher communities and local education groups (ask for feedback on your lesson plan drafts—seriously, it speeds things up)
For frameworks, I’ve found Understanding by Design (Grant Wiggins and Jay McTighe) useful because it pushes you to plan from outcomes and evidence rather than activities alone.
And if you’re looking for templates and lesson examples across subjects, Teachers Pay Teachers can be a helpful starting point—just remember to adapt for your students and your standards.

1.8 Examples of Lesson Plans for Different Subjects (how to adapt)
Want to reuse the structure but apply it to your subject? That’s the right instinct. The core lesson-plan bones stay the same—introduction, main activity, assessment, conclusion—but the details change.
Here are a few common adaptations I’d make depending on subject:
- Math: more guided practice + quick checks (whiteboards, short problem sets)
- Science: modeling, diagrams, and hands-on/interactive activities
- ELA: reading/writing routines, evidence-based responses, peer feedback
- History/SS: source analysis, discussion protocols, short writing tasks
- Language learning: structured speaking, vocabulary supports, sentence frames
If you’re browsing for templates, use them like scaffolding. Copy the timing and objective structure, then rewrite the activities so they match your exact standards and your students’ needs.
1.9 Resources for Further Learning about Lesson Plans (practical picks)
For more ideas, I recommend sticking to resources that help you plan from outcomes and evidence (not just “fun activities”). That’s where lesson planning becomes more effective.
Again, Edutopia is a great starting point. Books like Understanding by Design can help you write objectives and assessments that actually align.
And if you’re collaborating with other teachers, ask to see their lesson plan drafts. You’ll learn faster by comparing how different teachers solve the same planning problem.
FAQs
A lesson plan’s purpose is to outline what students should learn, how you’ll teach it, and how you’ll check for understanding during and at the end of the lesson—so instruction stays intentional instead of random.
Use the four-part structure: introduction, main activity, assessment, and conclusion. Then add timing to each section (even rough estimates) and include at least one assessment aligned to your objective.
Keep it simple, write objectives you can measure, plan guided practice (not just teacher talk), and make sure your assessment matches the objective. Also, build in a small differentiation plan (support + extension) so you’re ready for different student needs.
You can find lesson plan examples through teacher resource sites, education blogs, professional development materials, and subject-specific teaching guides. Just treat examples as templates and adjust them to match your grade level, standards, and student needs.