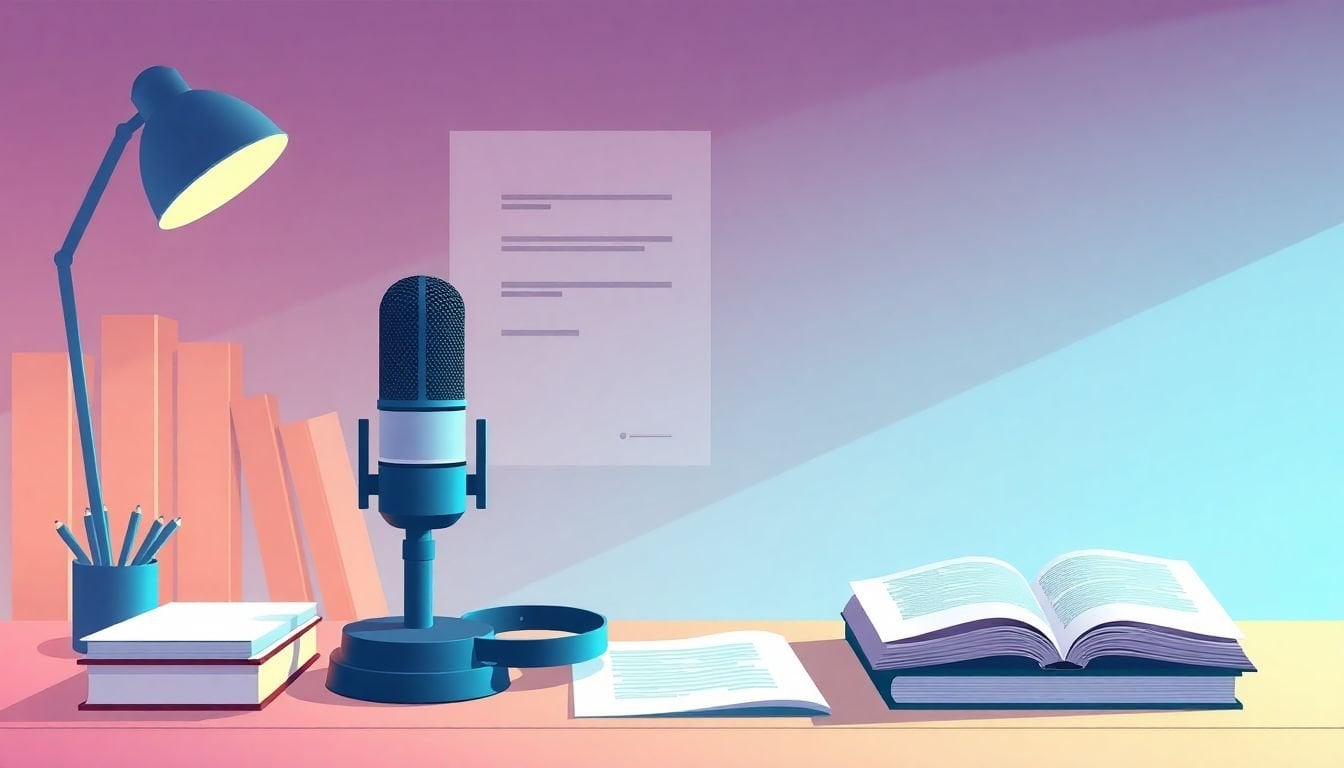
Creating Podcasts From Course Material: 11 Easy Steps
Honestly, turning course material into a podcast can feel like a lot. You’ve got slides, lecture notes, maybe transcripts… and then you’re supposed to magically turn it into something people actually want to listen to? Yeah, I’ve been there.
What helped me (and what I’ll walk you through here) is treating this like a repeatable process, not a one-off creative project. Once you know what you’re trying to teach, pick a format that matches your voice, and build a simple workflow from outline → script → recording → editing → publishing, it gets way easier.
In this post, I’m going to show you 11 practical steps to create podcasts from course material—plus some concrete examples (like a sample episode outline and an intro script), and the kind of audio/editing targets I actually aim for.
Key Takeaways
- Start with learning goals you can measure (not just “teach X”). It makes everything downstream easier.
- Pick a podcast format you can sustain—solo episodes are fast, interviews add variety, and “lesson + discussion” works great for education.
- Use a repeatable episode structure (hook → concept → example → recap → next step) so your pacing stays consistent.
- Write a script that sounds like you talk. I usually script the first 30–60 seconds and the key examples, then freestyle transitions.
- Plan for audio quality: a decent mic, correct mic distance, and a target loudness around -16 LUFS for most podcast platforms.
- Edit with purpose: remove dead air, tighten pacing, and keep music/effects subtle (if it competes with your voice, it’s too loud).
- Publish with searchable metadata—episode titles, descriptions, and show notes that include the exact terms learners are searching for.
- Distribute using a modern hosting + RSS setup (and follow each platform’s current submission process).
- Collect feedback early and often—ratings/reviews are useful, but direct questions in your show notes are even better.
- Use podcasts as a learning companion: assignments, discussion prompts, and “listen before you read” work surprisingly well.

Step 1: Define Learning Goals for Your Podcast
Before I record anything, I write learning goals like I’m building a checklist. Not vague “understand the topic”—more like “by the end of this episode, you can do X.”
Your podcast should match the course’s key concepts, but podcasts also need a listener-friendly angle. So ask: what should someone be able to explain, apply, or choose after hearing this?
Here’s what I mean by “clear”:
- Skill-based goal: “You’ll be able to identify the 3 causes of ____ and explain how each one affects ____.”
- Decision-based goal: “You’ll know when to use ____ vs. ____ in real scenarios.”
- Outcome goal: “You’ll leave with a framework you can apply to your own project.”
Then map your episode topics to those goals. If you’re teaching environmental science, don’t just “talk about climate change.” Pick one tight focus per episode—like greenhouse gases, feedback loops, or mitigation strategies—and make that the learning target.
One more thing: I like to write a quick “listener promise” sentence. Example: “After this episode, you’ll be able to explain what a carbon footprint is and calculate a rough estimate.” That promise keeps the episode from wandering.
Step 2: Choose the Type of Podcast to Create
This is where people often overthink it. You don’t need the “perfect” format—you need one you can publish consistently.
Here are formats that work especially well when you’re turning course material into podcasts:
- Solo lesson podcast: Best for turning lecture sections into clear explanations. Easier production, faster turnaround.
- Lesson + Q&A: Take a module, explain it, then answer 3–5 questions learners usually ask.
- Interview with a twist: Interview someone, but always tie back to the course objectives (“Here’s how this connects to your module 2 assignment”).
- Case study / narrative: Tell a story using course concepts (great for business, healthcare, and tech training).
- Panel discussion: If you have co-instructors, it adds variety and keeps energy up.
In my experience, education podcasts do really well with a predictable structure. So if you’re planning weekly episodes, a solo or lesson + Q&A format is usually the most sustainable.
Also, think about resources. If you don’t want to schedule guests, don’t pick an interview format. Your future self will thank you.
Step 3: Outline Your Podcast Content
Outlining is boring until you try recording without one. Then you realize you’re rambling—or you’re skipping the exact parts learners need.
I recommend using a repeatable episode outline that you can reuse across modules. For example, for a 20–30 minute episode, I aim for:
- 0:00–2:00 Hook (what problem are we solving?)
- 2:00–10:00 Core concept (define + explain in plain language)
- 10:00–18:00 Example (walk through a real scenario or mini case)
- 18:00–24:00 Common mistakes (what people get wrong and why)
- 24:00–28:00 Recap (3–5 bullet takeaways)
- 28:00–30:00 Next step (prompt learners to apply it)
Want a quick example outline? Let’s say your course module is “Intro to Study Design.”
- Hook: “Why do two studies disagree even when they both sound scientific?”
- Concept: Define observational vs. experimental studies.
- Example: Compare a survey study about sleep vs. an experiment where participants follow a plan.
- Mistakes: Confusing correlation with causation; ignoring sample size.
- Recap: 5 key terms learners should recognize.
- Next step: “Pick a claim from your readings and label which study type it likely used.”
Keep your outline flexible. I usually write the headings and the key examples, then leave room for natural transitions while recording.
Step 4: Write an Engaging Script
Scripts don’t have to be word-for-word. Honestly, if you script every sentence, you’ll sound like you’re reading a textbook. I don’t want that.
What works best for me is a “guided script”:
- Write the intro fully. (First 30–60 seconds set the tone.)
- Script the key definitions. (The parts learners usually struggle with.)
- Script your example walkthrough. (So you don’t lose the thread.)
- Leave the transitions flexible. (That’s where your personality shows up.)
Here’s a sample intro script you can steal/adapt for almost any course episode:
Sample intro:
“Welcome back! Today we’re talking about [topic]. And here’s the problem: most people hear [common confusion] and assume it’s the same as [misconception]. But it’s not. In the next [20–30] minutes, I’ll show you what [topic] actually means, how it works in the real world, and a quick way to spot it when you see it.”
Also, practice once before you record for real. I usually do a quick run-through while looking at notes only. If I stumble on a sentence, I rephrase it into something I’d actually say out loud.
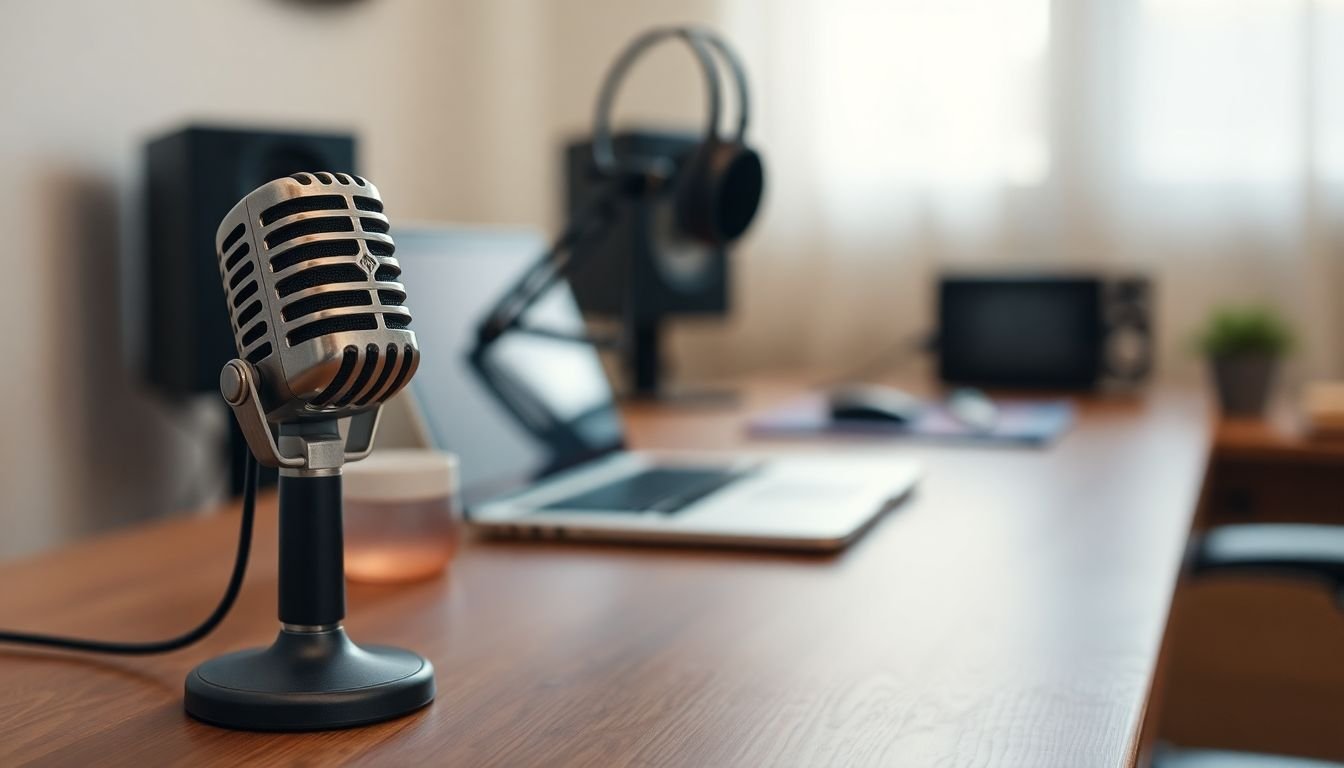
Step 5: Select the Right Podcasting Tools
Let me save you some time: you don’t need a $1,000 studio mic to make a good podcast. But you do need tools that won’t fight you.
Microphone (what I look for):
- Budget-friendly dynamic mic: great if your room isn’t perfect (less room echo). Common options are around $70–$150.
- USB mic: simplest setup. You plug in and go. Typical range: $100–$250.
- XLR condenser mic: more detail, but you’ll want decent room treatment. Often $200–$600+ plus an audio interface.
My practical mic settings:
- Speak about 4–8 inches from the mic (closer = more bass, farther = less presence).
- Avoid pointing the mic straight into your mouth. Slight angle helps reduce plosives.
- Do a 10-second test recording and listen back before you start the real take.
Recording software: Audacity and GarageBand are popular for a reason. If you’re recording on a Mac, GarageBand is usually smoother for beginners. On Windows, Audacity does the job.
Audio file format + quality targets:
- Record in WAV if you can (or high-bitrate MP3 if your workflow demands it).
- Use 48 kHz sample rate and 24-bit if your software supports it.
- In editing, aim for consistent loudness around -16 LUFS (many podcast platforms are happiest with that range).
Editing workflow (simple and repeatable): I usually do this in order:
- Normalize/level (so voice stays consistent)
- Remove long pauses and obvious mistakes
- De-ess if needed (sibilance)
- Add subtle noise reduction only if the room noise is distracting
- Export final audio (MP3 for upload is common; some hosts accept WAV too)
Hosting: you’ll need a podcast hosting platform that generates an RSS feed and handles file storage/bandwidth. Many hosts also provide Spotify/Apple submission support.
When choosing, check these basics:
- Do they provide an RSS feed?
- What audio formats do they accept?
- Do they support episode-level show notes and artwork?
- What are the limits (file size, bandwidth, number of episodes)?
Step 6: Record Your Podcast
Okay, it’s recording time. This is where I see most beginner podcasts lose quality—even when they have a decent mic.
Before you hit record:
- Pick a quiet room (turn off fans, AC, noisy computers).
- Close windows if you can. Outdoor noise adds up.
- Do a quick test: read your intro at the volume you’ll use for the episode.
- Make sure your recording level isn’t clipping (peaks shouldn’t slam into red).
While recording:
- Speak slightly slower than you think you should. Podcasts reward clarity.
- Vary tone when you hit definitions and examples—don’t sound flat the whole time.
- If you mess up, stop thinking about it. Just mark it mentally and keep going. You can fix it in editing.
I’m a big believer in authenticity. If you sound like a real person, people stay. Perfection isn’t the goal—useful clarity is.
Step 7: Edit Your Recorded Audio
Editing is where you turn “recorded audio” into a podcast.
Here’s what I actually do, step by step:
- Cut mistakes (remove stumbles, weird pauses, and repeated words)
- Tighten pacing (shorten silence, but don’t chop every breath—listeners still need human audio)
- Level voice (so your volume is consistent from start to finish)
- Reduce noise only if needed (too much noise reduction can create a robotic sound)
- Add intro/outro music at a low level—usually around -20 dB relative to the voice
- Check loudness + peaks before exporting
If you’re new to editing, tutorials can help a lot. I still use them sometimes—especially for new plugins or tools. Just don’t copy someone else’s settings blindly. Your mic + room will be different.
Don’t forget the learning extras: if your course uses transcripts or show notes, include them with the episode. It helps accessibility and boosts SEO. Even a simple “Episode Summary + Key Takeaways” section can make a big difference.
Step 8: Publish Your Podcast
Publishing is mostly about presentation and metadata.
Title: make it specific. Instead of “Podcast Episode 5,” try something like “Study Design 101: Observational vs. Experimental Studies.”
Description: write for humans first, then sprinkle in the keywords learners search for. I like descriptions that include:
- 1–2 sentence summary
- What you’ll learn (3 bullet points)
- Who it’s for (optional)
Artwork: keep it readable at small sizes. Your title text should be legible even when someone sees it as a tiny thumbnail.
Quick publish checklist:
- Audio file plays correctly from the host page
- Episode length matches what you intended
- Show notes include the episode summary and key terms
- Links (if any) work
Once you’re happy, publish and move on. Perfection paralysis is real.
Step 9: Distribute Your Podcast to Popular Platforms
Distribution is how people actually find you. And yes—each platform has its own rules, so don’t assume “upload once, done.”
Use RSS (the modern baseline): most podcast hosts handle RSS automatically. You’ll usually submit your RSS feed to directories, and new episodes sync from there.
Platforms to focus on today:
- Spotify (often via Spotify for Podcasters or through your host’s integration)
- Apple Podcasts (via Apple’s Podcasts Connect)
- Amazon Music (often through your host or Amazon’s program)
- YouTube (if you upload audio as a video or use a podcast feed option)
- Podcast directories your host supports (varies by region)
Important note: Google Podcasts has been discontinued, so you won’t want to build a plan around submitting there.
RSS feed checklist (this is where submissions fail):
- Episode audio URL works and returns a valid file
- Artwork URL is reachable and matches size requirements (commonly 3000x3000 or similar)
- Episode titles/descriptions are present
- Correct publish dates are included
- Categories/tags (if supported) are filled out
Typical timeline: after submission, it can take anywhere from a few hours to a couple of days for platforms to reflect updates. Sometimes longer—especially the first time.
If you want help comparing platforms and tools, check out this guide for broader course ecosystem decisions that often affect how you package your podcast content.
Step 10: Gather Feedback and Improve
Feedback is the fastest way to get better, and you don’t need fancy research tools to start.
Here are a few feedback methods that actually work:
- Ask one specific question at the end of each episode. Example: “Which part felt most confusing—definitions or examples?”
- Use reviews strategically: ask your audience to rate/review if they found the episode useful.
- Run a short survey once you’ve published 3–5 episodes. Keep it to 5 questions max.
- Monitor drop-off: if your host provides analytics, look at where listeners stop. That tells you where pacing or clarity breaks.
Then improve based on patterns, not one-off comments. If multiple listeners struggle with the same concept, that’s your next episode topic or your next edit pass.
Step 11: Encourage Podcasting in Learning Environments
Podcasts aren’t just “extra content.” When you use them intentionally, they can reinforce learning in a way that lectures alone sometimes can’t.
Here are some ways I’ve seen work well:
- Listen before class: assign a short episode tied to the next lesson, then use discussion time for deeper questions.
- Podcast + assignment: give a prompt like “Listen to Episode 3 and write a 200-word reflection on ____.”
- Discussion starters: include 2–3 questions in the show notes so instructors can easily facilitate.
- Student-created podcasts: have learners summarize a module or explain a concept in their own words. It’s a powerful assessment.
If you’re trying to build better learning experiences overall, you might also like this article.
FAQs
Start by listing the key topics from your course, then translate them into outcomes. I recommend writing goals as “By the end, listeners can…” and keeping them specific enough that you could quiz someone on it.
Pick the format that matches both your content and your schedule. If you want fast, repeatable production, solo or lesson + Q&A is usually the easiest. If you want more variety and you have guests/co-instructors, interviews or panel formats can work great.
You’ll need a microphone, recording software (Audacity or GarageBand are common choices), and an editor to cut mistakes, tighten pacing, and manage loudness. If possible, record in WAV and export your final episode as MP3 for hosting.
Ask direct questions in the show notes, encourage ratings/reviews, and run a short survey after a few episodes. Also, check analytics (like where listeners drop off) so you can improve the parts that need it most.