Creating a Respectful Online Learning Environment: 7 Key Tips
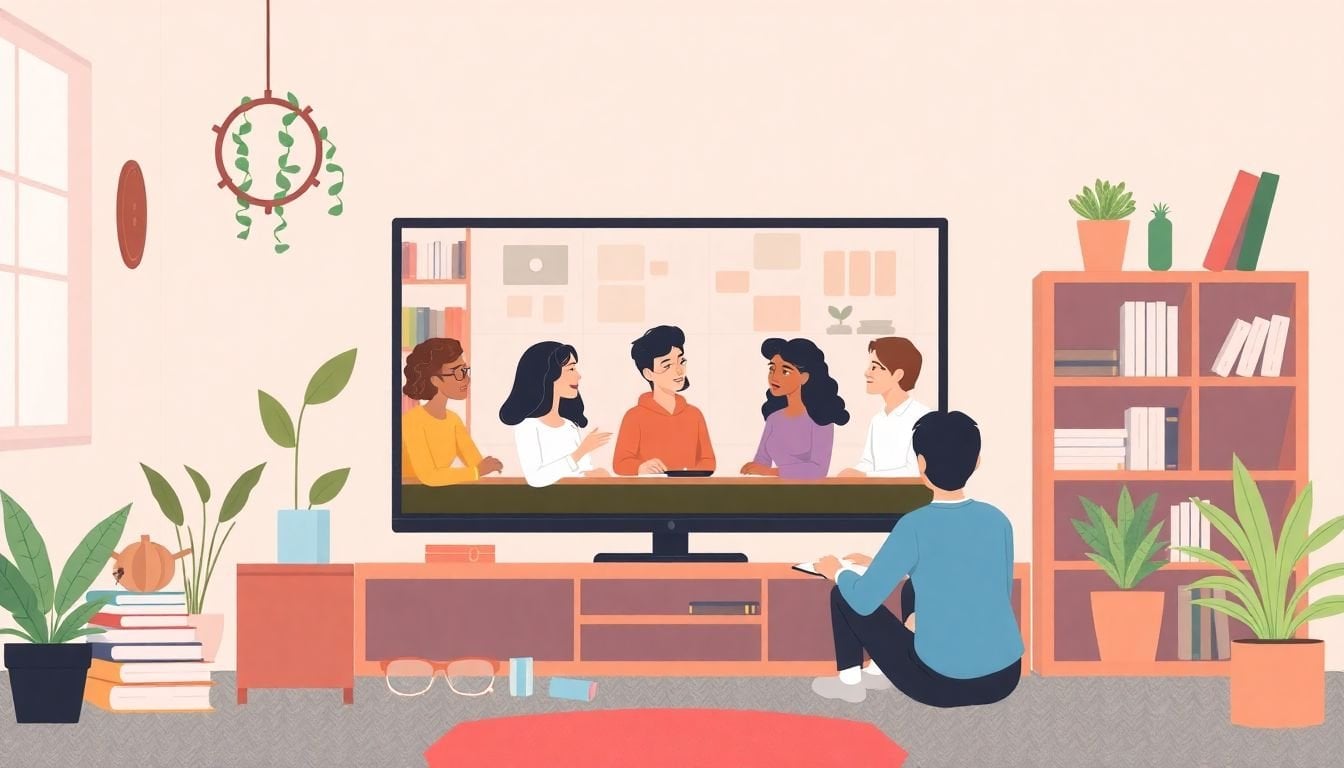
Honestly, creating a respectful online learning environment can feel like herding cats—except the cats are typing, posting, and sometimes misunderstanding each other across a screen. When you’re not in the room together, tone gets lost fast. Add distractions, time zones, and a mix of personalities, and it’s no wonder things can get a little chaotic.
What I’ve found helps most is treating “respect” like something you build, not something you hope for. If you set expectations early, model the tone you want, and have a clear plan for what happens when things go sideways, the classroom usually settles down. And when students know what to do, they’re more likely to participate—without fear.
Below are 7 key tips I use (and refine) to keep online spaces welcoming, safe, and actually productive. You’ll also find copy-and-paste templates you can adapt right away.
Key Takeaways
- Publish a simple code of conduct (with examples) so students know what “respect” looks like online.
- Use discussion prompts and peer feedback structures that reward constructive communication.
- Build trust through consistency: quick responses, clear office hours, and a little real human transparency.
- Protect privacy with specific platform rules, password/security reminders, and a reporting workflow.
- Make inclusivity practical: multiple formats, representation in materials, and accommodations built in.
- Use technology to reduce friction (quizzes, polls, captions, accessible media), not just for novelty.
- Collect feedback regularly and adjust based on participation data—not vibes.

1. Create Clear Guidelines for Online Behavior
If students don’t know what’s expected, they’ll guess. And online, guessing can turn into conflict fast. So I start with a short, readable code of conduct that covers communication, participation, and respect for different viewpoints.
My go-to implementation (works well in week 1):
- Step 1: Post a one-page “Community Norms” document in your LMS (and also pin it in your first discussion).
- Step 2: Provide 3–5 examples of “good” vs “not okay” responses.
- Step 3: Have students agree to it (a simple checkbox or a short quiz question is enough).
- Step 4: Revisit it at least once—usually after the first graded discussion or group activity.
Copy-and-paste: sample “Community Norms” language
- Be respectful: Critique ideas, not people. Avoid insults, sarcasm, or assumptions about intent.
- Use constructive wording: Try “I see what you mean, and here’s another angle…”
- Stay on topic: If your comment doesn’t connect to the prompt, it probably doesn’t belong in that thread.
- Disagree thoughtfully: Ask questions before making accusations. Provide evidence when possible.
- Privacy matters: Don’t share personal addresses, phone numbers, or private classmate information.
- Report concerns: If something feels unsafe or harassing, contact the instructor using the course reporting link.
Small detail that makes a big difference: I also include a “What happens if…” section. For example: if a student posts an off-topic or disrespectful comment, I’ll (1) remove it when needed, (2) send a private correction message, and (3) require a revised post within 24–48 hours. That transparency prevents drama later.
2. Encourage Positive Communication Among Students
Online discussions can either become meaningful or turn into a comment section. I’ve noticed the difference usually comes down to how you structure the prompt and how you teach students to respond.
Here’s what I do:
- Use prompts that require evidence: “Share one example from the reading and explain why it supports your claim.”
- Add a response requirement: For every discussion post, students must include (a) a claim, (b) a reason, and (c) one question for a peer.
- Require peer feedback with a template: “What I agree with… / What I’d challenge… / A question I have…”
- Set a word range: Example: 120–200 words for the initial post; 60–120 words for peer replies.
Copy-and-paste discussion prompt
Prompt: “Pick one idea from this week’s material that surprised you. Explain what you thought before reading it, what changed (or didn’t), and what question you still have. Then reply to two classmates using the feedback template below.”
Peer reply template: “I like how you… / I’m wondering if… / Your point made me think of… / My question is…”
And yes—tone matters. I explicitly model “calm disagreement.” For example, instead of “That’s wrong,” I show students how to write: “I see it differently because…” That one shift reduces conflict more than you’d think.
3. Build Trust and Connection with Students
Trust doesn’t come from big speeches. It comes from consistency. In my experience, students relax when they know what to expect: when you’ll respond, how feedback will work, and what “help” looks like.
What I actually focus on:
- Make your availability predictable: “I check messages Mon/Wed/Fri 9–11am ET” (or whatever your real schedule is).
- Use quick wins: In week 1, I respond to every intro post with at least one specific comment (not just “great job”).
- Be human without oversharing: I’ll share a short example of where I struggled with the topic before I got comfortable. It’s enough to feel real, not enough to derail the class.
- Give students a way to connect: A buddy system or small “study pairs” discussion thread works better than “everyone mingle.”
Simple buddy system I’ve used:
- Pair students randomly for the first two weeks.
- Ask them to do one low-stakes task together (e.g., compare their answers to a practice question).
- Then let them switch or keep the same partner based on comfort and performance.
One more thing: I always separate “support” from “discipline.” If a student is struggling, I want them to feel safe asking for help. If they break a norm, I handle it—but I don’t make them feel like they’re the problem. That distinction keeps the classroom atmosphere calmer.
4. Prioritize Student Safety and Privacy
Safety and privacy aren’t optional extras—they’re the foundation. If students feel like they can’t protect themselves, participation drops. And if something goes wrong, you need a process ready to go.
Here’s a practical privacy plan I recommend:
- Step 1: Tell students exactly what not to share. I include a short list: addresses, phone numbers, personal social handles, and anything that could identify them outside the course.
- Step 2: Explain where communication should happen. Example: “Use the course discussion board for course topics. Don’t move chats to personal DMs.”
- Step 3: Require secure account behavior: unique passwords and privacy settings.
- Step 4: Set up reporting.
Copy-and-paste: incident reporting workflow (simple but clear)
- What to report: harassment, threats, doxxing attempts, repeated boundary violations, or any content that makes someone feel unsafe.
- How to report: Use the “Report an Issue” link in the course. Reports go to the instructor and (if applicable) the school’s safeguarding contact.
- What happens next: Acknowledgment within 24 hours (even if you can’t share details), initial review, then removal/warnings as needed.
- Escalation: If there’s a credible threat or legal issue, escalate to the appropriate institutional process immediately.
If you’re dealing with student records, make sure you’re following your institution’s requirements (for U.S. schools, FERPA is the big one). For general reference, you can check the U.S. Department of Education FERPA guidance.
5. Promote Inclusivity in the Learning Environment
Inclusivity isn’t just “be nice.” It’s building an environment where different students can realistically participate and succeed.
What I implement (not just what I say):
- Representation in materials: I swap out examples that only reflect one background. Even small changes—like case studies and scenarios—signal “this course is for you too.”
- Multiple ways to show learning: Give options like written response, short video, or slide deck. Same learning goal, different formats.
- Access-first media: Captions on videos, transcripts when possible, and readable fonts/colors.
- Clear accommodation pathways: Students should know how to request support without having to figure it out alone.
Accommodation examples you can include in your syllabus:
- “If you need an alternate format (captioned video, transcript, or audio version), contact me by Week 2.”
- “If writing is a barrier, you may submit a narrated presentation instead of a written essay (rubric aligned).”
- “For students who need extra time, extended deadlines are available with notice.”
Also, watch group activities. If you always assign the same roles, you’ll accidentally exclude quieter students. I rotate roles (facilitator, summarizer, question-asker, and timekeeper) so participation is distributed.
6. Use Technology to Enhance Learning and Engagement
Technology can absolutely help—but only when it reduces friction. I don’t use tools just because they’re “cool.” I pick them based on whether they make it easier for students to understand, practice, and communicate.
Engagement tools I like (with specific use cases):
- Low-stakes polls (2–3 minutes): “Which concept feels hardest?” Great for adjusting your next lesson.
- Quizzes with immediate feedback: Especially for practice questions right before a graded assignment.
- Short video prompts: Students respond in writing or audio. This supports students who don’t want to talk on camera.
- Accessible multimedia: Captions, transcripts, and keyboard-friendly navigation.
About camera use: some learners prefer staying off-camera for comfort, bandwidth, privacy, or accessibility reasons. Instead of forcing cameras, I set alternatives. For example: students can participate by asking questions in chat, submitting a quick poll response, or contributing to a shared document.
On retention: online learning research consistently shows that learners benefit from multimedia and active processing (like quizzes and retrieval practice). If you want a solid starting point, check Coursera’s overview of multimedia learning principles and align your media choices to those guidelines (clear visuals, captions, and avoiding “busy” slides).
Quick tool-selection checklist (so you don’t end up with a messy stack):
- Does it support accessibility (captions, transcripts, keyboard navigation)?
- Can students use it on mobile/low bandwidth?
- Does it keep data secure and minimize sharing?
- Can you moderate it without spending your whole life doing admin?
7. Regularly Review and Update Strategies for Improvement
If you only set things once and never revisit them, you’ll miss what students are actually experiencing. I treat respectful learning like something you maintain—just like you’d maintain a physical classroom.
My monthly improvement routine:
- Step 1: Run a short survey (3–6 questions). Example: “Do you feel comfortable asking questions?” “Do you understand expectations for posts?” “What’s one thing that would make discussions easier?”
- Step 2: Review participation patterns: who posts, who replies, and where discussions get stuck.
- Step 3: Look at quality: are replies using the template? Are students disagreeing respectfully?
- Step 4: Adjust one thing at a time—prompt wording, response length, grouping method, or moderation timing.
Measurable indicators you can track:
- Average number of peer replies per student
- Percent of posts that follow the structure (claim/reason/question)
- Number of moderation actions (removals, warnings, follow-ups)
- Student feedback scores on “feeling respected” (even a 1–5 rating helps)
If you’re interested in broader trends in online education growth, you can reference industry reports from sources like Statista or HolonIQ. Just make sure you use the specific report’s year and context—those projections vary a lot by definition (market scope, region, and what’s counted).
In the end, the “respectful environment” is really a system: expectations, communication norms, safety, inclusivity, and continuous adjustment. Once you treat it that way, it stops being stressful and starts being manageable.
FAQs
Use short, plain language and cover the behaviors you actually see most often: communication tone, staying on topic, and how to disagree. Include “examples of acceptable and unacceptable posts” and post the guidelines where students will keep seeing them (LMS page + pinned discussion). Finally, explain what happens when norms are broken so students aren’t guessing.
Model the tone you want, then use structured prompts and reply templates. I like requiring students to include a question in every reply and to use constructive language (for example, “I see your point, and I’m wondering…”). When you grade discussions with a simple rubric (respect, relevance, evidence, and responsiveness), the quality improves quickly.
Set clear boundaries on what students can share publicly, require communication to stay inside the course tools, and remind students to protect their accounts (unique passwords and privacy settings). Build an easy reporting path for harassment or unsafe behavior, and respond consistently. If your course handles student records, follow your institution’s privacy and compliance requirements.
Use tech to support interaction and feedback: short quizzes with immediate answers, polls to check understanding, and accessible multimedia (captions and transcripts). Also, don’t forget the “respect” side—choose tools that are easy to moderate and that let students participate in multiple ways (chat, documents, audio, or text), not just camera-on speaking.