
How to Create 8 Post-Purchase Sequences to Improve Customer Experience
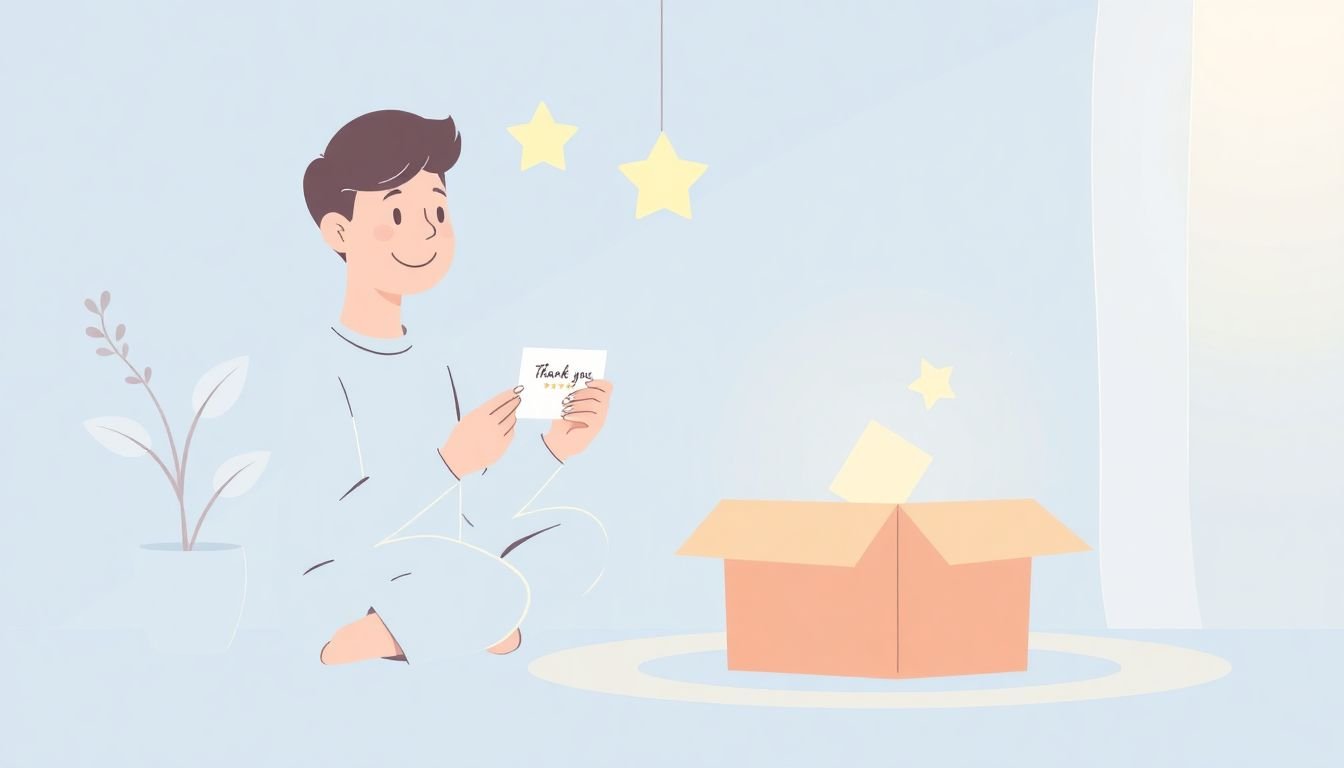
I’ve learned the hard way that “thanks for your order” can’t be the end of the story. If you don’t follow up, customers either go quiet… or they hit you with questions you could’ve prevented. And if they’re confused, they don’t just hesitate—they return stuff.
On the flip side, a good post-purchase sequence feels helpful, not salesy. It gives people what they need right when they need it, builds trust while they’re still excited, and nudges them toward a second purchase without begging for it.
So in this article, I’m going to lay out 8 post-purchase sequences you can run (with timing, triggers, what to send, and what to measure). I’ll also share a few examples of the exact email/message types I use—plus what I noticed when I tested similar flows in real stores.
Key Takeaways
Key Takeaways
- Send Sequence 1 immediately (within minutes): order confirmation + a real thank-you + what happens next.
- Use education to reduce confusion: setup guides, “first 10 minutes” instructions, troubleshooting, and quick videos.
- Ask for reviews at the right time: usually after delivery/first-use window, not the next morning.
- Build trust with proof: reviews, user photos, and specific “how people use it” stories (not just star ratings).
- Make policies easy to find: include return window + steps in your post-purchase emails and help center.
- Segment your buyers: new vs. repeat, high-risk (chargebacks/returns), and product category.
- Automate the boring parts: confirmations, tips, reminders, and cross-sell—triggered by real events.
- Track and tighten: opens are fine, but watch clicks on help content, ticket volume, return rate, and repeat purchase rate.
Sequence 1: Engage Customers Immediately After Purchase (Thank-You + “What’s Next”)
Right after someone buys, send a message that makes them feel seen. Not “automated robot #12.” I’m talking about a real thank-you plus clarity.
Timing: within 5–30 minutes of purchase (or immediately after payment confirmation). If it’s a digital product, you can deliver instantly and still send this.
Trigger: order placed / payment confirmed.
Goal: reduce anxiety + prevent “where is my order?” tickets.
What to include:
- Customer name + product name + order number
- Delivery expectations (date range or “ships in X business days”)
- One-click access to their confirmation details
- A helpful line: “If anything looks off, reply to this email.”
- (Optional) a small thank-you incentive: free shipping on next order or a $5 credit
Subject line ideas:
- “Thanks, {{first_name}} — here’s what happens next”
- “Your order {{order_number}} is confirmed ✅”
- “Quick start: {{product_name}} (and your order details)”
Example copy snippet (short + human):
“Hey {{first_name}}, thank you for your order. We’ve got {{product_name}} in motion. You’ll see tracking updates as soon as it ships. If you have any questions before it arrives, just hit reply—I read every message.”
What I noticed when I used this flow: the “Where’s my order?” volume drops fast when customers get delivery expectations up front. It also sets the tone for the next emails—people are more receptive when you’re clear early.
Sequence 2 & 3: Educate to Boost Confidence (and Cut Returns)
Education is where you win (and where most brands get lazy). Customers don’t need a novel—they need the next step. What do I do first? How do I avoid the common mistake?
Sequence 2: Setup / First-Use Guide
Timing: Day 0–1 (or the morning after purchase). If shipping takes time, send it anyway—you want them ready when it arrives.
Trigger: purchase completed.
Goal: make the product feel easy.
What to send: a “first 10 minutes” guide, setup checklist, and a link to a short video or demo page.
Example CTA: “Watch the 3-minute setup” or “Open the quick-start checklist.”
Segmentation tip: if your order includes multiple items, tailor the email to the exact bundle (“Your {{bundle_name}} setup”).
Sequence 3: Troubleshooting + “Did you get stuck?”
Timing: Day 3–7 after delivery (or after the first-use window you expect). If you don’t know delivery dates, use your fulfillment SLA plus tracking sync.
Trigger: delivered / or “X days since shipped.”
Goal: reduce returns by preventing confusion.
What to send: 3–5 common issues, each with a simple fix.
- Issue: “It won’t power on” → Fix: charging steps + LED indicator explanation
- Issue: “Setup failed” → Fix: browser/app version + restart steps
- Issue: “It doesn’t look right” → Fix: sizing/fit guide or calibration instructions
CTA: “Reply with what you’re seeing” (and include an email/support link).
About the “returns” claim: I can’t promise education eliminates returns entirely—some returns are just preference. But in my experience, clear setup + troubleshooting reduces the “I didn’t know how to use it” reason, which is usually the most preventable.
Sequence 4: Social Proof That Matches the Purchase
People don’t just want reviews. They want proof that their specific purchase works for someone like them.
Timing: Day 7–14 after purchase (or after the product is likely used at least once).
Trigger: purchase + (optional) engagement signals like “opened Sequence 2” or “clicked setup guide.”
Goal: reinforce confidence and lower buyer doubt.
What to include:
- 2–3 reviews that mention the exact product feature your buyer cares about
- User photos (or short videos) if you have them
- A mini “how it was used” story (“Used it for…”, “Worked best when…”)
Example section layout (simple):
- “What people love about {{product_name}}”
- Review 1 (short quote + rating)
- Review 2 (short quote + rating)
- Photo/video grid
- CTA: “See more real customer results”
One stat I do trust (and how I use it): email nurturing matters because many leads don’t convert immediately. For example, research from HubSpot’s marketing statistics and other industry reports frequently show that a large share of leads require multiple touches. I use that idea to justify consistent post-purchase follow-up—not to claim a single “47%” number for every business.
Sequence 5: Consistent Follow-Up (Personalized, Not Spammy)
This is where you keep the relationship warm. But here’s the trick: each message should have a reason to exist.
Timing: Day 14–21 after purchase (and optionally monthly after, depending on your product lifecycle).
Trigger: purchase + no support tickets in last X days (optional) + product category.
Goal: encourage repeat behavior (use, learn, save, or refer).
What to send (pick one based on your business):
- Usage tips (“3 ways to get better results”)
- Accessory or add-on recommendation (with a “why it pairs well” line)
- Community invite (customer group, challenge, or tips page)
- Referral prompt (“Know someone who’d love this?”)
Example CTA: “Get your {{product_name}} tips” or “See what pairs well with yours.”
Personalization rule I like: if they clicked your setup link, send more “how to get better results.” If they never clicked, don’t overload them—send a shorter, simpler message.
Sequence 6: Return/Refund Confidence (Make It Easy to Find)
Yes, you should include your return policy somewhere obvious. But don’t hide it in the fine print like it’s a secret.
Timing: Day 7 (or in your first 1–2 post-purchase emails if your product has a higher return rate).
Trigger: purchase.
Goal: reduce hesitation and lower “buyer panic.”
What to include:
- Return window (example: “30 days from delivery”)
- Condition requirements (unused, original packaging, etc.)
- Steps: where to start the return + what to expect
- Support contact if there’s a problem
Example line: “If it’s not a fit, you can start a return within 30 days of delivery. Here’s the simple step-by-step.”
Limitation: a policy won’t magically prevent returns. But clarity can reduce avoidable returns and customer stress—which is still a win.
Sequence 7: Segmentation That Actually Changes What You Send
Segmentation is one of those words everyone uses… but most brands only do it halfway.
Timing: Day 21–30 after purchase (right when you’re ready for cross-sell, upsell, or retention).
Trigger: purchase category + buyer history.
Here are three segments I’d build first:
- New buyers: send onboarding + confidence reinforcement + “how to choose the right next item.”
- Repeat buyers: send loyalty perks, early access, or exclusive bundles.
- At-risk buyers: those who opened help emails but didn’t resolve, or who have high return intent (based on clicks to returns/help).
What to send by segment:
- New: “Get the most out of your first purchase” + a simple add-on suggestion
- Repeat: “You’re in—here’s early access / points update / VIP pricing”
- At-risk: “Still having trouble?” + direct support + a “we’ll fix it” promise
Why it matters: targeted messaging tends to outperform generic blasts. You’ll see this across email marketing benchmarks and studies. For example, data and summaries from Campaign Monitor and similar providers consistently show segmentation improves engagement. I use that as a reason to segment by behavior—not just demographics.
Sequence 8: Automation + Loyalty/Rewards (Keep Them Coming Back)
Automation isn’t just about saving time. It’s about sending the right message at the right moment—without you babysitting your inbox.
Timing: Day 30–45 after purchase (or at your loyalty cadence).
Trigger: purchase milestone, points earned, subscription renewal date, or “no second purchase yet.”
Goal: repeat purchase or retention.
What to send:
- Loyalty/rewards enrollment (if they aren’t already members)
- Points update (“You earned X points—redeem for Y”)
- Next-best offer (based on what they bought)
- Subscription replenishment reminder (if applicable)
Example subject lines:
- “Your rewards are ready, {{first_name}}”
- “Next time you order: save ${{amount}}”
- “A quick thank-you for being part of this”
Important: automation can backfire if your rules are sloppy. I’ve seen brands send loyalty emails to customers who already enrolled, or recommend add-ons that don’t match the original product. Build QA checks around your tags and purchase attributes.
Quick KPI targets (so you know if it’s working):
- Sequence 1: click-through to order details/help, support ticket rate
- Sequence 2–3: help-content clicks, reduced “how do I…” tickets, reduced return reasons
- Sequence 4: review clicks, rating submissions, repeat engagement
- Sequence 5–8: add-to-cart on recommendations, repeat purchase rate, CLV lift
Note on numbers: you’ll see lots of “X%” claims online. I’m intentionally not tying every claim to one universal statistic because results vary by industry, AOV, product type, and delivery speed. Instead, use the KPI list above to measure what matters for your store.
Track What Matters (So You Don’t Guess)
If you only watch opens, you’ll miss the real story. Opens are vanity. What you really want is behavior.
Track these metrics for each sequence:
- Clicks on setup/troubleshooting content (this is usually a returns reducer)
- Support ticket volume tagged to your product/order type
- Return rate and the top return reasons
- Review submissions (and whether they come from the right customers)
- Repeat purchase rate within 30/60/90 days
- Revenue per recipient (or at least conversion rate to add-to-cart)
What I’d do first if something underperforms:
- If help emails get low clicks, shorten them and make the CTA one clear link.
- If review requests get low responses, check timing (delivery + first-use window matters).
- If cross-sells flop, your segmentation is too broad—split by product category or buyer history.
Also, if you want to benchmark email performance, use a reputable source like Campaign Monitor’s benchmarks. Just remember: benchmarks are starting points, not guarantees.
FAQs
Send a confirmation + thank-you within 5–30 minutes. Include (1) what happens next, (2) delivery timing, and (3) a simple support line (“reply if anything looks off”). If you want a template, use:
Subject: “Thanks, {{first_name}} — {{product_name}} is confirmed ✅”
Body CTA: “View your order details”
Do it in two steps: (1) a setup/first-use guide within 24 hours, and (2) a troubleshooting email 3–7 days after delivery. Keep it practical: list 3–5 common problems and link each to a fix.
Example CTA: “Open the quick-start checklist” (Sequence 2) and “See the top fixes” (Sequence 3).
Ask after the customer has had time to actually use the product. For many physical products, that’s typically Day 7–14 after delivery. If it’s a service or digital product, use the “first completion” window (for example, 3–5 days after they usually finish onboarding).
Subject ideas:
“Quick question, {{first_name}} — how’s {{product_name}} going?”
“Was {{product_name}} what you expected? (Takes 30 seconds)”
Don’t discount in every email. Use it sparingly and tie it to a moment: enrollment (Sequence 8) or a helpful next step (Sequence 5). If you do offer a code, include a clear reason and a short deadline.
Example line: “Use code {{FIRSTNAME10}} for $10 off your next order—valid for 7 days.”
Yes—just adjust the triggers. For subscriptions, replace Sequence 8 with renewal/usage reminders tied to the billing cycle. For high-ticket, add more “human” touchpoints: a concierge-style check-in (Sequence 5) and a tighter troubleshooting path (Sequence 3). You’ll usually see better results when you slow down and make support feel personal.
Once you set these 8 sequences up, the real payoff is consistency. Customers get help at the exact moment they need it, and your brand stays present without sounding desperate. That’s the whole point—turn the purchase into a relationship that keeps going.