How to Compress Video Files Without Quality Loss in 8 Steps
If you’ve ever tried to shrink a video and ended up with a fuzzy mess, you’re not alone. Many people worry that compressing videos means sacrificing quality, which can be frustrating when you want a smaller file but still want your video to look great.
Good news—there are ways to cut down file size without losing the clarity and details you love. Stick with me, and I’ll show you simple steps and tips to keep your videos crisp while making them smaller.
We’ll cover everything from picking the right tool to tweaking settings and avoiding common mistakes, so you’ll be ready to compress like a pro—no quality lost, just a leaner file.
Key Takeaways
Key Takeaways
- Use modern codecs like H.265 or VVC to cut file size by about half without losing detail. Avoid lowering bitrate too much, as it can cause fuzziness.
- Select user-friendly tools like HandBrake or Wondershare that support the latest codecs and preset options for easy compression.
- Set compression settings carefully: keep resolution the same, use variable bitrate, and choose slower encoding presets for better quality.
- Test on short clips before compressing the whole video to ensure quality stays high. Adjust settings if you notice artifacts or blurriness.
- Batch process videos with the same settings using tools like FFmpeg or HandBrake presets to save time and keep quality consistent.
- Edit videos first by trimming, stabilizing, or fixing issues to prevent quality decline from multiple compressions.
- Avoid common mistakes, such as overly aggressive bitrate reduction or resolution changes, which can ruin picture quality.
- Always keep an original high-quality copy, and balance quality with size by experimenting and checking results on different screens.

1. How to Compress Video Files Without Losing Quality
Compressing a video without sacrificing quality might sound too good to be true, but with the right methods, it’s definitely doable.
Start by choosing a modern codec like VVC/H.266, which reduces bitrate by about 50% compared to older codecs, meaning you can keep 8K videos at 40 Mbps instead of 80 Mbps without noticeable loss.
The key is to find that sweet spot where your video file shrinks but still looks sharp and clear to your eye.
Avoid lowering bitrates too aggressively, as this can introduce artifacts and make your video look fuzzy; instead, aim for a balanced approach.
Leveraging advanced codecs and settings can help you keep the high-quality visuals you want while trimming down the file size – it’s like traveling light without leaving your style behind.
Always compare the original and compressed videos using quality metrics like PSNR, SSIM, or VMAF to ensure your edits aren’t hurting the look too much.
Try to keep the resolution and frame rate consistent unless you have a good reason to change them, because reducing these too much can also cause a perceived drop in quality.
Lastly, test out different compression tools and settings on a short clip before doing the whole video, saving yourself time and frustration.
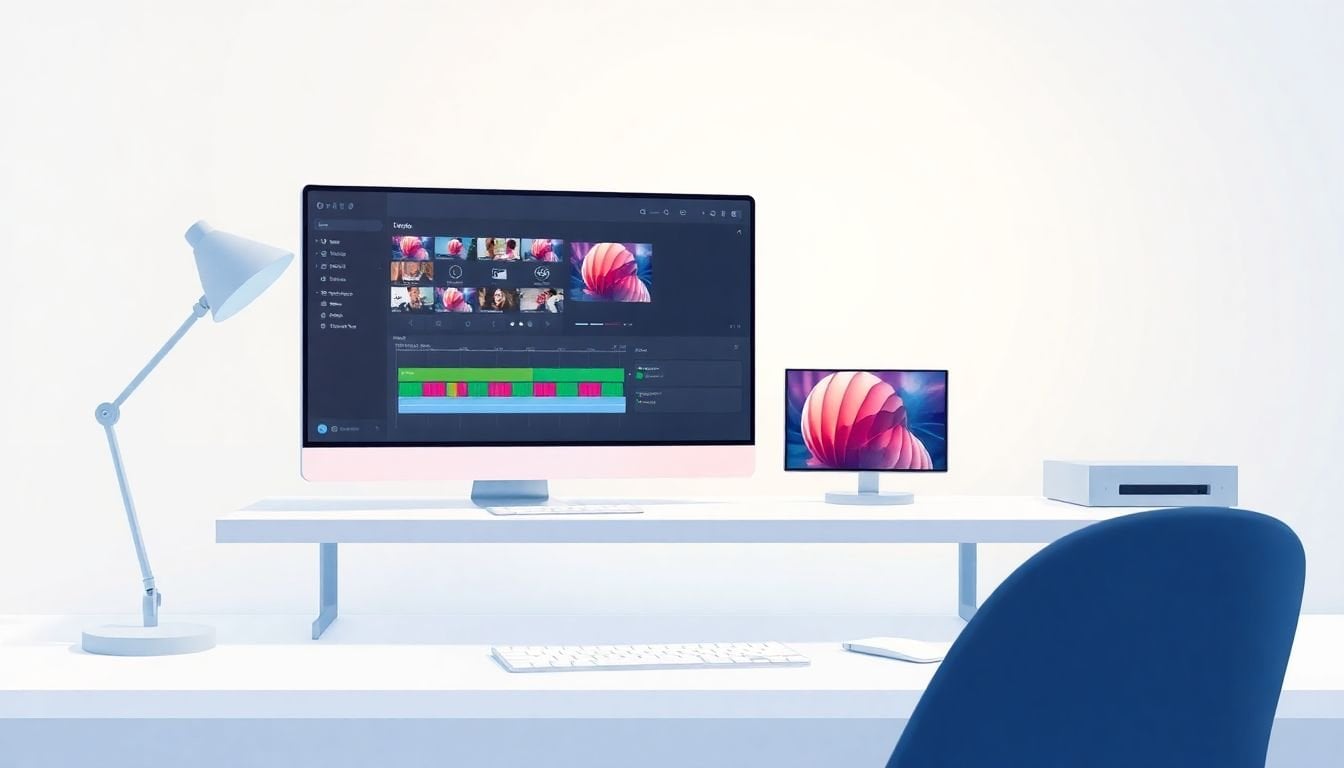
2. Select an Effective Compression Tool
Picking the right tool might seem overwhelming with so many options out there, but focus on ones that support the latest codecs like H.264, H.265, or VVC.
Popular tools such as HandBrake, FairUse, and Wondershare Filmora offer user-friendly interfaces and powerful compression abilities.
If you’re after top efficiency with minimal fuss, look for software that enables real-time encoding with support for VVC/H.266, which can cut file sizes dramatically without losing the visuals.
Some tools come with preset options—use these for quick results, but don’t hesitate to tweak the advanced settings if you want more control.
Cloud-based services like Clipchamp or online compressors can be helpful if your hardware isn’t up for intensive tasks, but check that they support the newest codecs for the best quality-to-size ratio.
Review user feedback and compare features—especially the ability to monitor and adjust key parameters like bitrate, resolution, and encoding speed—before settling on a tool.
Remember, a good compressor is not just about smaller files; it’s also about maintaining the details and colors that make your videos pop.
3. Adjust Key Compression Settings for Quality Preservation
Getting the settings right is what separates a decent compression from a great one—think of it as tuning a guitar perfectly.
Start by setting the bitrate at a level that balances size and quality, and don’t forget to enable variable bitrate (VBR) encoding—this adjusts the bitrate dynamically based on image complexity, preserving detail where it matters most.
Set your resolution and frame rate to match the original footage unless you need a smaller size or specific delivery format; reducing resolution too much can make your video look pixelated.
Pay attention to the encoder preset; selecting a slower preset typically results in better compression efficiency and less quality loss—patience pays off here.
Use the highest quality profile your tool offers, like H.265’s Main 10 or higher, to maximize color depth and clarity.
Adjust the GOP (group of pictures) size to optimize compression without causing flickering or motion issues—usually, a GOP of around 30 frames works well for most videos.
Finally, test different settings on short clips and compare the results—sometimes a small change in bitrate or preset makes a big difference to visual quality, saving you from headaches later.

4. Follow a Step-by-Step Guide to Compress Videos Effectively
Start by selecting your original video file—preferably a high-quality version to get the best compression results.
Use a reliable tool like **HandBrake** or **Wondershare Filmora** that supports the latest codecs and offers adjustable settings.
Set your project to use the appropriate codec; for example, H.265 (HEVC) or VVC/H.266 if your tool supports it, since these reduce bitrate significantly without quality loss[3].
Adjust the resolution to match your target platform—the difference between 4K and 1080p can save a lot of space, especially if you don’t need ultra-high detail.
Configure the bitrate carefully: opt for variable bitrate (VBR) and aim for a bitrate that balances quality with size, using quality metrics like SSIM or VMAF to guide you.
Choose an appropriate GOP size—typically around 30 frames—to avoid unnecessary motion artifacts while allowing good compression.
Test your settings on a short clip first—make sure you compare the original and compressed videos side-by-side.
Adjust settings if you notice artifacts or blurriness; sometimes lowering bitrate too much can do more harm than good.
Once satisfied, apply the compression to the entire video and review the output on different devices to ensure consistent quality.
Remember, small tweaks can make a big difference, so don’t be afraid to experiment a bit!
5. Tips for Batch Compressing Multiple Videos Efficiently
If you have a bunch of videos to compress, automating can save you a lot of time and effort.
Look for tools like HandBrake or **FFmpeg** that support batch processing and scripting—this means you can set the parameters once and process multiple files at once.
Keep a consistent set of settings—use the same codec, resolution, and bitrate—for all videos in a batch to ensure uniform quality.
Create a preset within your compression software; this lets you apply the same settings quickly without fiddling each time.
If you’re using a command-line tool like FFmpeg, write a simple script to loop through your videos and process them automatically.
Be cautious with very different video qualities or formats—adjust your settings accordingly for each if needed, or split into more uniform groups.
Always check a few samples from your batch to make sure the quality holds up before processing everything.
Using a dedicated folder for the raw files and another for the compressed outputs can also help keep things organized.
Automation tools like **Adobe Media Encoder** or online platforms can streamline this, especially if you work with a large volume regularly.
6. Make Editing Changes Before You Compress
Editing your videos beforehand can prevent quality loss from multiple compression rounds and make your final file look better.
Fix lighting issues, stabilize shaky footage, or enhance colors before compressing as these improvements will carry over to the compressed version.
Trim unnecessary scenes or parts that don’t add value—this reduces the overall file size and makes compression more efficient.
Apply sharpening or noise reduction to improve clarity, especially if the original footage was a bit grainy.
Save your edits in a high-quality format like ProRes or lossless formats if you plan to do multiple edits or compressions later.
Once your edits are done, export the video in its highest quality possible before starting the compression process.
This way, you avoid progressively degrading quality by repeatedly compressing a compressed file.
Keep a backup of your original footage so you can re-edit or adjust settings if needed, without losing the best source material.
Investing a little time in editing upfront pays off with cleaner, crisper videos after compression.
7. Avoid These Common Mistakes When Compressing Videos
One mistake is setting the bitrate too low, which can cause pixelation and blocky artifacts, especially in scenes with lots of motion.
Another is reducing resolution unnecessarily—shrinking from 4K to 720p might save space but can sacrifice important detail.
Using outdated codecs like H.264 when newer options are available might limit your compression efficiency—consider H.265 or VVC if compatible.
Over-compressing is also a pitfall; trying to squeeze every bit of space can ruin the visual quality, so aim for a balance.
Ignoring testing before the full compression yields surprises later—always check your settings on a short clip first.
Failing to maintain aspect ratios or stretching videos can lead to distorted images; always stick to original proportions unless needed.
Forgetting to consider the playback device’s capabilities might result in videos that are too demanding or not compatible with some platforms.
Lastly, don’t skip backing up your original files—once compressed, it’s hard to revert or improve quality.
8. Review Best Practices for Quality-Preserving Video Compression
Always keep a high-quality copy of your original video—compression is about shrinking size, not losing your source file’s details.
Use the latest codecs like **H.265** or **VVC**, which are designed to reduce bitrate substantially while preserving image quality[3].
Focus on balancing resolution, bitrate, and encoding settings—don’t just aim for the smallest size, but also a pleasant viewing experience.
Select tools that give you control over quality metrics like PSNR, SSIM, or VMAF—these help see how close the compressed video is to the original.
Experiment with different configurations on short clips first—this saves time and prevents bad results on your entire project.
Incorporate visual checks and playback on various screens—what looks good on a laptop might not be perfect on a smartphone.
Batch processing settings should be consistent, but review some outputs to make sure each video maintains the desired quality.
Remember, the goal is to reduce file size without perceptible loss of detail or clarity, so always prioritize visual quality over mere compression numbers.
FAQs
Choose a reliable tool and use appropriate settings like a higher bitrate. Maintain resolution and frame rate, and avoid overly aggressive compression to keep video quality intact while reducing file size.
Popular options include HandBrake, Shotcut, and Adobe Media Encoder. These tools allow you to adjust settings easily and produce high-quality compressed videos without significant quality loss.
Focus on settings like bit rate, resolution, and codec. Use a higher bit rate and avoid lowering resolution too much. Test different configurations to find a balance between size reduction and quality.